Table of Contents
FNaF on Mac
If you are an Apple user wanting to play FNaF on Mac, there are methods to get pretty much every game from this popular indie franchise to run on an Apple computer and in this article, we’ll tell you about those methods. Note that no Fife Nights at Freddy’s game, not even the highly popular FNaF: Security Breach, is available for macOS. Despite this, if you are eager to have fun with FNaF on your Mac, we can show you several different methods you can do that. The workarounds explained below will mainly be for Security Breach but all of them, except for the cloud gaming suggestions, will work for other titles from the franchise.

Is FNAF Security Breach Mac compatible?
There’s currently no FNaF Security Breach Mac version, meaning that you’ll have to resort to workarounds to get this game running on your Apple machine. The good news is that there are indeed several ways to play this game on a MacBook or a Desktop Mac. If your machine has the hardware power to meet the game’s requirements, you can try something like Parallels or CrossOver, or even Boot Camp if you are on an Intel machine. And even if you are on an older Mac that can’t handle the game, you can still enjoy the FNaF Security Breach Mac experience through Boosteroid or GeForce Now – two popular cloud gaming platforms.
Can you play FNaF on Mac?
All things considered, although these games didn’t receive macOS ports, you can totally play FNaF on Mac through the methods explained below. As we mentioned, these methods include the use of cloud gaming options like Boosteroid and GeForce Now, the CrossOver translation layer, the Parallels virtualization software, or even Apple’s proprietary Boot Camp program. With each of these methods, you can play FNaF on Mac, including the demanding and more recent Security Breach entry. One thing to note here, however, is that Five Nights at Freddy’s: Security Breach is the only game from the franchise available on Boosteroid and GeForce Now. For the other games from this series, you’ll need to choose between CrossOver, Parallels, and Boot Camp as methods to play them on your Mac.
FNaF Mac download options
Since none of the games from the series have official macOS versions, the all of the current FNaF Mac download options involve the use of some kind of workaround. For example, with CrossOver, you can download the Windows version of the game and run through a translation layer. Parallels, on the other hand, creates a Windows virtual machine that lets you run the game in it. As for Boot Camp, it basically lets you turn half of your MacBook into a Windows computer, letting you perform a FNaF Mac download as if you are doing it on a regular PC. Bear in mind, however, that if you want to play the more demanding FNaF: Security Breach in this way, you must first ensure your Mac meets its hardware requirements.
Five Nights at Freddy’s Mac gaming methods
So, the Five Nights at Freddy’s Mac gaming options are Boosteroid, GeForce Now, CrossOver, Parallels, and Boot Camp, but which one to choose? Well, as we said, if you want FNaF: Security Breach specifically, then you can use any of the five options, but we recommend cloud gaming, as the game is rather demanding and cloud gaming lets you stream it from a powerful gaming PC, thus making the hardware specs of your machine irrelevant. As for the Five Nights at Freddy’s Mac options for the other games in the franchise, these games aren’t on any cloud gaming platforms, but the good news here is that they are all quite undemanding, so playing them through CrossOver, Parallels, or Boot Camp should be possible even on older/weaker Macs.
How to play FNaF on Mac?
To play FNaF on Mac, we recommend using Boosteroid or GeForce Now if the specific game you want to play is Security Breach. For any of the other games in the series, CrossOver or Parallels are great options. Boot Camp is also a viable alternative for users with Intel Macs, but this one requires a lot of storage space (at least 60-70 gigs) and can take a while to set up. Each of the five methods to play FNaF on Mac that we mentioned in this post are shown and explained in the guides below so be sure to check them out before deciding which one to use.
And, of course, let’s not forget that no matter which method you choose, you’ll first need to purchase the FNaF game you wish to play:
How to play FNaF Security Breach on Mac with Boosteroid
1. Create a Boosteroid account or sign up using your Google account (please note that Boosteroid only supports the Steam version of Five Nights at Freddy’s: Security Breach).

2. After logging in, click on your account name in the top-right corner, followed by the Subscribe option on the subsequent page.
3. Choose your desired subscription plan, fill in the necessary payment information, and activate your subscription.
4. Use the search icon at the top, input the game’s title, and hit Play when you spot the game in the search results.
5. Permit Boosteroid to link with your Steam account. As the game initializes, input your Steam login details. Once logged in, the game will commence.
How to play FNaF Security Breach on Mac with GeForce Now
We’ll now show you our detailed instructions on how to use the GeForce Now cloud gaming service. To learn how to play FNaF: Security Breach on your Mac with GeForce Now, please follow the guide linked below.
How to play FNaF on Mac with CrossOver
1. Visit the CrossOver site by clicking the button below, and download and install CrossOver.
2. Open CrossOver and create a new Bottle from the Bottle menu.
3. Right-click the newly-created bottle, click Install Software in Bottle, and then search for and install Steam (or another game launcher if you own the game elsewhere).
4. Download the latest DXVK version from here, open the ZIP file and go to the x64 folder. Then open the Steam bottle’s C: drive, go to windows > system32 and copy-paste everything from the ZIP file’s x64 folder into the system32 folder.
5. Make sure that DXVK is enabled, then launch and log into Steam, find the game in your library, install it, and click Play.
If you want to check out a more detailed CrossOver + Game Porting Toolkit Guide, please click the button below:
How to play FNaF on Mac with Parallels
Parallels works similarly to CrossOver, but rather than providing you with a translation layer for Windows programs, it directly creates a Windows virtual machine within your macOS. Here’s how to set up and use Parallels to play any of the FNaF games:
How to play FNaF on Mac with Boot Camp
Finally, Boot Camp lets you get Windows in a separate partition on your Mac. It’s one of the most effective methods to run Windows games on Mac computers, but it only works on Intel machines and not on Apple Silicon Mac models. Learn how to use Boot Camp from this guide:
Five Nights at Freddy’s: Security Breach (Review)

With the eerie flickering of neon lights and the soft hum of animatronics in the distance, “Five Nights at Freddy’s: Security Breach” emerges as a pivotal entry in the beloved FNaF franchise. Crafted by the skilled hands at Steel Wool Studios, the game invites players into the echoing hallways of a vast mall, where danger lurks around every corner. As the eighth primary installment, this title gracefully integrates itself into the broader FNaF universe, yet brings forth innovative features, setting it apart from its predecessors.
If you’ve been lucky enough to experience FNAF: Security Breach on Mac or other platforms since its December 16th, 2021 debut, you’ve likely felt the mixed emotions it evokes. Where previous FNaF games held players in claustrophobic confines, this one bravely liberates them into a “free-roam” environment, rife with possibilities… and perils.
A New Age of Terror?
With this new freedom comes a shift in tone, aligning more closely with traditional survival horror titles. While purists might yearn for the FNaF of old, there’s no denying that this evolution was essential in preventing the saga from becoming a mere echo of its former self. The stationary horror of past titles, though compelling, was inherently limiting. FNaF Security Breach’s embrace of exploration feels like a breath of petrifying air, reinvigorating the series.
A Symphony of Scares

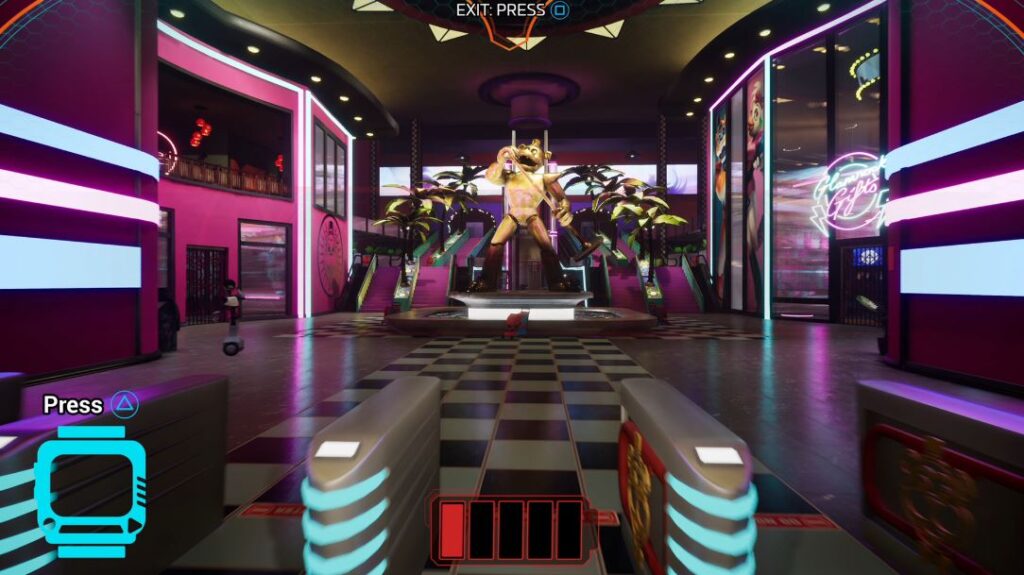
Commendably, the game’s core stays true to its roots. Its aesthetic – from menacing character designs to the intricately detailed mall environment – exudes quintessential FNaF vibes. This vast space, teeming with shadows and secrets, accentuates the palpable tension of the game. The added layer of exploration, absent in past entries, makes each playthrough an immersive experience.
Existing mechanics, such as the surveillance system, find their way back, merging seamlessly with the game’s updated dynamics. However, oscillating between the sprawling mall view and the grainy security footage can disorient players, especially when an animatronic predator is close on their heels.
Chinks in the Armor
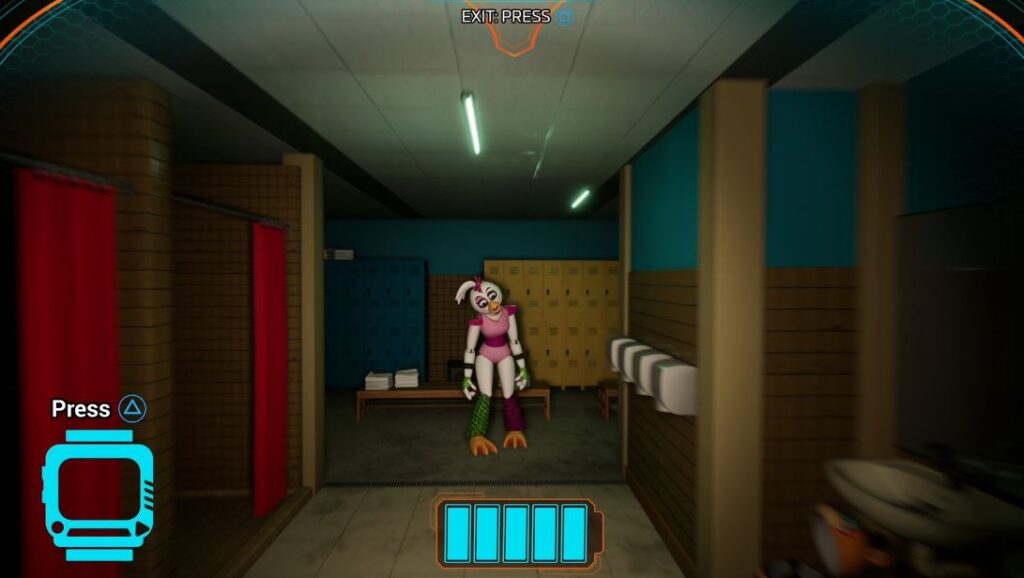
The game, while largely captivating, isn’t without its flaws. Robotic security guards, with their unpredictable and seemingly over-caffeinated movements, often shatter the immersion. Their erratic behavior, combined with the looming threat of the ever-terrifying stalkers, can make progression feel like an exercise in sheer luck rather than skill. And should you fall prey to these mechanical beasts, prepare for a punishing setback, as your progress reverts to the last save point. While some may relish this brutal challenge, others might find the repetitive trudge through familiar territories grating.
Speaking of familiarities, the stalkers retain their iconic jump scares. This mechanic, while quintessential to the franchise, has become a divisive point. Die-hard FNaF enthusiasts might welcome these heart-stopping moments, recognizing them as a franchise staple. Yet, newcomers or those seeking more varied horror might find this approach slightly monotonous.
Future Prospects

Among the game’s missteps, the most glaring are its bugs. Ranging from jarring visual hiccups to AI mishaps, these issues mar an otherwise stellar experience. While none are catastrophic, their cumulative effect is undeniable. The silver lining? The potential for future patches to rectify these issues, refining the game to its intended luster.
Final Verdict
“Five Nights at Freddy’s: Security Breach” is a courageous and ambitious entry in a legendary series. With its fresh gameplay mechanics and expansive setting, it offers a renewed yet familiar experience to its ardent fanbase. While it does stumble in places, its core remains robust and compelling. Whether you’re a veteran FNaF fan or a curious newcomer, especially if diving into FNAF: Security Breach on Mac, this haunting journey is bound to leave an indelible mark on your gaming memories.
Leave a Reply