CrossOver for Mac is a compatibility layer application, based on the Wine project, that lets you play Windows games on your Apple computer. This app works on both Intel and M1/M2 Macs, and supports a wide selection of Windows games and other software, making it a viable way of gaming on a Mac. As of recently, it also became possible to run DirectX 12 games through the CrossOver, since Apple’s Game Porting Toolkit got integrated with the app. This turns CrossOver into one of the best ways to play Windows games on Mac and on this page, we’ll show you how to use this app.
How to use CrossOver on Mac
To use CrossOver to play Mac games, you need to first install the program on your Mac, create a new bottle, and install the game launcher you want to use. Steam installs and runs without any issues, but if you want to access your Epic, GOG, Battle.net, or EA libraries, there are several additional steps to perform that have been detailed after the main guide.
Once you’ve set everything up, it’s really easy to use CrossOver – you just open the app, open the bottle where you’ve installed your game, and double-click the game or the game launcher to start playing. Below, you can find detailed instructions of the entire process.
IMPORTANT: If you want to run DirectX 12 games in CrossOver by integrating the Game Porting Toolkit, you must first install macOS Sonoma on your Mac:
Install macOS Sonoma
To use the Game Porting Toolkit translation layer (D3DMetal) through CrossOver, we strongly recommend havin your macOS updated to its latest version (macOS Sonoma at the time of writing this). Here’s how to do that:
- Open your Apple Menu from the menu bar and go to System Preferences/System Settings.
- Click General in the sidebar, then click on Software Update. If you are currently on macOS Monterey or earlier, directly click the Software Update icon.
- Wait for your Mac to search for updates and when the Upgrade Now option appears, click it and follow the prompts to install macOS Sonoma.
- If you don’t see the option to upgrade to Sonoma and you don’t already have it installed on your Mac, this probably means that you are on an older Mac model that is no longer supported for the latest macOS versions. In this case, you’ll still be able to use CrossOver, but the GPTK translation will likely not work or will work poorly.
Step 1:
Click the button below and download CrossOver on your Mac.
Step 2:
Open the downloaded DMG file, drag the CrossOver icon to your Applications folder icon to install the app, and open CrossOver.
When first opening the app, you’ll be asked if you want to unlock the app or try its free trial version. If you’ve already bought CrossOver, click on Unlock with Purchase info and enter your details, but if you want to use the free trial, simply click on the Try Now option, and the app will open.
Step 3:
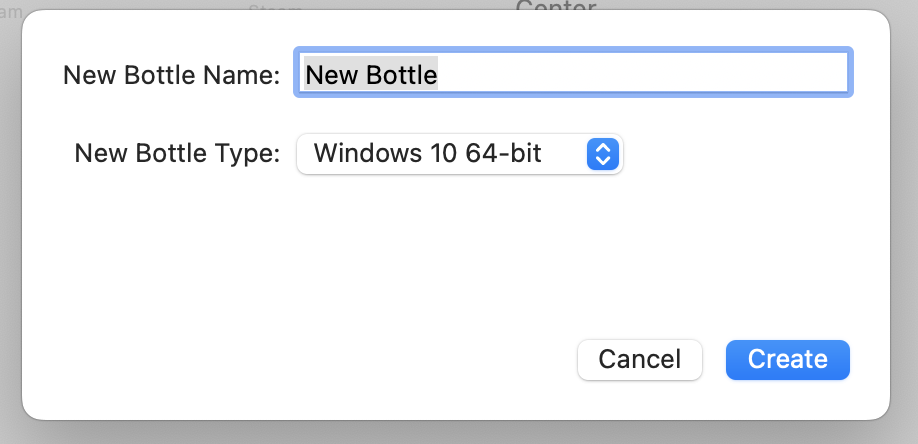
Once in CrossOver, click Bottle from the menu bar, and select New Bottle. Enter a bottle name, set the Type to Windows 10 64-bit, and click Create.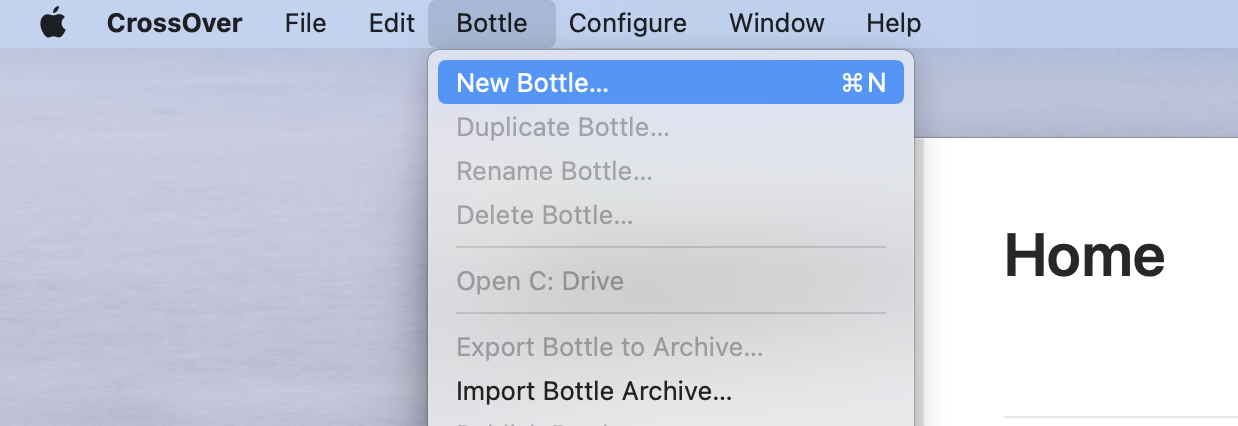
Step 4:
Select the new bottle that appears in the left panel, then click the Install button from the bottom-left corner, type Steam in the search bar, and click on the Steam app.
If you want to play games from another game store, search for its respective launcher and install it in the same way. The launchers/game store clients that currently work well in CrossOver are the EA App, Ubisoft Connect launcher, and the GOG and Epic Games Launcher apps via the Heroic Launcher (more on that below).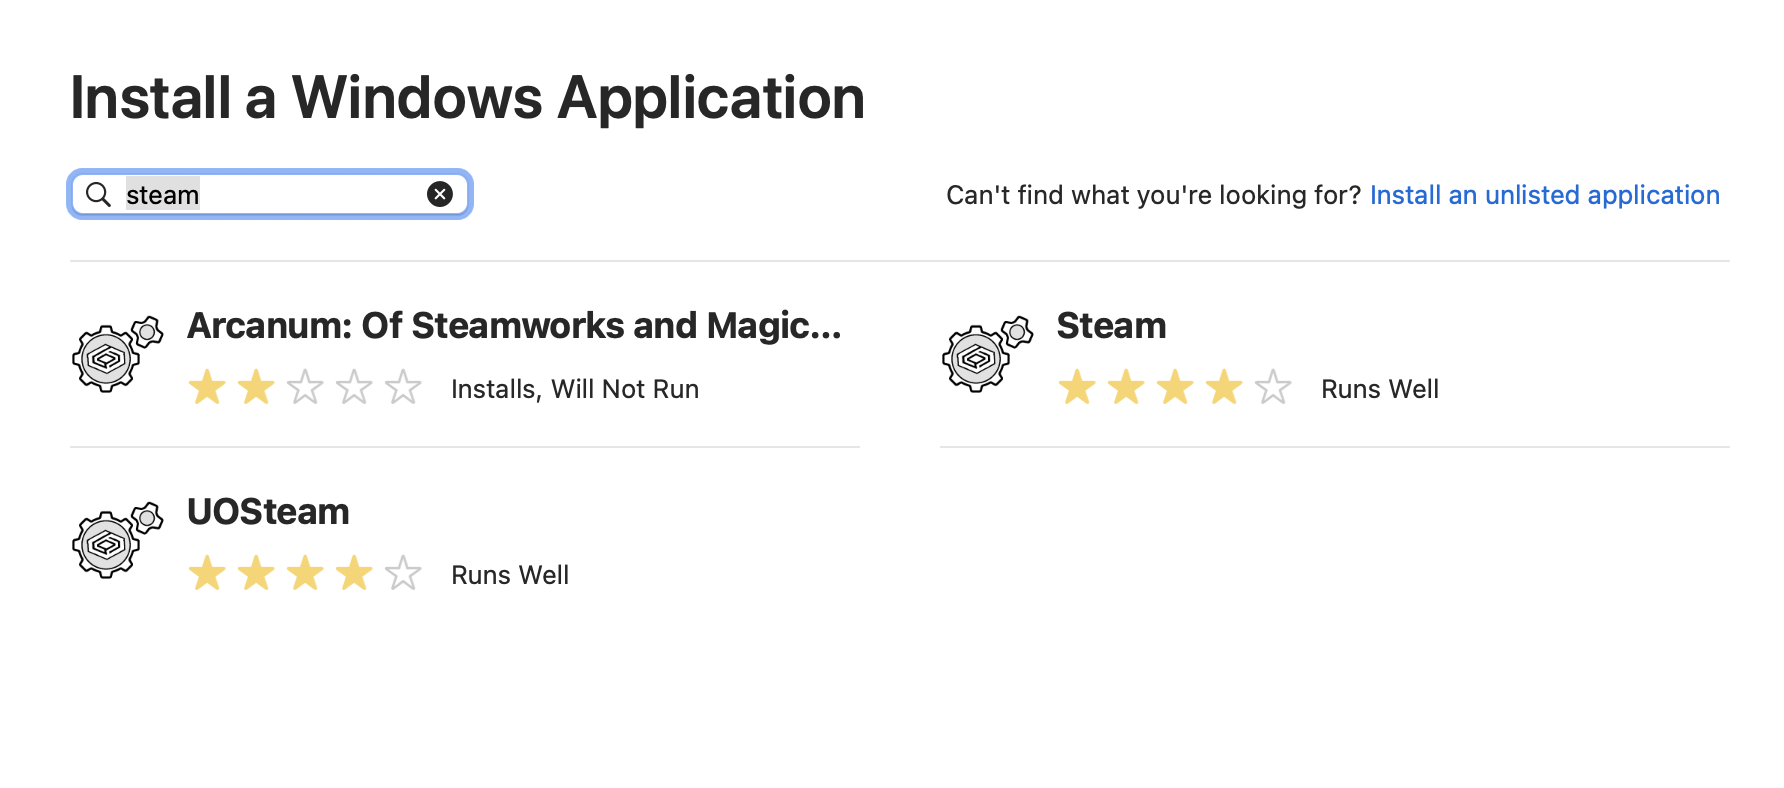
Step 5:
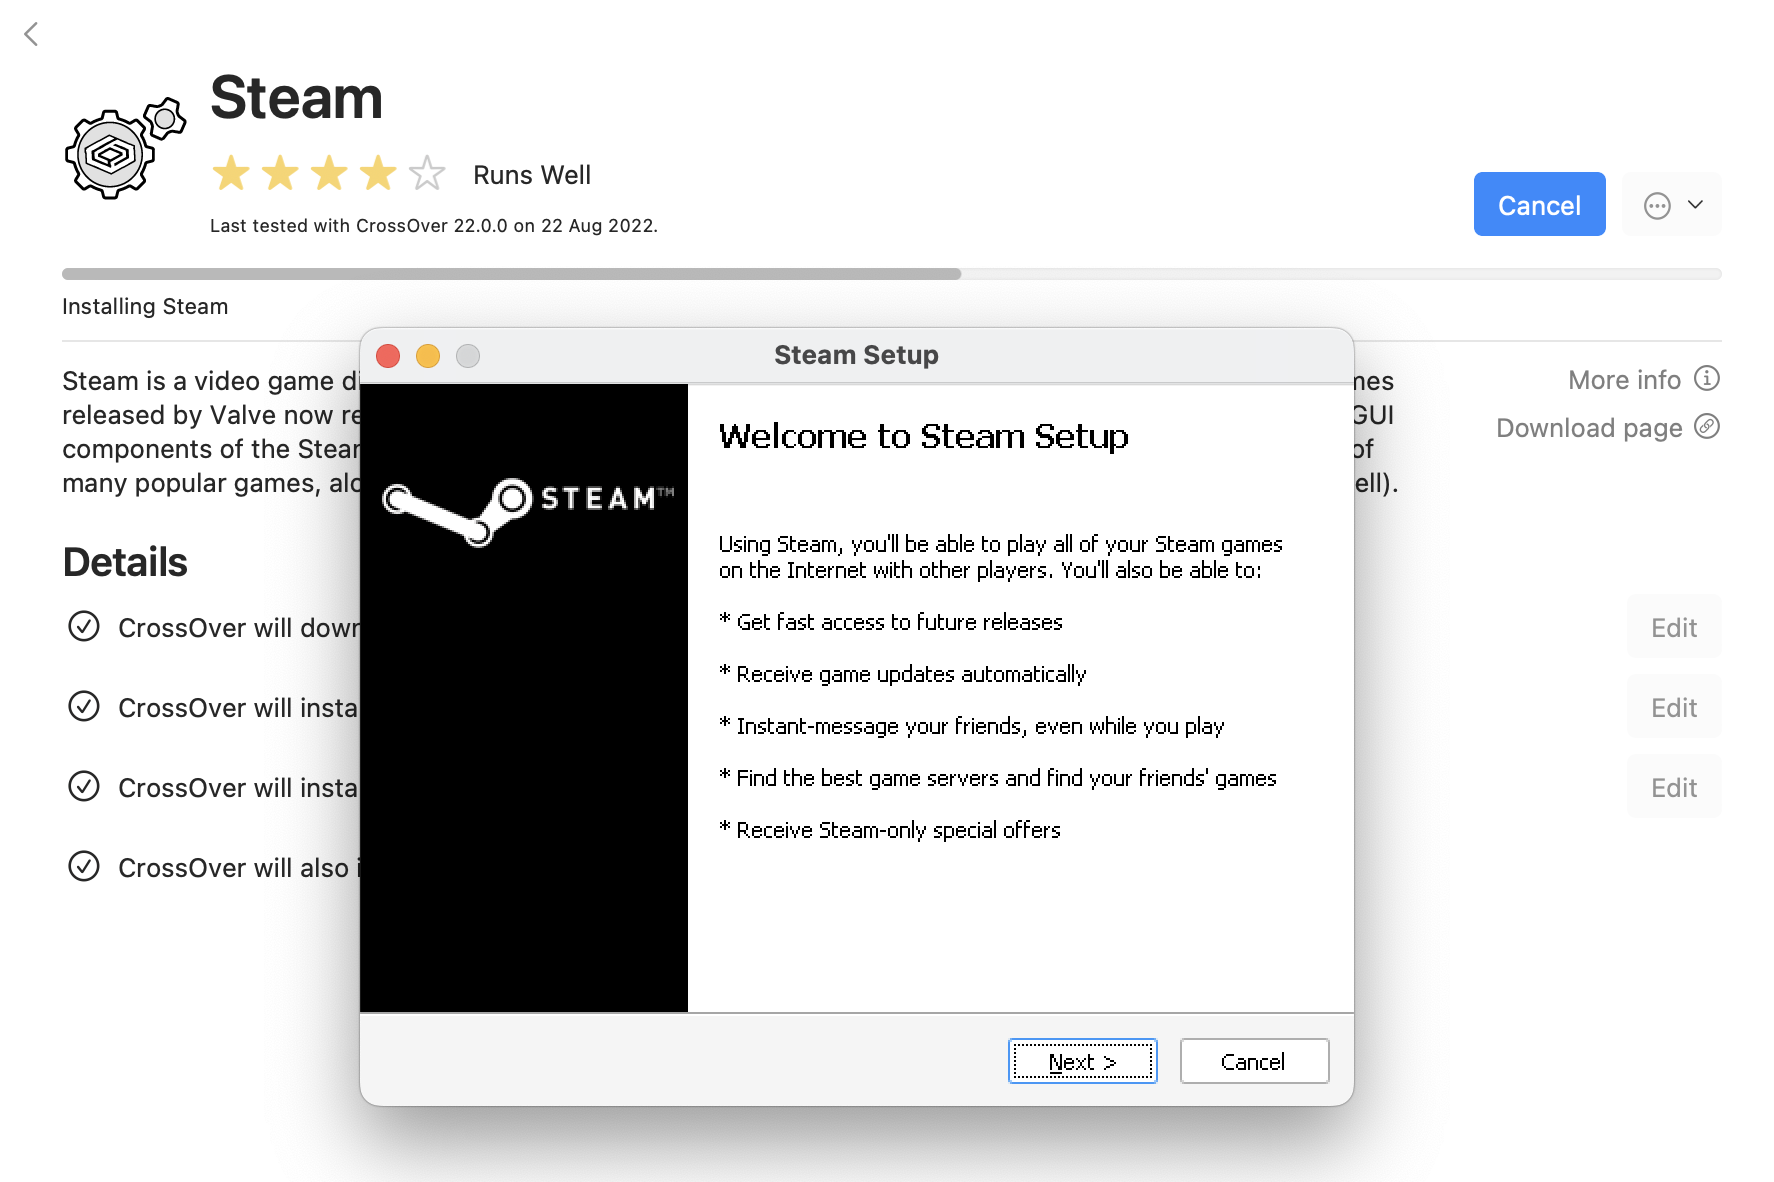
Select Install, and follow the prompts to install the app. While Steam is installing, pay attention to your Dock, as there will probably be installation wizards that open in the background and that require your permission to perform their installations.
Step 6:
Once Steam is installed, log in, and then close the app because you’ll first need to choose your graphical settings before you start playing. Select the bottle where you installed Steam, and check the settings in the right panel.
- First, turn on the ESync option, and then click the Reboot Bottle to Enable ESync.
- Next, for most games, we recommend turning on the D3DMetal option – this is the GPTK translation layer. If you are about to play a DirectX 12 games, D3DMetal must be turned on or the game won’t run.
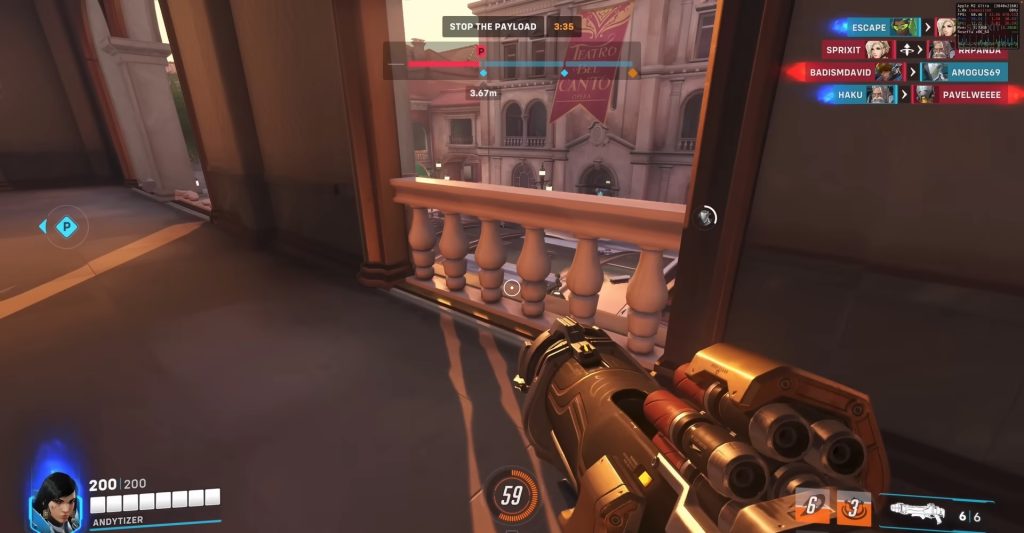
- For games that don’t require DirectX 12, you can also experiment with turning off D3DMetal and turning on DXVK, as this will provide better performance in some cases (Overwatch 2 seems to work better with DXVK).
Once you are done choosing what settings to use, double-click on Steam to launch it again.
Step 7:
You are now finally ready to start the game you want to play. Find it in your Steam library, click Install and then click Next to install the game. Once it’s ready, click Play in the Steam client, and the game will start through CrossOver.
CrossOver for Mac: Fixes
In this section, we’ll give you several important fixes for CrossOver that you’ll need to apply to start certain games. We are mainly referring to fixes that help you start certain games and game launchers, such as Epic, GOG, and Battle.net.
Playing Epic and GOG games in CrossOver (through the Heroic Games Launcher)
The Epic Games launcher doesn’t work well in CrossOver and the GOG launcher (GOG Galaxy) can’t even be installed there, so the way to play games from these two stores within the CrossOver compatibility layer is to use the Heroic Games Launcher – an open source app that serves as an alternative launcher for Epic and GOG. Here’s how to set it up and use it:
- In CrossOver, create a new Windows 7 (64-bit) or Windows 10 (64-bit) bottle and name it Heroic.
- Next, go to here click on the macOS section and download the Mac version of the Heroic Games Launcher specific to your Mac’s chip (Intel or M1/M2).
- Open the downloaded Heroic DMG file and drag the icon of the launcher to the ion of your Applications folder.
- Go to the Applications folder and double-click the Heroic Games Launcher. If you aren’t allowed to start the app, right-click it, select Open, and then click Open again to start the launcher.
- Once Heroic opens, click on the Epic or the GOG login icon and login to the respective store. This will automatically import your gaming library from that store into the Heroic launcher.
- Next, click Library in the top-left, then search for the game you want to play, click on it, click Install, and install the game without changing its installation path.
- After that, go to Settings (left panel), select CrossOver, and then make sure that the name written in the CrossOver Bottle section is Heroic (or another name if you gave your CrossOver bottle a different name).
- Next, open CrossOver, go to your Heroic bottle, choose whether to use the DXVK setting, and double-click the game to launch it.
Installing Battle.net in CrossOver
If you want to play Diablo 4, Overwatch 2, or any other Blizzard game on your Mac, you’ll need to install the Battle.net launcher in CrossOver, but this requires a couple of extra steps to ensure everything is working as intended:
- Create a new CrossOver bottle for Battle.net.
- Search for the Battle.net in CrossOver and install the regular version of the app. Again, pay attention to any background apps that may show up in the Dock in order to provide your permissions for their installation.
- Once Battle.net is installed, log in to your account and then close the launcher (click the X and choose the Exit Application option).
- Next, click the Run Command button in the right CrossOver panel, choose the Battle.net bottle, type regedit in the Running text field, and click Run.
- In the Registry Editor window that opens, navigate to HKEY_LOCAL_MACHINE\Software\Microsoft\Windows NT\CurrentVersion, double-click on the CurrentBuild item, and change its value data to 19042. Also change the value data of the CurrentBuildNumber item to 19042.
- Now start the Battle.net launcher again in CrossOver, and you’ll be able to run Diablo 4 and other games that you own there.
Playing Overwatch 2 with CrossOver
If you specifically want to play Overwatch through CrossOver, there’s one more thing you need to do:
- First, create a copy of CrossOver in your Applications folder and use that copy for the next steps.
- Right-click the CrossOver copy, click Show Package Contents, and go to Contents > Shared Support > CrossOver > lib > wine > x86_64-windows.
- Scroll down and find two files named dxgi.dll and dxgi.dll_orig. Here, you must rename the dxgi.dll file to dxgi.dll.gptk and the dxgi.dll_orig file to dxgi.dll.
- Next, enable the DXVK feature in CrossOver and start the Battle.net launcher.
- Now you’ll be able to download and install Overwatch 2 in this specially modified copy of CrossOver, and the game will run without a problem there.
CrossOver Games
The list of Windows games you can play on your Mac with CrossOver is very long and continues to expand, but up until recenty, a major disadvantage of this app was its inability to run DirectX 12 games. Fortunately, the release of Apple’s Game Porting Toolkit and its recent integration with CrossOver remedied this, so now users of this app can also enjoy hundreds of graphically-intensive DirectX 12 games. The Game Porting Toolkit integration greatly increased the number of games playable through CrossOver, adding long-awaited titles, such as Hogwarts Legacy, Cyberpunk 2077, Elden Ring, Diablo 4, and more to the list of games compatible with CrossOver.
It must be noted that this doesn’t mean that all DirectX 12 games can be played with CrossOver on Mac, as some titles present other obstacles, yet it’s nevertheless great news to have this much compatibility within a translation layer app.
CrossOver vs the Game Porting Toolkit
Some of you, who are more familiar with Apple’s game Porting Toolkit translation layer, might be wondering why would they use CrossOver, which is a paid app, when they can simply opt for the free GPTK. Indeed, a major advantage of the Game Porting Toolkit is that anyone can use it for free. However, it also has several notable disadtantages.
Firstly, it lacks a graphical user interface, meaning that the only way to set it up, configure it, and use it is through Terminal commands, which is something that most regular users don’t have experiene with. Also, GPTK uses an older version of the Wine project, which lacks the latest bug fixes, meaning it’s less stable than CrossOver, which is always updated to the latest Wine version. Finally, CrossOver has a much better compatibility with different launchers, making it a lot easier to play games not only through Steam, but also through the EA Launcher, Ubisoft, Battle.net, and more.
Overall, with the recent integration of the GPTK translation layer to CrossOver, we believe that there’s almost no reason to opt for the vanilla Game Porting Toolkit, unless you are adamant about using the free option.
Leave a Reply