About Phasmophobia on Mac
Phasmophobia is playable on Mac only through workaround methods such as playing it on Boosteroid or installing Windows on Mac and then downloading the game in the Windows partition. You can also play Phasmophobia on Mac via a Windows 11 virtual machine.
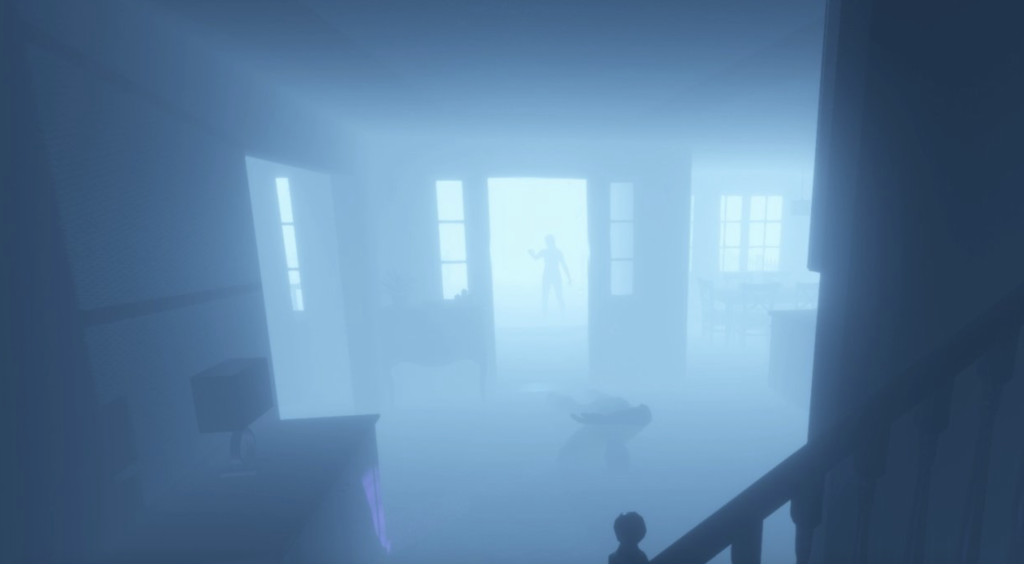
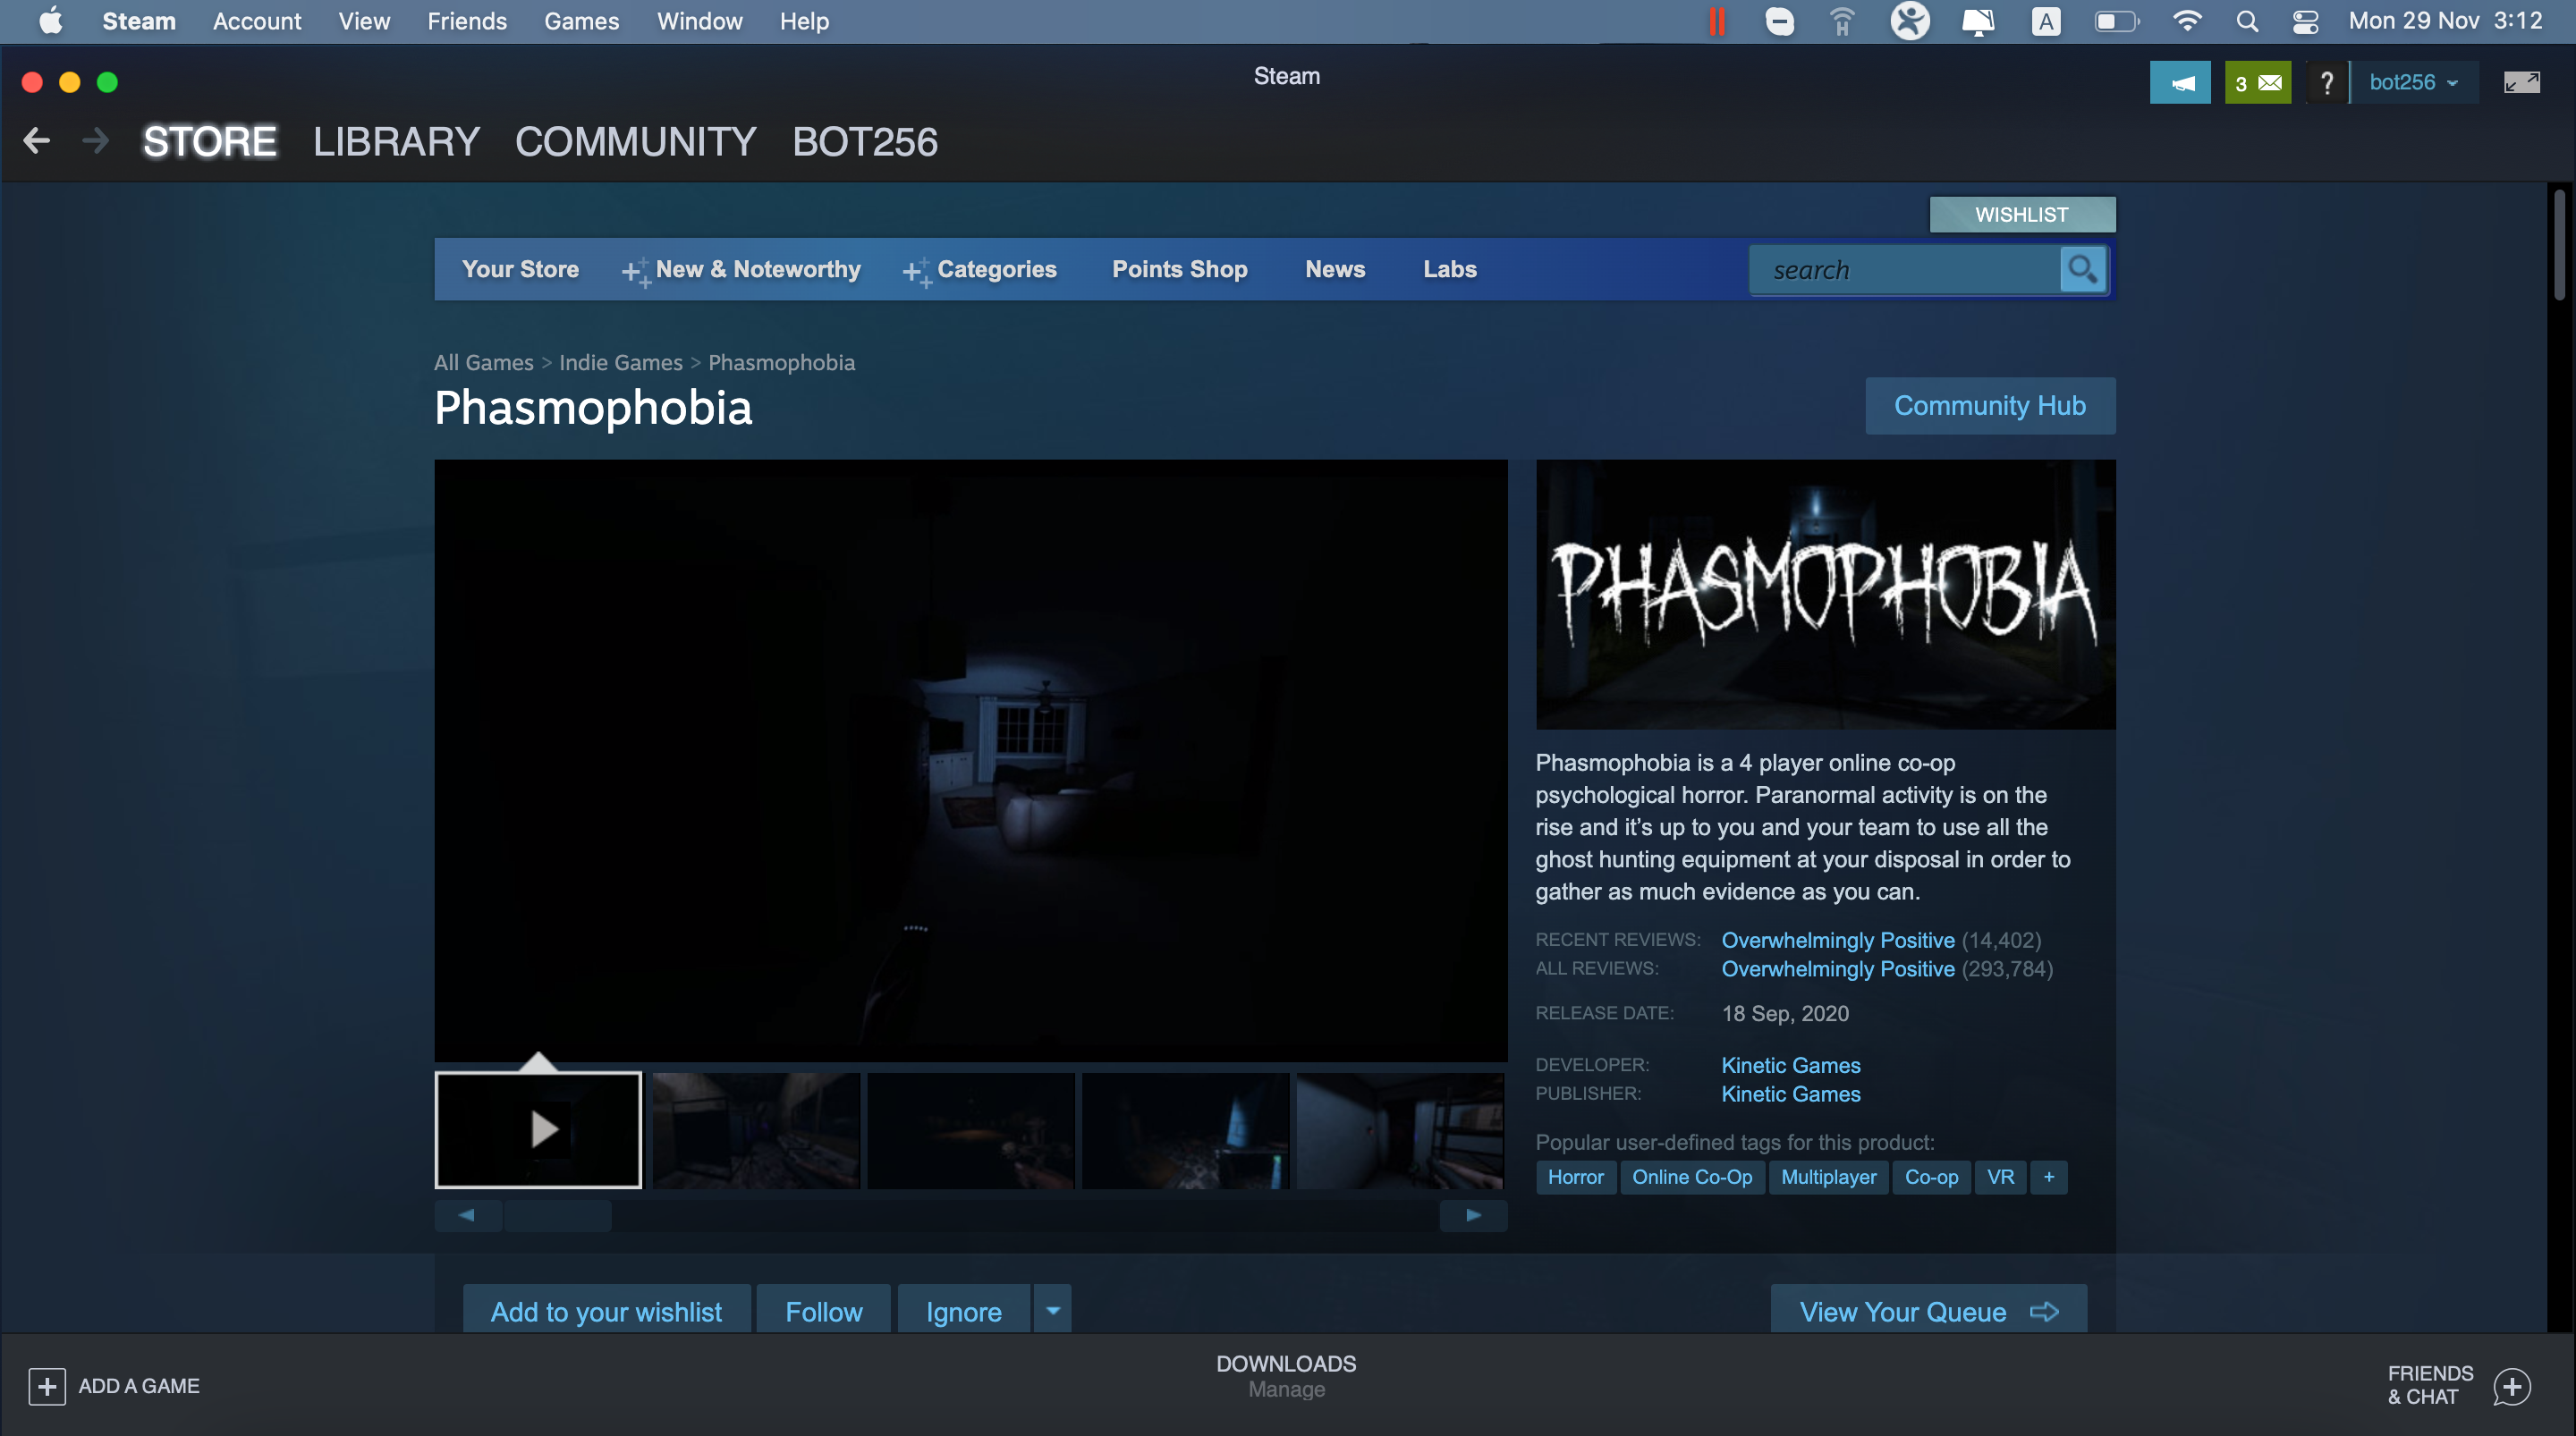
Phasmophobia is an intense first-person single-player and online co-op horror thriller game, praised for its immersive, intense, and original gameplay. The premise of the game is that you play as a part of a four-member team that investigates haunted locations with the help of special ghost-hunting equipment. Highlights of the game are its full voice recognition, which allows players to use their own voices to interact with the in-game ghosts, its minimal user interface, which adds to the immersion of the gameplay, and its cross-platform support, meaning that VR and non-VR players can play together.

Can you play Phasmophobia on mac?
Yes you can you play Phasmophobia on mac, though unfortunately, the game isn’t officially available for Mac, and so Mac users can’t run it on their machines… or can they? Well, as it turns out, there are actually quite a few available methods that you can try in order to run this (and other) Windows-exclusive games on a Mac machine. Granted, those are workaround methods and may not always give you the same quality of gameplay experience as playing the game natively, on a PC, you can still give them a try and see for yourself if they’d work for you. We believe that at least one of the methods we will tell you about in a bit will let you run and enjoy Phasmophobia on your Mac, so if you are interested, explore the following lines to learn more about how you can play Phasmophobia on Mac.
Phasmophobia on Mac M1
Phasmophobia could be played on Mac M1 through the Boosteroid or GeForce Now cloud gaming service. You may also be able to play Phasmophobia on Mac M1 by using virtualization software to create a Windows 11 virtual machine and then install the Windows version of the game.
Since M1 Macs don’t have the Boot Camp Assistant app, you cannot install Windows on your Mac and then download the game in the Windows partition. You could, however, use Parallels or another virtualization program to create a Windows 11 VM (virtual machine) on your Mac. Once you do that, you can download Phasmophobia in the VM and start playing it from there. We will guide you through the entire process of setting up a Parallels VM for gaming. However, you must know that Parallels is a paid program, which is why we recommend that you first test it through its 14-day free trial to see if you can use it to play Phasmophobia on your M1 Mac. While using Parallels to play Windows-exclusive games on Mac is commonly done, it still must be noted that this is a workaround method, and as such may not always provide the best gameplay experience. Certain games perform better when played through Parallels than others, and some may not even run properly, which, again, is a good reason to make use of the free trial period that Parallels offers.
Editors’ Choice: Play Genshin Impact on Mac
An alternative way of playing this Phasmophobia on Mac is through the use of GeForce Now – a cloud gaming service that allows you to remotely run and play the game on a Windows PC gaming rig and have the gameplay streamed to your Mac. Not all Windows games are available on GeForce Now, but Phasmophobia is, and so you can play it through this gaming service. The way to do this will also be shown to you below.
Note that the above-mentioned methods of playing Phasmophobia on an M1 Mac can also be used to play the game on an Intel-based Mac.
Phasmophobia Set Up Methods
| Methods | Advantage | Disadvantage |
| Cloud Gaming | – No set-up required – Register and Play – Access to a Library of over 70 top-rated free Games – Smooth performance – Compatible with M1 and Intel Macs |
– Monthly Fee – Requires Decent Internet Connection – No Free Trial |
| BootCamp | – Free to use any time – Windows 10 Environment |
– Painful Setup – Mediocre Performance – Only Compatible with Intel Macs |
| Parallels Virtual Machine | – Easy Set-up – Adequate Performance – Play almost any PC game – Windows 11 environment – Compatible with M1 and Intel Macs – 14-day free trial |
– Yearly Fee |
Phasmophobia with Cloud Gaming
Phasmophobia is now available to play on cloud gaming servers. This assures NO
compatibility issues while playing on your Mac as well as top-notch performance.
Step 1. Get Phasmophobia
Before playing Phasmophobia make sure you get the game through the official website. For the moment only the Steam platform is compatible with cloud gaming services such as Boosteriod and Geforce.
Step 2. Register and Add Phasmophobia To Boosteroid Cloud Gaming Library
All you need to do now is register for Boosteroid. This allows you to add Phasmophobia to their Cloud Gaming Library. Once uploaded you can seamlessly play the game from your Mac.
When Registered you will have additional access to more than 70 top-rated games for free. Pricing varies depending on the subscription plan.
How to play Phasmophobia on Mac
To play Phasmophobia on Mac, you can run the game through GeForce Now or create a virtual Windows 11 machine on your Mac and play the game on it. If you have an Intel-based Mac, you can also play Phasmophobia using Boot Camp Assistant.
We will now show you each of those three methods to play the game on a Mac (M1 or Intel). As noted above, the Boot Camp Assistant method can only be used on Intel Macs. Also, you may first want to try playing the game through GeForce Now, as this is by far the quickest and easiest of the methods. The Parallels and the Boot Camp Assistant Methods are significantly more time-consuming and require more effort to set up.
Playing Phasmophobia through GeForce Now
- Open Steam’s page of the game, log in to your Steam account (if you don’t have a Steam account, you must create one now), and then click on Add to Cart.

- On the next page, click Purchase for Myself, then select a payment option, enter your payment details, and purchase the game.
- Go to this link, click on Play Now, and select a preferred subscription plan.
- Create a GeForce Now account, verify your email, then return to the link from the previous step, click Play Now again, and enter your GeForce Now account.
- Scroll down to the Quick Links box, select the Download apps button, and download the GeForce Now app for Mac.

- Install the GeForce Now app/client like any other app (by dragging its icon to the icon of the Applications folder).
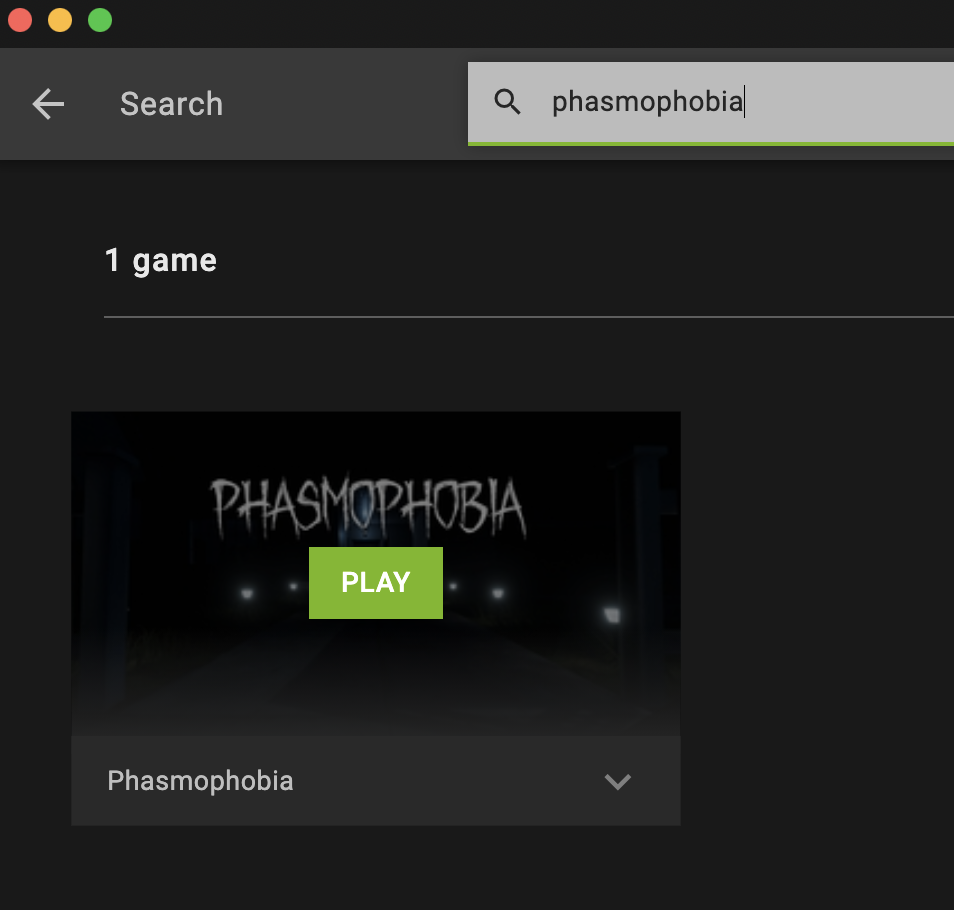
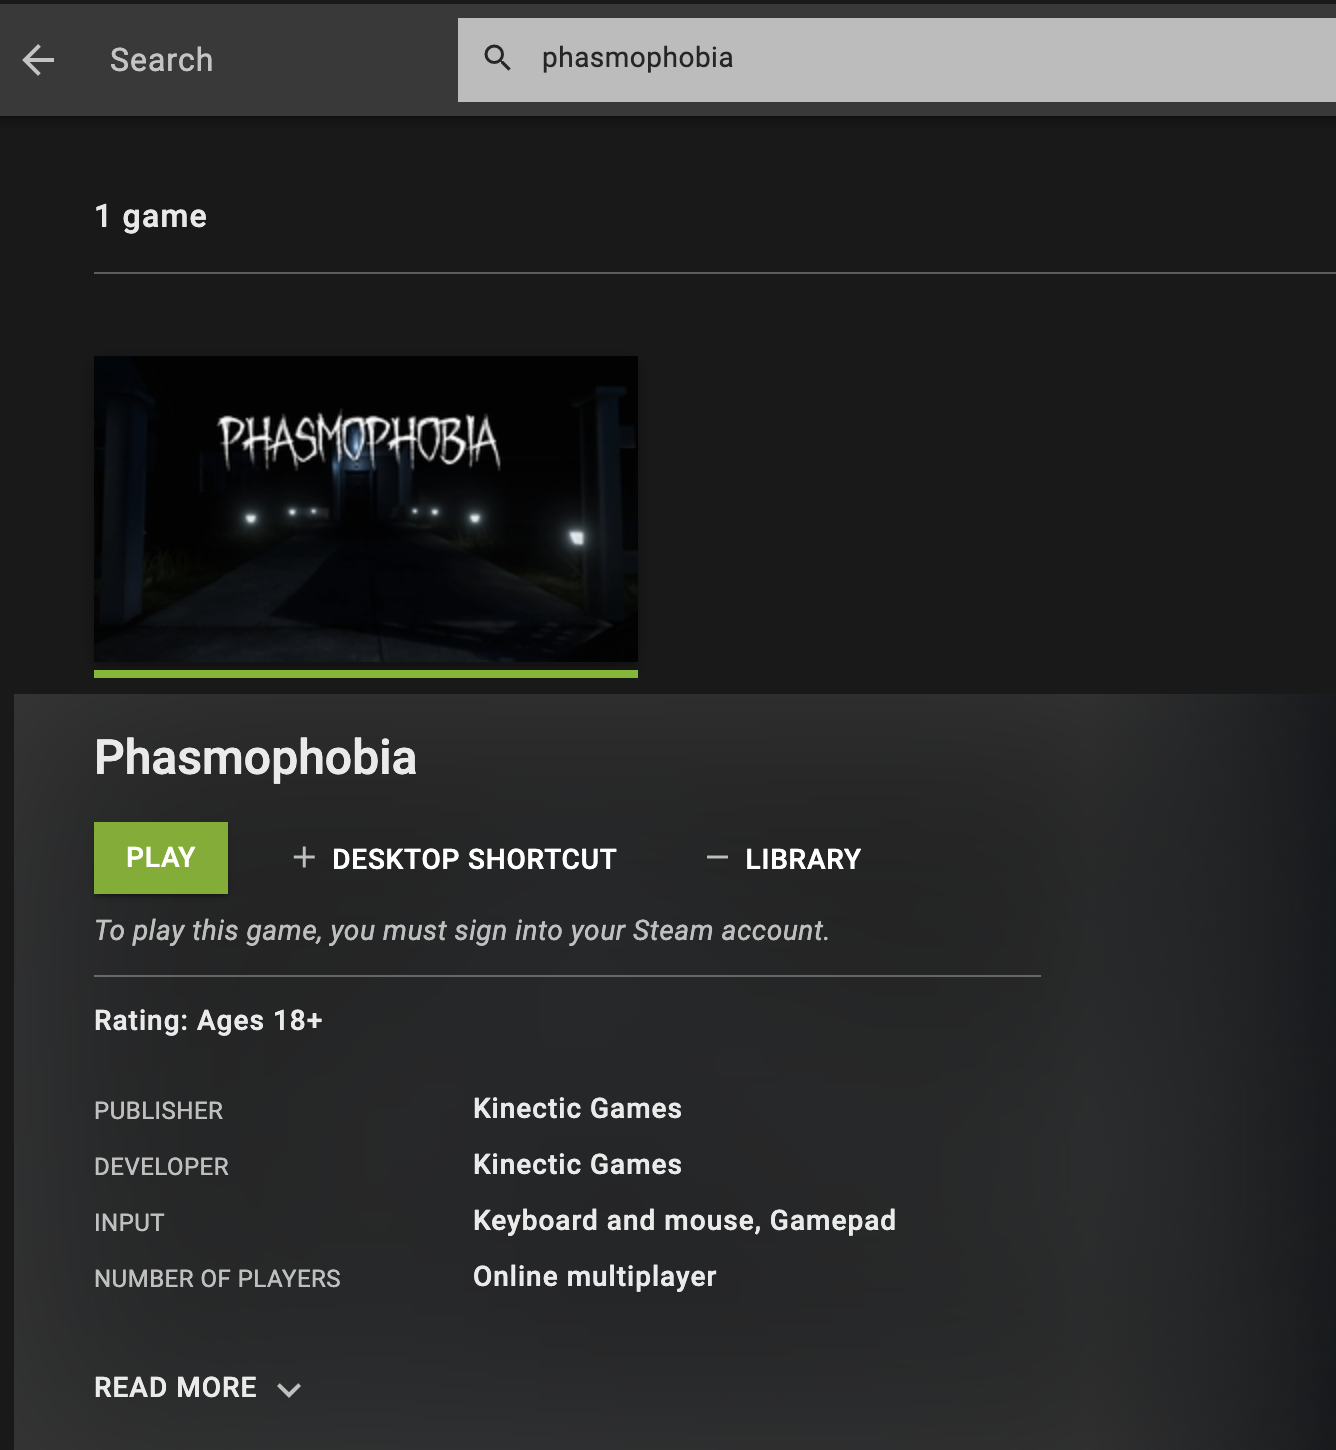
- Open the GeForce Now client, search for Phasmophobia in the search bar, and click on the game’s tile.
- Click on Play, then select Continue, and wait as GeForce Now checks your connection. If it notifies you that your connection may not be good enough to play the game without performance issues, you can still try to play it by selecting Continue.
- After your turn in the queue comes up, the game will begin to load, but you will first be asked to log into your Steam account, so go ahead and do that. After this, the game will start, and you can start playing.
Setting up a Windows 11 Virtual Machine on M1 Macs using Parallels
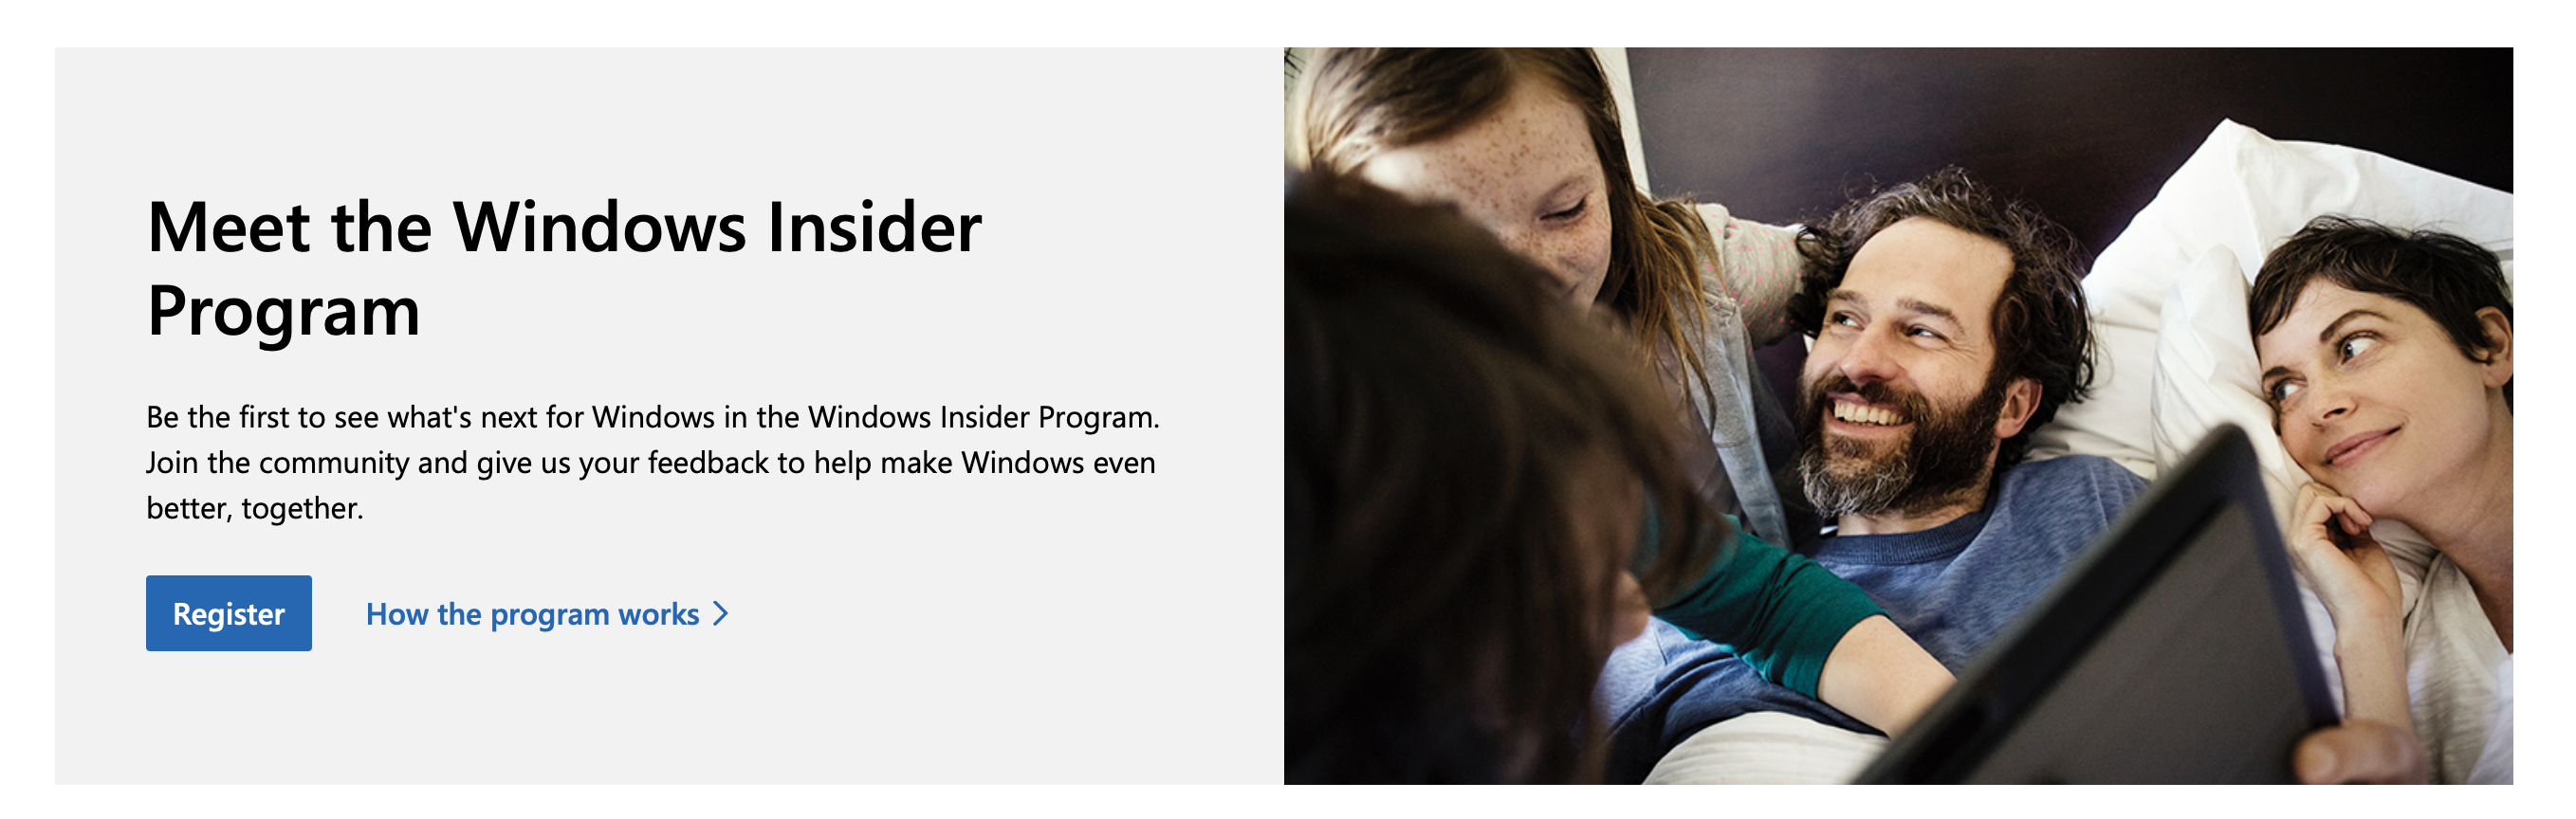
- Visit this web address, click Register (under Meet the Windows Insider Program), and log in with your Microsoft account if you have one. If you don’t have a Microsoft account, you need to create one now.
- Once you are logged in, click on Register and then select Flight Now/Start Flighting.
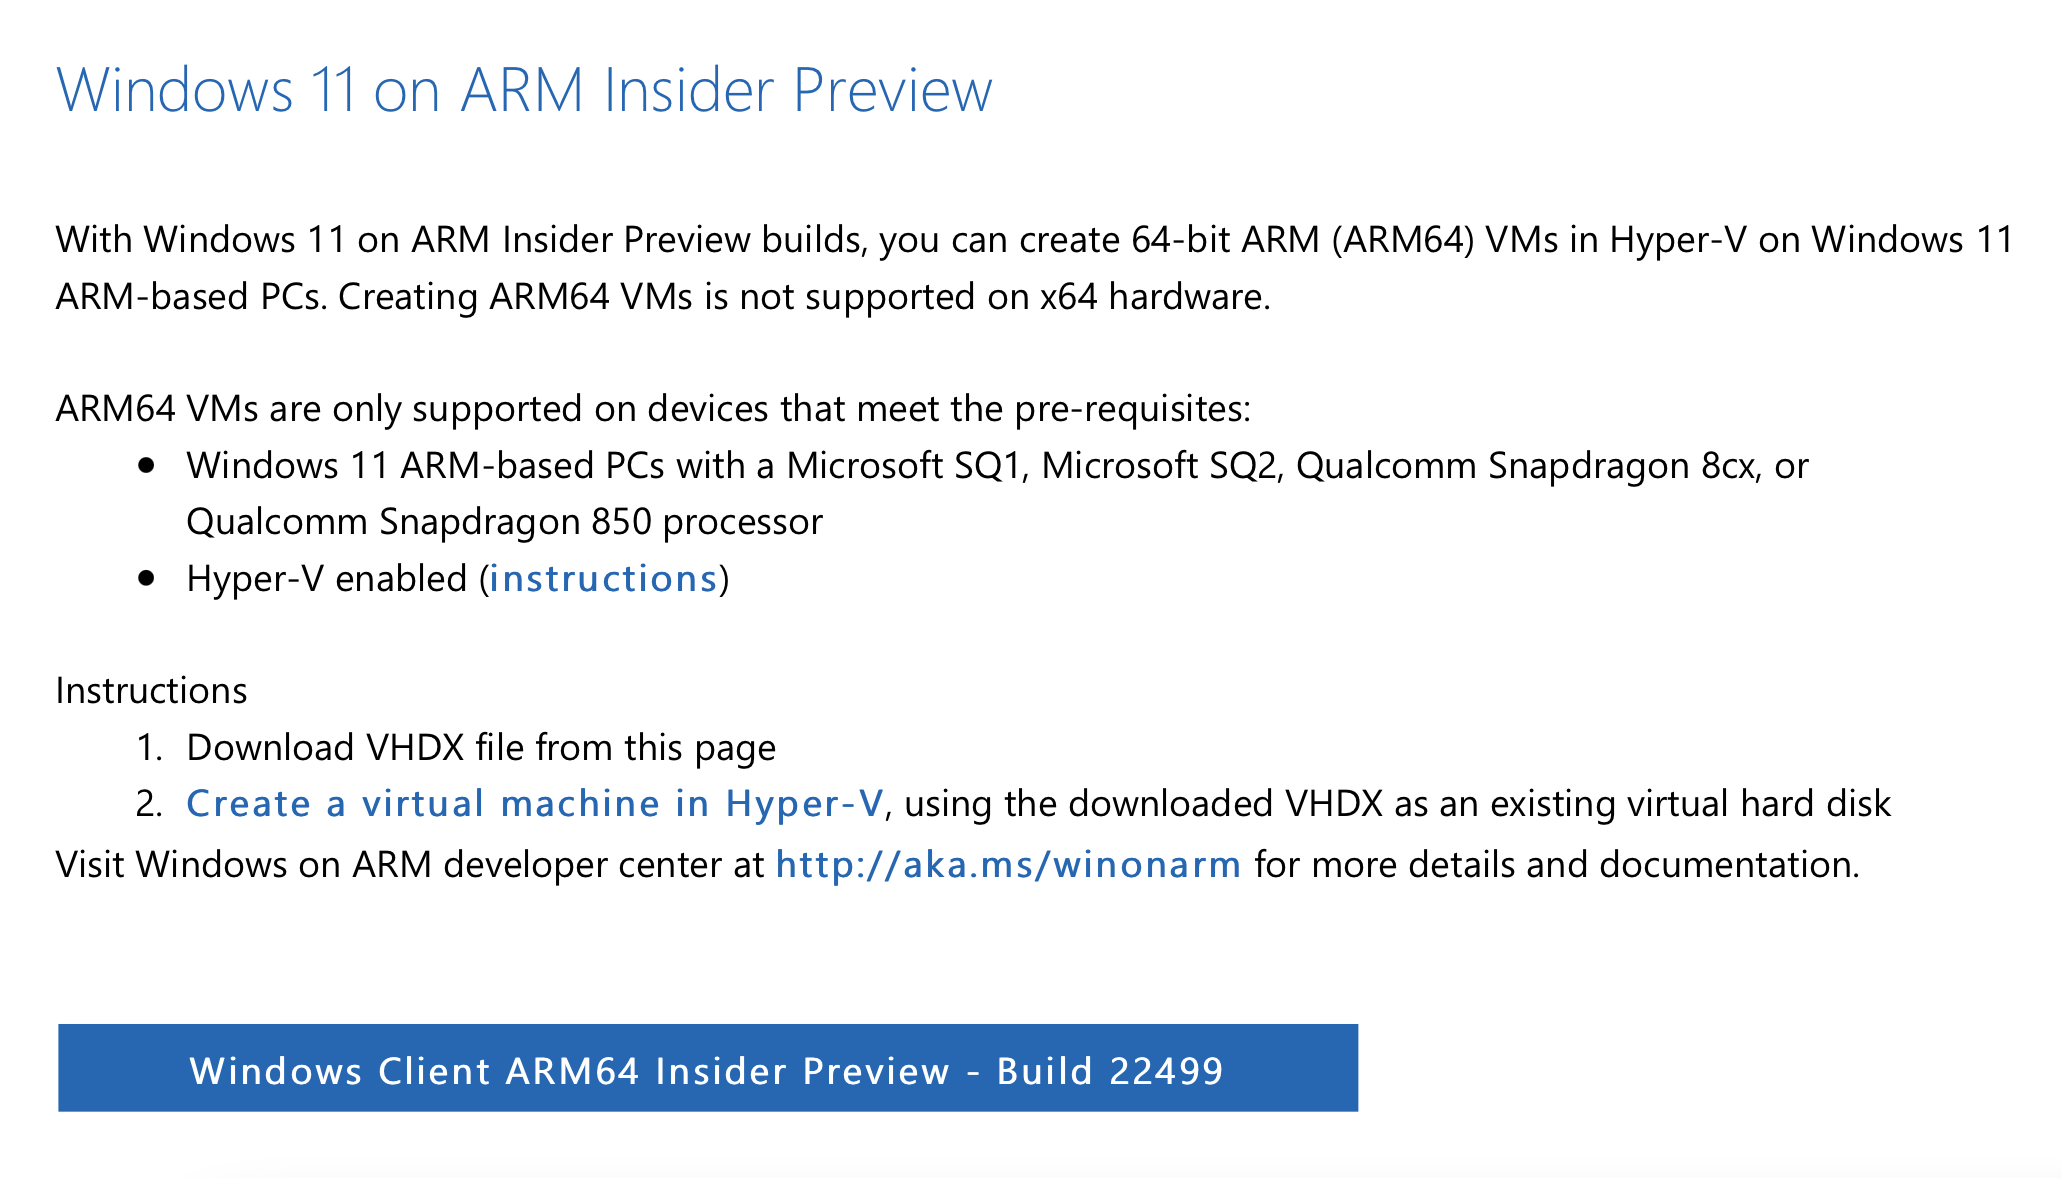
- Now go to this page, log in with your Microsoft account (if you aren’t already logged in), click on Windows Client ARM Insider Preview, and download the Windows 11 installation file – it’s a large file and will require some time to download.
- While the Windows 11 VHDX ARM file is being downloaded, go to this page, click Download Free Trial, on the next page select Download Now, and download the installation file for Parallels.
- Open the Install Parallels Desktop.dmg file and then double-click on Install Parallels Desktop.
- If you get a warning from your Mac that tells you the program you are trying to run is from the Internet and Apple cannot confirm that it’s safe, proceed to open the program – it’s a perfectly safe and legitimate piece of software that doesn’t pose any dangers to your Mac.
- After Parallels finishes preparing for the installation, enter your Admin password, and after waiting for a bit, provide the program with the permissions that it needs in order to create a virtual machine on your Mac.
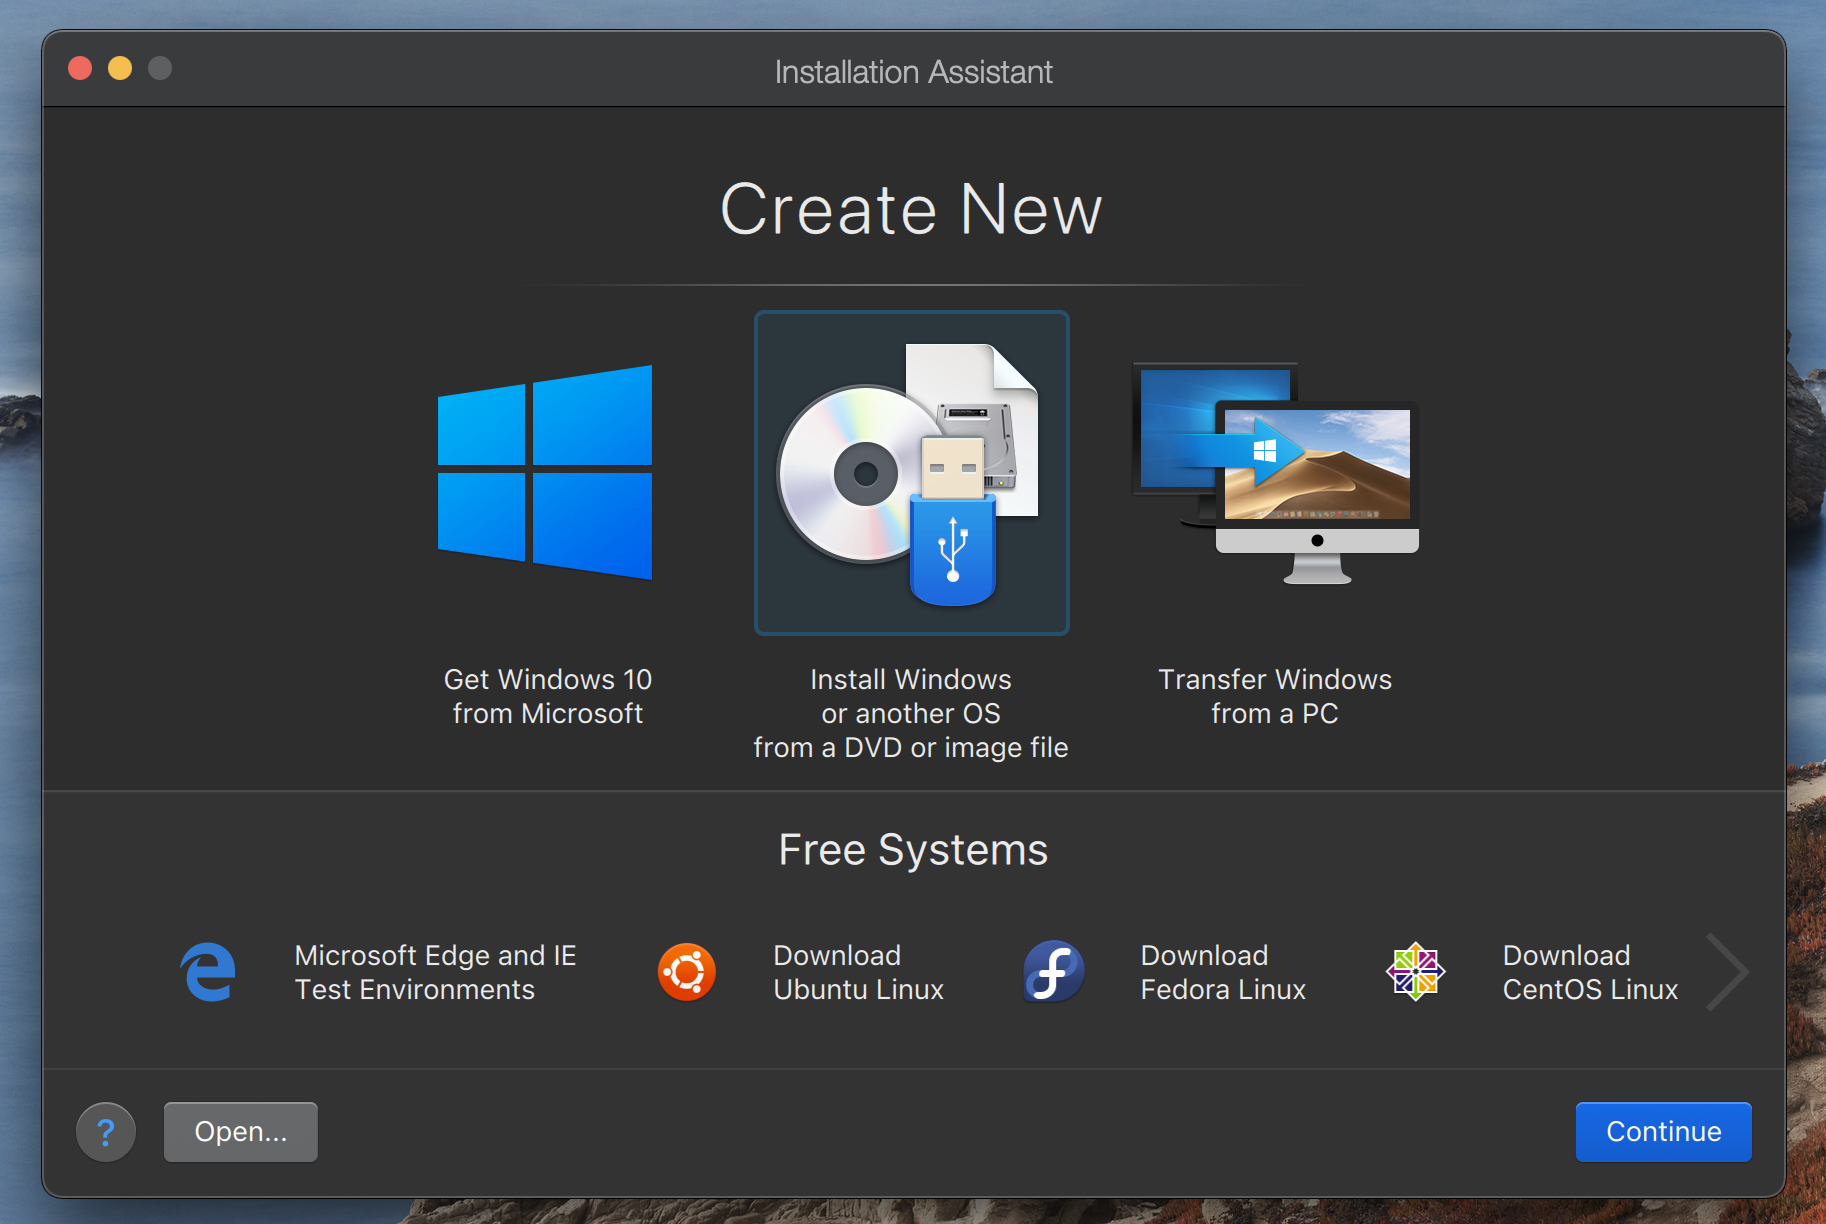
- If on the next screen of Parallels you get the Download and Install Windows 10 option, click on Skip, then select Install Windows or another OS from a DVD or image file, and click Continue.
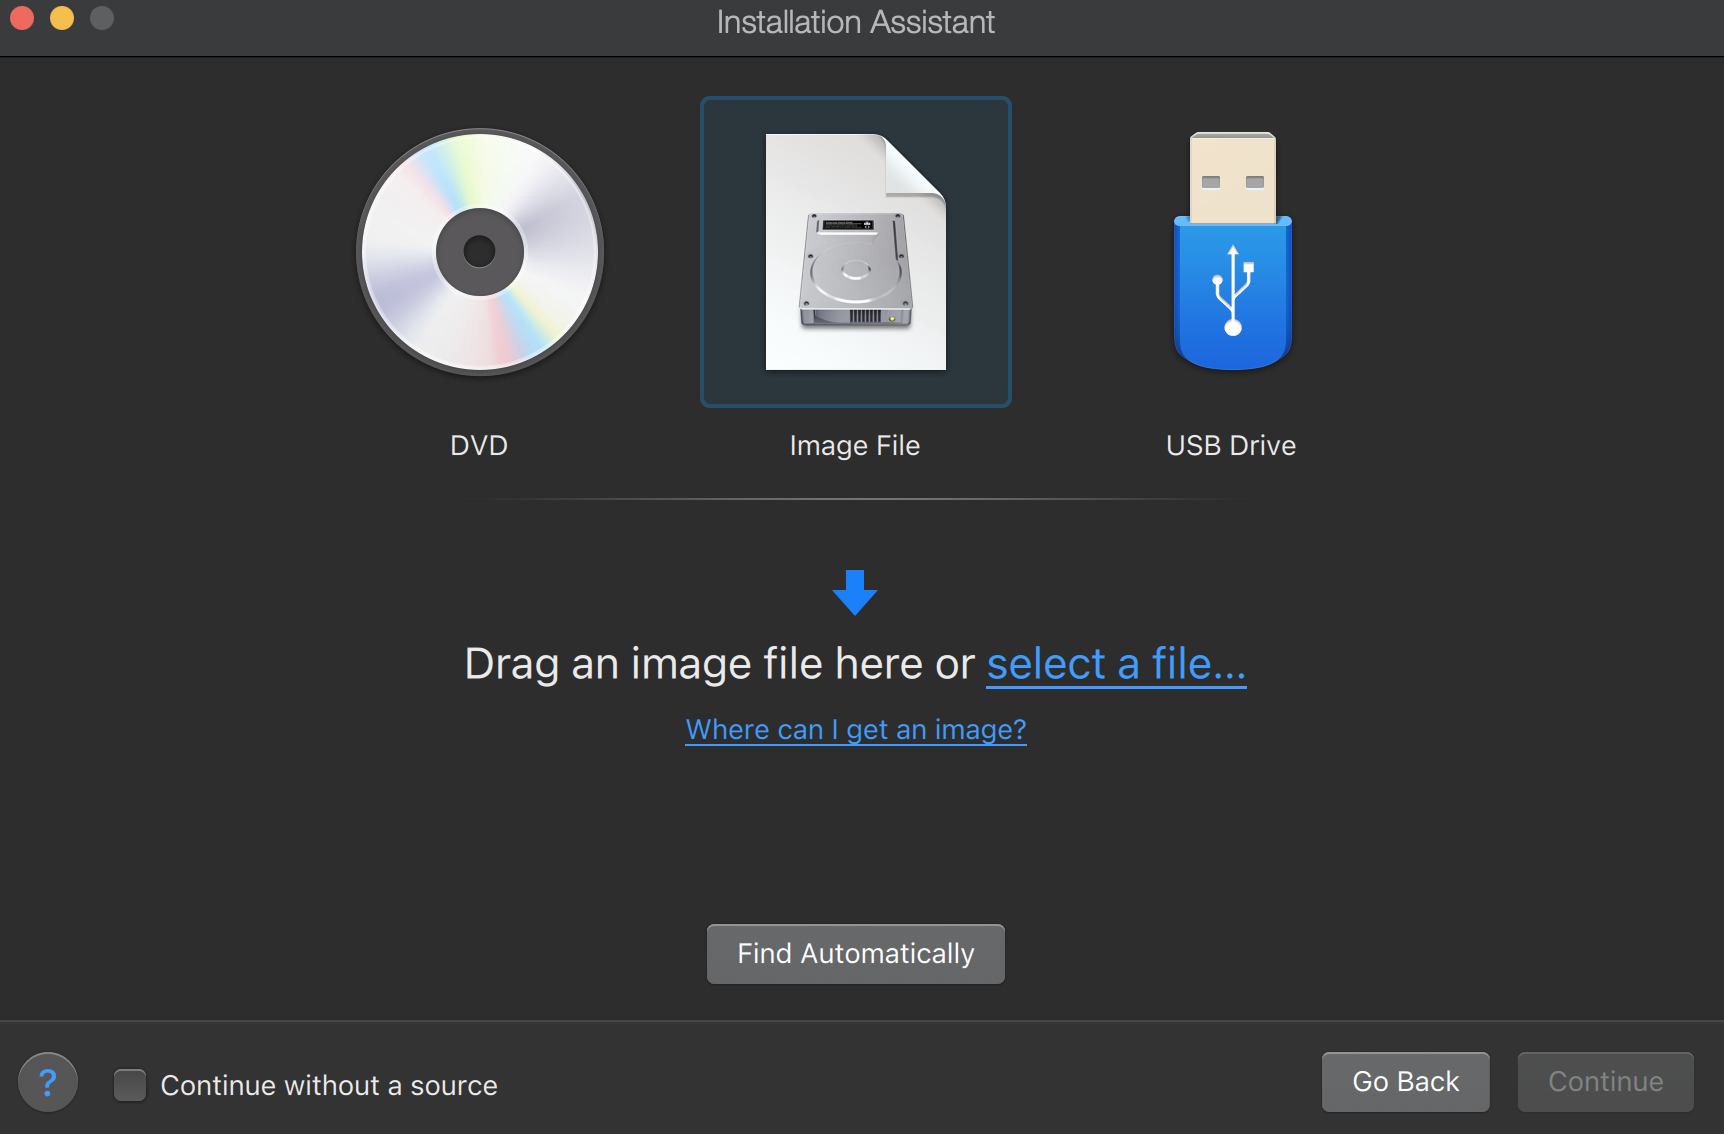
- Wait for the Windows 11 file to download and then click the Find Automatically option in Parallels. If, for some reason, the Parallels fails to find the ARM file, manually go to the directory of that file and drag-and-drop onto the Parallels window.
- Click Continue after that, and then check the Games only option (if you only need the Windows 11 virtual machine for gaming).
- On the next page, check the Customize option and click Continue.
- Next, you must allocate enough RAM and CPU cores to the virtual machine using the customization window. Since the minimum amount of RAM required to run Phasmophobia is 8, you need to give the virtual machine at least 8 GB of RAM. If your Mac model has only 8 GB of RAM (or less), you won’t be able to play the game via this method.
- After you customize the VM settings, close the customization window and the installation should start. During the installation, give any Admin permissions that are required of you.
- After the installation is over and the VM is installed, open the Windows 11 virtual machine, click the Start Menu, open Windows Update, and let whatever updates are available be installed. Once everything’s installed, restart the Windows VM. When it starts again, you should be ready to install Phasmophobia and start playing it.
Installing Windows 10 using Boot Camp Assistant
- Click this link and on the webpage that opens, choose a preferred Windows 10 edition (we recommend the regular one) and language (clicking confirm after each selection).
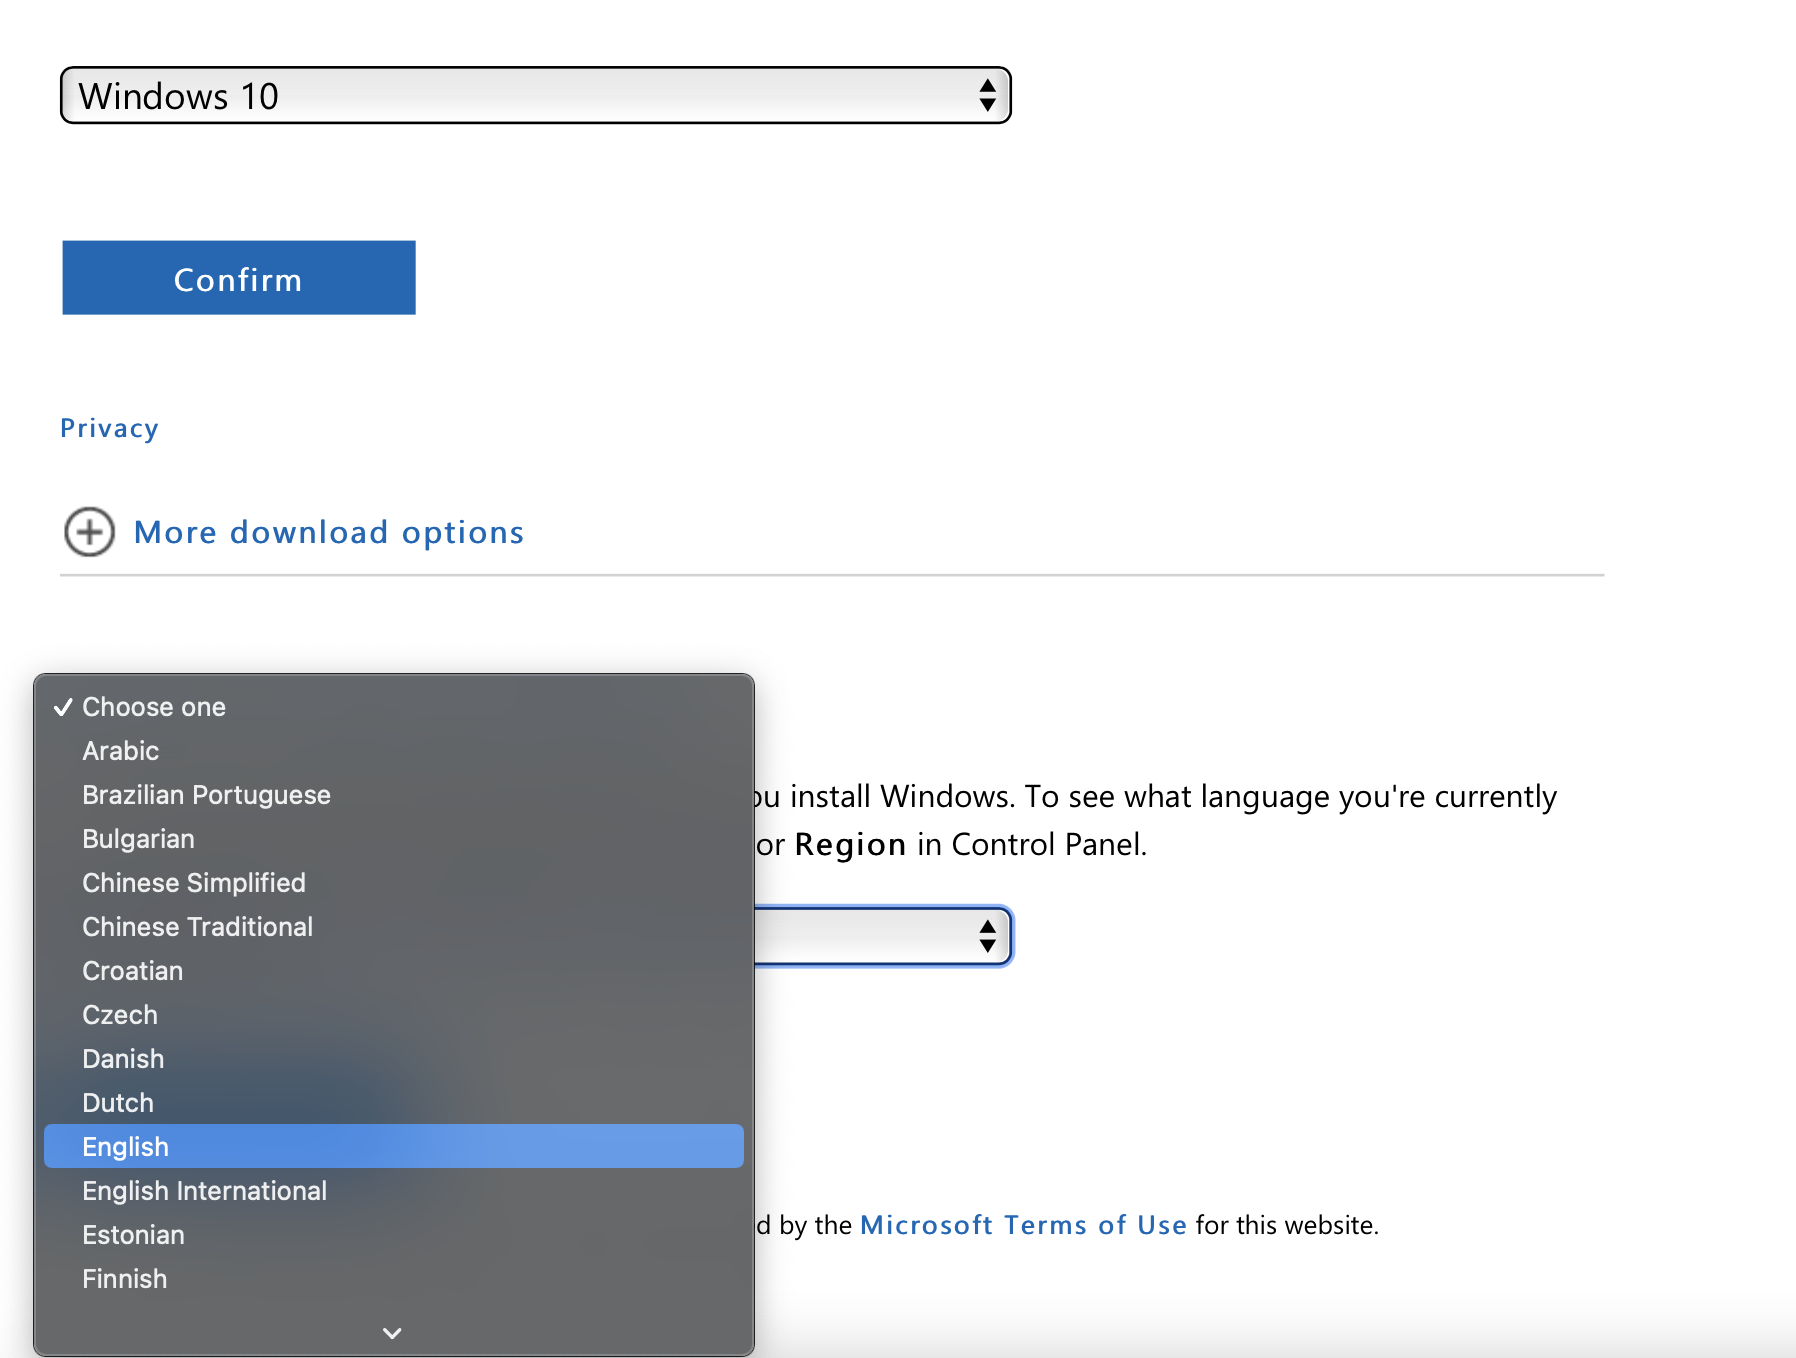
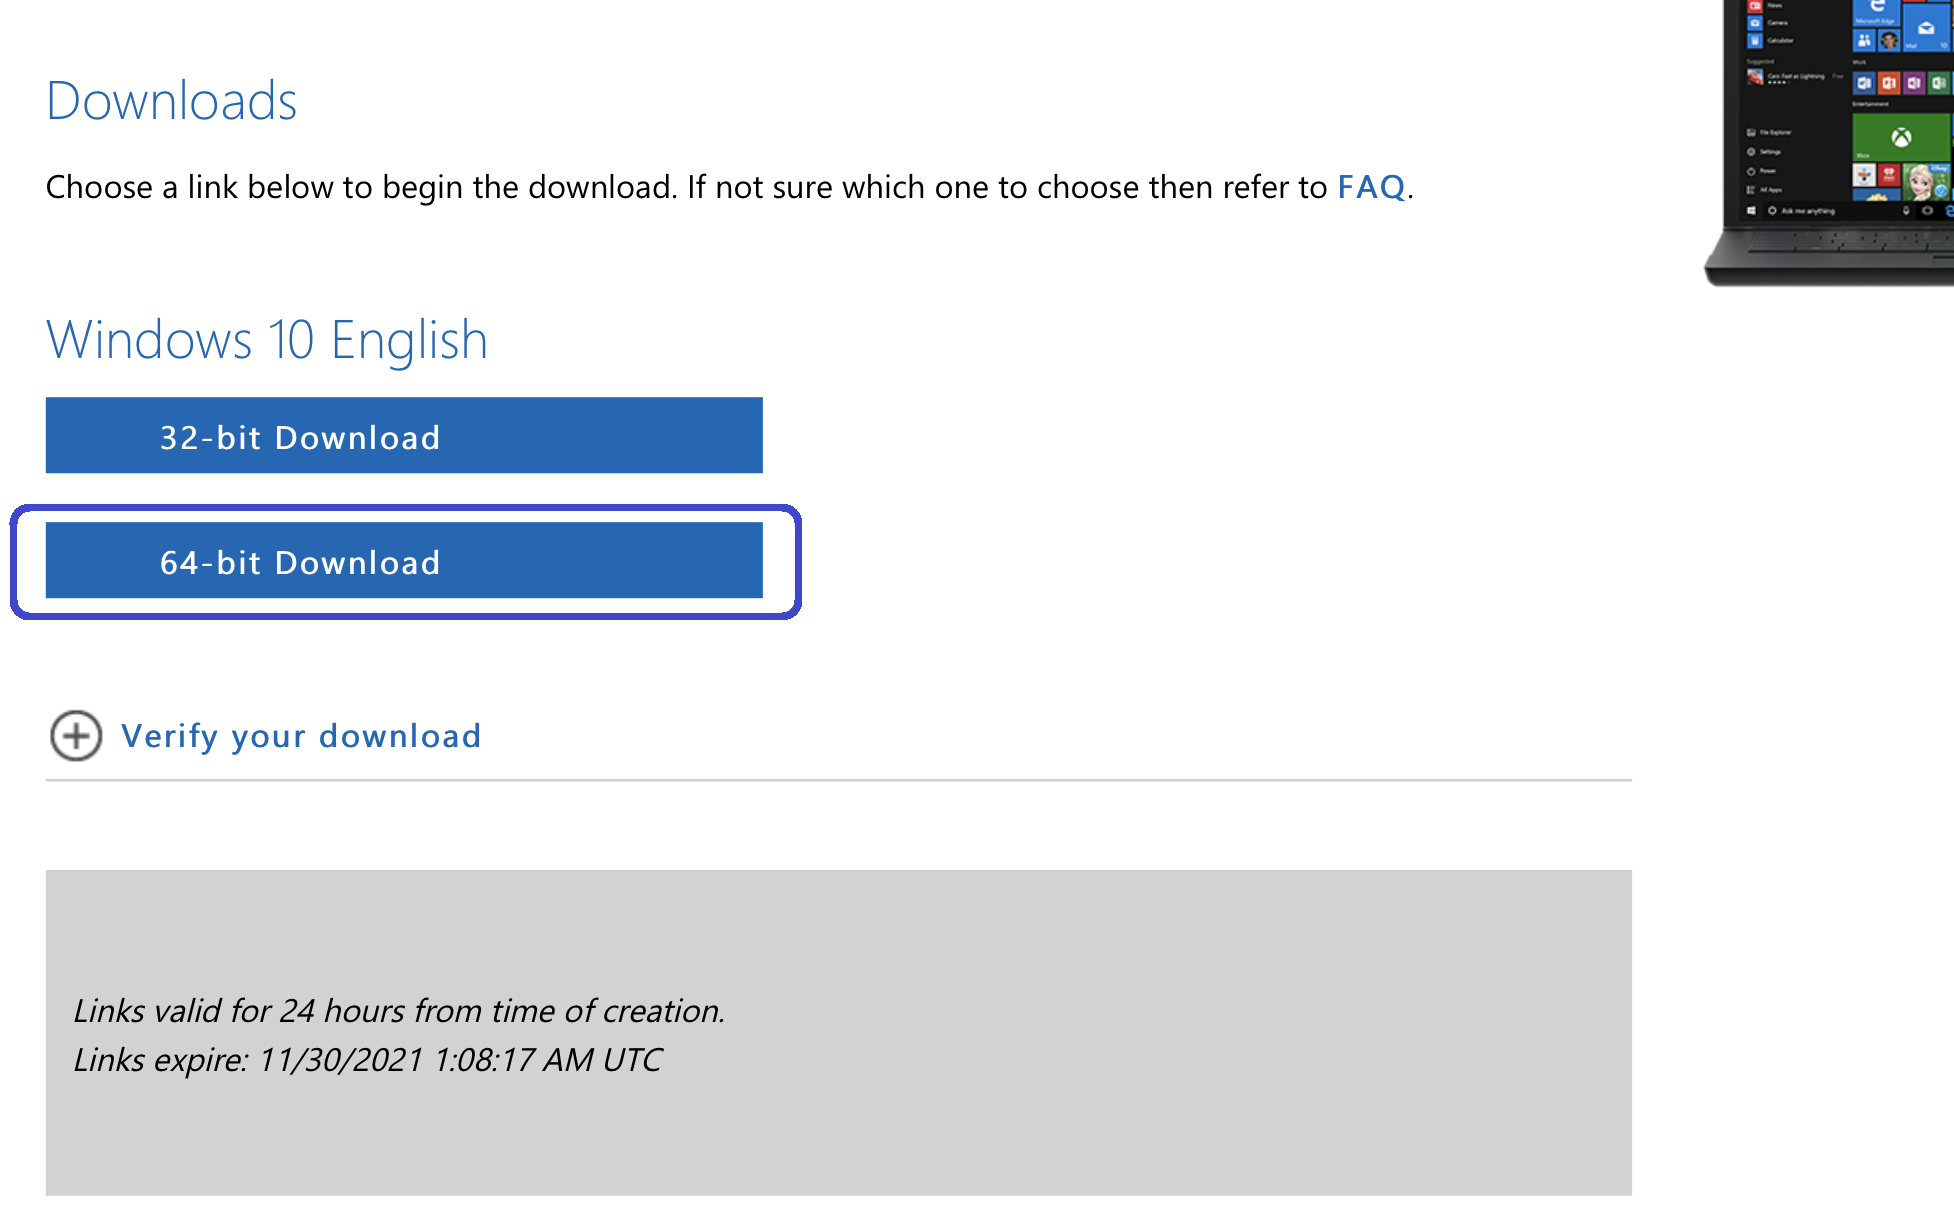
- Next, click the 64-bit Download button and download the ISO file for Windows 10 on your Mac.
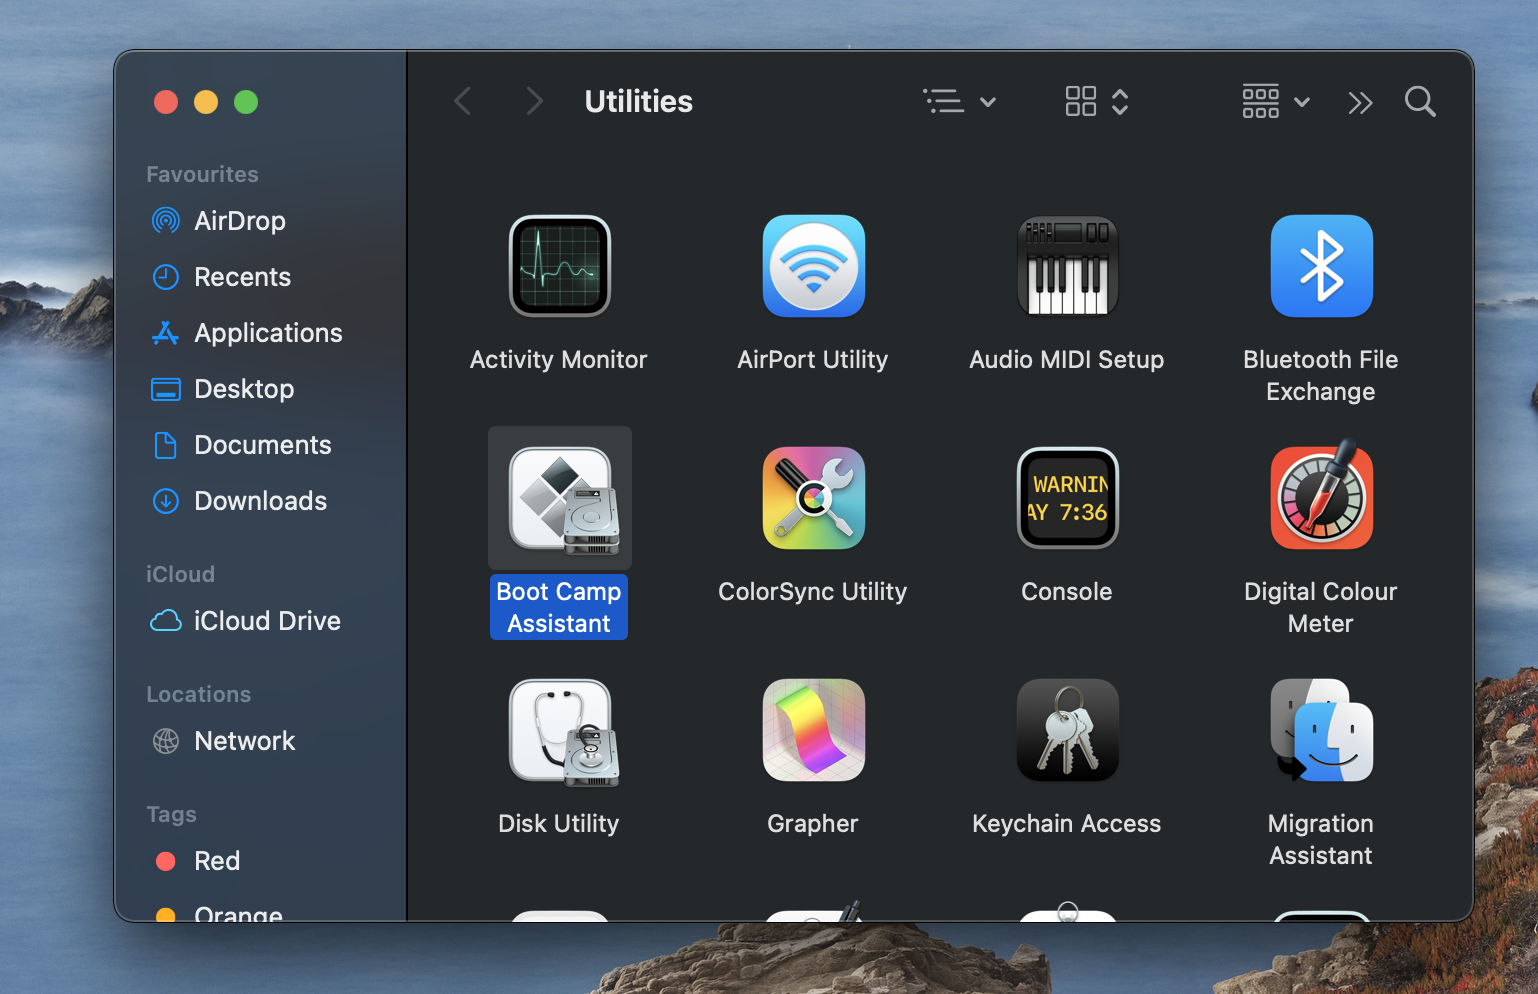
- After the file downloads, open Finder > Utilities and start the Boot Camp Assistant app.
- Click Continue, then select Choose a Windows 10 ISO file, click Choose, navigate to the downloaded file, and open it.

- Drag to the left or right the dot that’s between the macOS and Windows 10 partition to redistribute the storage space of your Mac and to give the Windows partition at least 120 GB of, while leaving no less than 50 GB of free space for the macOS partition (if your Mac currently doesn’t have enough space to afford this, you’ll first need to delete some files to free up space).
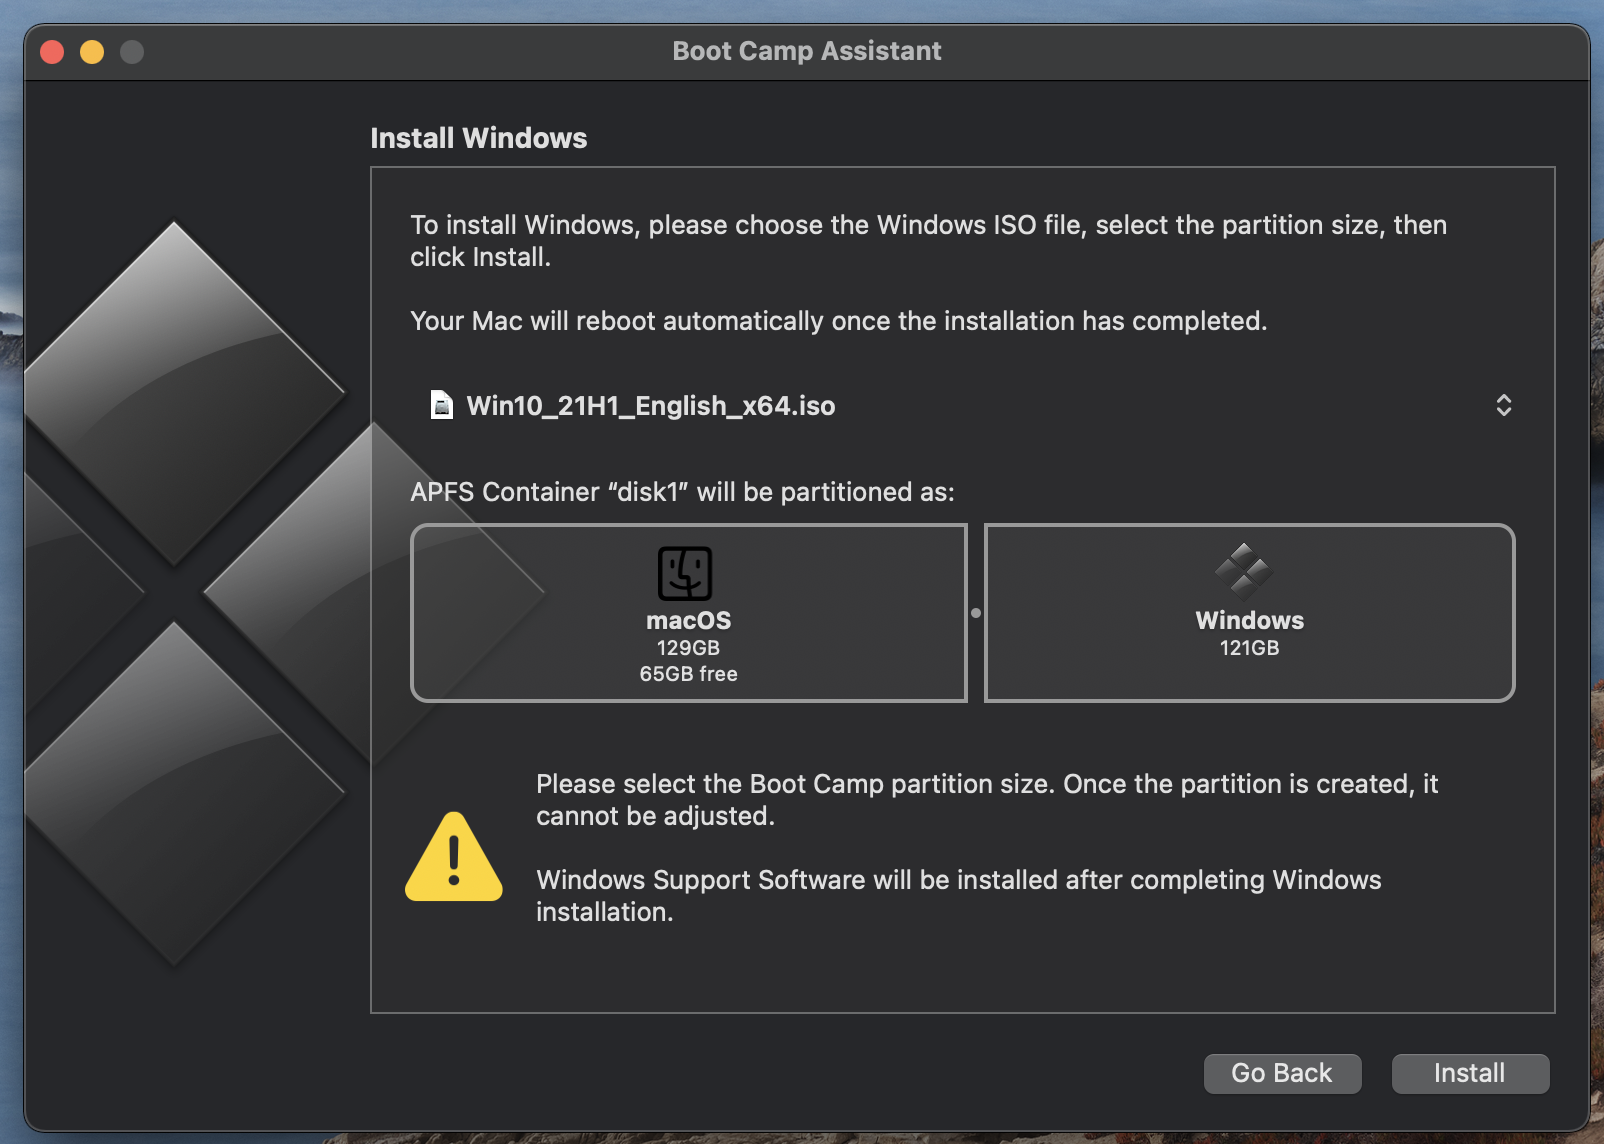
- Click Install, wait for the Boot Camp Assistant to prepare the installation, and enter your password when it’s required. After that, your Mac will restart.
- When the computer restarts, and you get to a Windows logo screen, choose a language you prefer, then choose your location and continue to the next screen.
- Next, enter your product key if you have one, and if you don’t, simply select the Skip or I don’t have a product key option.
- If you need to choose between the Home or Pro edition of Windows 10, opt for the Home Edition unless you specifically need any of the additional features included in Windows 10 Pro.
- After that, select I Agree, then click Next and the installation will start. Once it finishes, your Mac will restart again, booting into the initial settings customization screen for Windows 10.
- IMPORTANT!: Your Mac must not get shut down and its lid must not get closed during the installation. We recommend keeping the MacBook plugged into a power source to prevent its battery from accidentally running out of power.
- Once Windows 10 is installed and your Mac restarts, you will need to either customize the Windows 10 settings or pick the preset default ones – it’s better to take your time and go through the customization steps.
- Next, create a Windows 10 username and password.
- After that, choose if you’d like to set up and activate the Windows 10 virtual assistant, Cortana, or to leave it for a later time.
- Windows will now load and there should be a Boot Camp Assistant window on your screen – click Next in it, then click I Agree, and select Next again. Wait as the Apple drivers for Windows 10 are getting installed, and give your Admin permission whenever it’s required. After the installation is over, restart your Mac.
- (Optional) It’s recommended that you go to the Start Menu of Windows, open Apple Software Update, and install any available updates, after which the Mac must be restarted again.
- (Optional) Finally, we also advise you to go to Windows Start Menu > Updates & Security > Windows Update, and let Windows 10 find and install any available updates. Once the updates are installed, the computer must be restarted once more.
Purchasing Phasmophobia and installing it on your Mac
If you have decided to try either the Parallels method or the Boot Camp Assistant method to play Phasmophobia on your Mac, follow the next instructions to buy the game and install it.
- Boot into the Windows 10 partition of your Mac (if you used the Boot Camp Assistant method) or enter the Windows 11 virtual machine (if you used the Parallels method).
- Go to Steam’s download page, click on Install Steam, and download the Steam client installation file.
- Open the Steam client installation .dmg file and install Steam on your Mac.
- Open the Steam app and enter your Steam account (create an account now if you don’t already have one).
- Search for Phasmophobia in the Steam client, click on the game’s tile, and then select Add to Cart.
- Click Purchase for Myself on the next page, then pick a preferred payment method, provide the required details, and purchase the game.
- Return to the game’s page in the Steam client, and click on Play Game.
- Download and install the game and use the shortcut created on your Desktop to start it (unless you’ve chosen not to create a shortcut, in which case, you’d need to go to the directory where the game is installed and start it from there). You can also start the game from the Steam client.
Leave a Reply