Is MapleStory on Mac?
Even if it lacks support for macOS, this doesn’t mean you can’t still enjoy MapleStory on Mac with the help of some creative workaround solutions. There are, in fact, multiple roundabout ways to play this game on an Apple machine, including cloud gaming, Windows virtualization, and even turning part of your Mac into a Windows PC (sort of). In other words, there is no shortage of options at your disposal if you are eager to join in the fun of this popular MMORPG. Each of the methods to play MapleStory on Mac will be explained in detail here to help you pick the one that’s best for you and implement it with ease by following our instructions.

Maple Story for Mac: Requirements
Since there isn’t a version of Maple Story for Mac, there aren’t any official macOS requirements for the game. However, since two of the suggested workaround methods to play this game on an Apple computer involve actually downloading the Windows version of MapleStory and running it locally, your Mac will still need to meet the game’s system requirements. So then, to figure out if you can run this game on your machine, we need to figure out some sort of approximate Maple Story for Mac requirements. To help you with that, below, we’ve given examples with Mac models that have hardware specs comparable to the official requirements of the game, as they are shown on Steam.
Minimum Requirements:
- OS: Windows 8.1 (64 bit) or later – Both of the workaround methods for running MapleStory that involve getting Windows on your Mac will automatically enable you to meet this requirement.
- Processor: Intel Core 2 Duo 3.0Ghz / AMD Athlon 64 x2 3.0Ghz – both of these are very old CPU models, so any Mac released past 2011 and 2012 should have a processor that outperforms them.
- Memory: 4 GB RAM – Pretty much every Mac released in the past 10 years meets this requirement.
- Graphics: GeForce 9600 GT / ATI Radeon HD 5670 – Most MacBooks have integrated GPU’s, which are generally weaker than a dedicated GPU like the GeForce 9600 GT or the ATI Radeon HD 5670, which means you’ll need a newer model MacBook to meet this requirement. You’ll likely get comparable graphical performance with the Iris Pro Graphics GPUs found in Mac models released in 2015 and later.
- Hard Drive: 20 GB of free space – If you are using the Boot Camp method, you’ll also need an additional 64 gigs of space for the Windows installation + around 40 gigs to leave as buffer free storage, for a total of approximately 120-130 GB. With Parallels, you’ll need around 50 gigs of free storage in total.
Note: If you are using Parallels to play MapleStory, you will also need a twice as powerful CPU and a twice as much RAM (Memory).
Can you play MapleStory on Mac?
Not only can you play MapleStory on Mac, but there are more than one ways to do it. In the next lines, we’ll help you get around the lack of native support by telling you about these workaround options that will allow you to run this game on your Apple machine. The methods we are referring to are GeForce Now cloud gaming, Windows virtualization with Parallels, and directly installing Windows on your Mac to be able to download the game in a Windows environment. You can play MapleStory on Mac with each of these methods, but the one that’s going to be best for you depends on your current setup.
Each of the mentioned methods has its advantages and disadvantages that you should consider when choosing which one to use.
- For example, using the GeForce Now cloud gaming service is the easiest option with the quickest setup, it also works on every Mac, and isn’t affected by the machine’s specs, but it requires a stable Internet and its free version is very limiting, so you may want to get a paid subscription.
- On the other hand, creating a Windows virtual machine with Parallels lets you download MapleStory and works on both Intel and M1/M2 Macs, and it’s also relatively easy to use, but it is a paid software and doesn’t work great on weaker and older machines.
- Finally, you can also install Windows in a separate partition using Boot Camp – this is a free option and should provide decent performance even on weaker machines, but this option is exclusive to Intel Macs, has a lengthy setup process, and requires a lot of free storage space (at least 120 gigs).
How about playing MapleStory on Mac M1?
It’s possible to play MapleStory on Mac M1 through the use of GeForce Now and Parallels, but not Boot Camp as the latter method is unavailable for Apple Silicon computers. If you choose the cloud gaming option, you’ll have an easier time getting everything set up and the game will run smoothly even if you are on a weaker Mac as long as your Internet is good. As mentioned, if you decide to play MapleStory on Mac M1 using Parallels, this will mean that the machine’s hardware will have to be quite powerful, but M1 and M2 Macs do have quite powerful hardware, so this shouldn’t be an issue.
Due to the different architecture of Intel CPUs and M1 chips, using Boot Camp Assistant to install Windows 10 on an M1 Mac is not possible, so this method of playing Windows games such as MapleStory on Mac isn’t available to Mac M1 users. However, with the help of Parallels, you can still get Windows on your Mac by creating a Windows 11 virtual machine, and then you can download and play MapleStory within that VM. And, of course, GeForce Now is by far the most versatile method. Not only does it work on both types of Macs, but also it isn’t restricted by the machine’s hardware specs, meaning that even weaker Macs should be able to run the game with good performance.
How to download MapleStory on Mac
You’ll be able to download MapleStory on Mac and play it that way once you’ve created a Windows virtual machine with Parallels or have installed Windows in a separate partition with Boot Camp. After that, it’s actually quite straightforward to download MapleStory on Mac and to start playing it – you just install the Steam client in the VM or the Windows partition, open it, log in to your account, find the game, and click install. Since this is a free game, you won’t need to purchase anything in order to install it on your Mac. Once the game is ready, simply click Play in the Steam client to start it.
Again, remember that it isn’t necessary to download MapleStory on your Mac in order to play it. As we already mentioned, the game can also be played through GeForce Now Cloud Gaming platform, which allows you to run it on a remote gaming rig and then have the gameplay streamed to your Mac, from where you control the game. It’s a nice alternative to playing MapleStory locally that has a very quick and easy setup process and takes almost no space on your computer.
How to play MapleStory on Mac
Now that we’ve talked about the different workarounds, it is now time to show you how to play MapleStory on Mac using each of the methods. We’ll start with the cloud gaming one as it’s the easiest and most convenient option, and then we’ll move on to Parallels and Boot Camp. Note that each of the three methods of how to play MapleStory on Mac can be tried for free before committing to them, so it recommended that you try each one and only then decide which works best for you. GeForce has a free subscription plan, Parallels has a free 14-day trial, and Boot Camp is a free app that comes pre-installed on Intel Macs.
How to play MapleStory with GeForce Now
- To use GeForce Now and play MapleStory with its help, first visit the platform’s site, click Join Now, choose a plan, and then sign up to the service. If you’ve clicked on a paid plan, you’ll also need to provide your payment details.
- Next, go to the Downloads section of the site, download the Mac version of the GeForce Now client, and install it on your Mac.
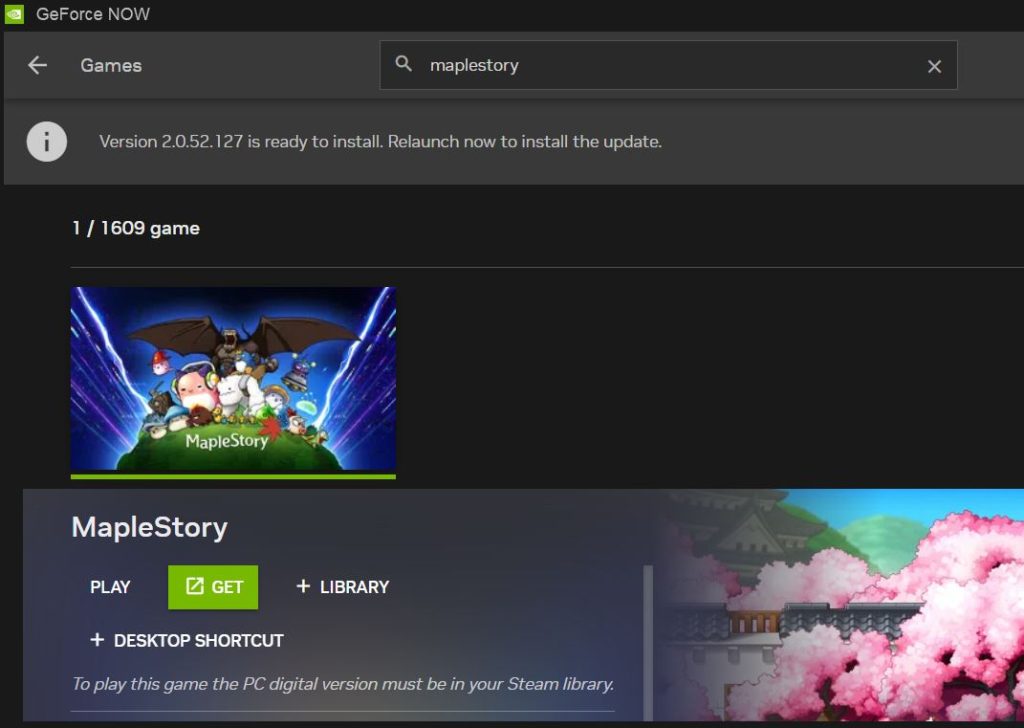
- Start the client, log in to your account, then type MapleStory in the search bar, and click on its image.
- Then click Play, agree to connect your GeForce Now account to your Steam account and continue.
- The service will likely test your Internet connection. Know that even if it determines that your Internet isn’t good enough, you can still continue to MapleStory, but you’ll likely experience lag and stuttering during gameplay if the connection doesn’t improve.
- After the Internet test, start the game and enter your Steam details when prompted to in order to start playing.
How to play MapleStory with Parallels
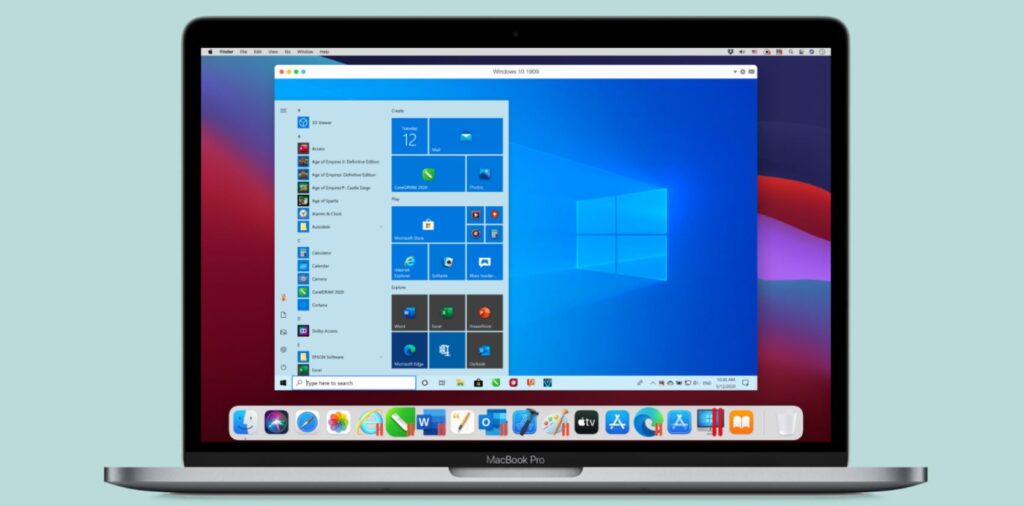
- Go to the site of the Parallels tool, download the app from there, and install it.
- Install Parallels on your computer by running the .dmg file and following the directions on the screen.
- Once Parallels has been installed, open it and select the “Install Windows” option to begin the process of creating a Windows VM.
- Create a Parallels profile or sign in to the virtual machine using one of the other available sign-up options.
- Once you enter the VM, download the Steam or the Epic Games client and use it to install MapleStory on the virtual machine.
If you need more in-depth steps for Parallels with screenshots, check out our full Parallels guide:
How to play MapleStory with Boot Camp Assistant.
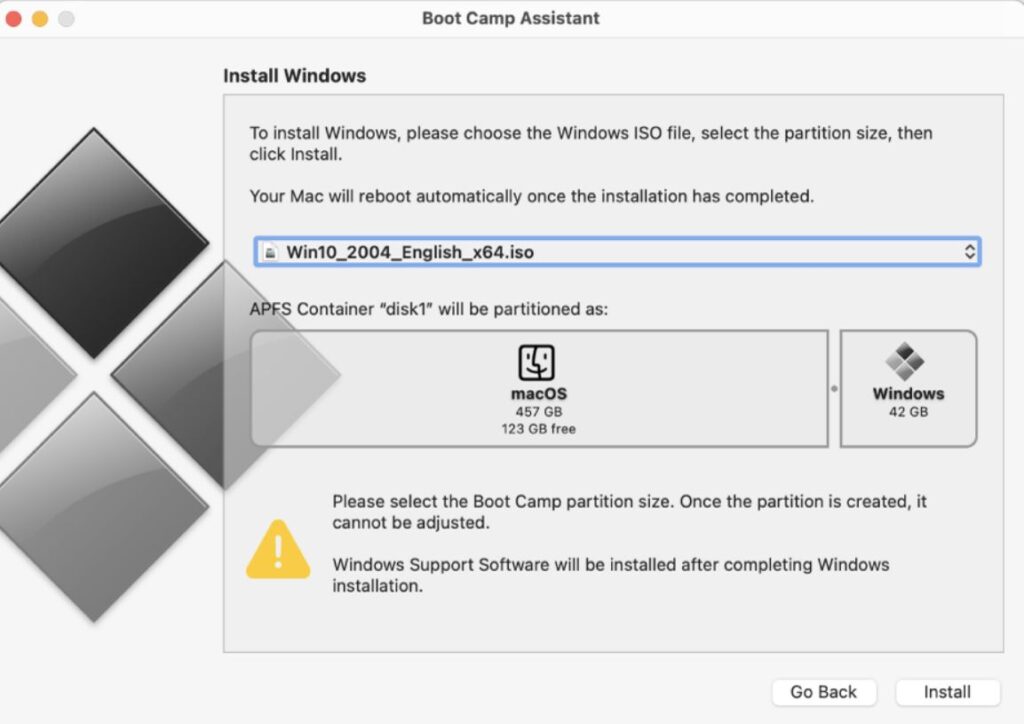
- You will first need to go to Microsoft’s site and download from there a Windows 10 ISO file.
- Once the file downloads, go to Utilities, start the Boot Camp Assistant app, and load the file in it.
- Ensure that the Windows partition has enough space for the Windows 10 OS and for MapleStory and also that there’s some space (at least 40 GB) left for the macOS partition and click Install.
- Your Mac will restart – once it does, follow the prompts, provide your Product key or skip that step for now if you don’t have a key, and then launch the installation.
- Once Windows installs, customize its settings and then use the Boot Camp Assistant window on your screen to install the needed Apple drivers for Windows.
- Finally, go to Steam, download the Steam client, install it, and use it to get MapleStory installed on the Windows partition of your Mac.
If you want more detailed instructions, you can check out our extended Boot Camp guide:
Leave a Reply