Table of Contents
About Praey for the Gods on Mac
Praey for the Gods isn’t available on Mac, so the only way to play it on a Mac would be through the different workaround methods. Possible variants to run Praey for the Gods on Mac are to use GeForce Now or to install Windows.
Praey for the Gods is a newly-released (14 December 2021) action-adventure, exploration, and survival game played from a third-person perspective. The game is developed by No Matter Studios and has been in early access since 2019.
At the start of the game, the player’s character starts on a frozen and desolate island equipped only with the clothes on her back and nothing else. The initial goal is to scavenge the nearby areas, find resources and food, and survive the harsh environmental conditions. Later into the game, once the player has crafted some weapons and has started to get a hang of the core mechanics of the game, the main aim shifts towards slaying titanic creatures referred to as Gods, who are in some way tied to the current frozen state of the world in which the game is set.

While hunting down and slaying the game’s bosses – the Gods – the player must also pay attention to the exhaustion system. Over time, the player character would become more fatigued, chilled, and hungry, and the player must ensure to keep such negative stats in check by finding food, shelter, or making fires in order to survive. The bosses themselves are all colossal and to defeat them, the player must climb their gigantic bodies and strike chimes attached to them. Each boss is different and, to defeat them, the player must first spend some time studying their secrets and specific traits.
Praey for the Gods certainly employs a lot of familiar mechanics and tropes of the survival adventure genre – a lot of players have likened it to the Shadow of the Colossus game series (some even think the two games are related). That said, Praey for the Gods is a well-made game that provides an engaging and challenging single-player experience, where each victory (and defeat) feels earned.

Can you play Praey for the Gods on Mac?
Yes, You can play Praey for the Gods on Mac through the GeForce Now cloud gaming service. Alternatively, you can play Praey for the Gods on Mac by getting Windows on your Mac using Parallels or Boot Camp Assistant and run the game in Windows.
To no one’s surprise, Praey for the Gods lacks a macOS version, and it is unclear if it would ever get one (don’t hold your breath). However, this doesn’t necessarily mean that it’s not possible to still play this game on a Mac. There are actually at least three potential methods that may allow you to run this game on your Mac, so if you really want to give Praey for the Gods a go without purchasing a PC or an Xbox specifically for this game, the methods and instructions shown below should allow you to do that, granted, you’ll first need to jump through a couple of hoops before everything is set up and your Mac is ready for gaming.

Before we get any further, you must first make sure that your Mac is up to the task of actually running this game in terms of raw hardware power. If your Mac doesn’t meet the system requirements for Praey for the Gods, then two out of the three methods we will show you below won’t be an option for you. The good news is that, even if you are using an older and less powerful Mac, the GeForce Now method should still let you play the game provided that your Mac meets the (significantly lower) system requirements for the GeForce Now app and that you have speedy Internet (more on that in a bit). However, for the other two methods (especially the Parallels one), you really need a Mac that has the required (or better yet, recommended) amounts of RAM, CPU speed, and the number of CPU cores for the game (check the list of requirements right below).

Praey for the Gods on Mac M1
Praey for the Gods can be played on Mac M1 using GeForce Now. If you don’t want to use cloud gaming, you can alternatively create a Windows virtual machine (VM) using Parallels and play Praey for the Gods on your Mac M1 through the VM.
Editors’ Choice: Play Genshin Impact on Mac
The new M1 Mac models are considerably powerful, which actually makes them surprisingly good for (casual) gaming, even though Macs, in general, are not designed to be gaming machines. This is what makes the Parallels method a viable way of playing Windows games on M1 Macs. Parallels is a program that enables you to run Windows 11 on your M1 Mac without actually installing Windows in a separate partition. Think of it as a sandbox app that simulates the Windows 11 experience (Windows 11 virtual machine), all the while the app itself is running in your macOS.
The reason this is important is that your Mac would need to have enough CPU cores and RAM to simultaneously run macOS and Windows, together with whatever Windows game you want to play through the virtual machine. For this reason, if you want to play any Windows game through Parallels on your Mac, note that your Mac needs to meet not only the minimum requirements for the said game but also the recommended ones. That said, there are indeed some very powerful M1 Mac models, so if you have one of them, you can try the Parallels method right now and see how well it works for you. Note that this is paid software, but its 14-day free trial should give you more than enough time to figure out if you are satisfied with the Parallels experience and the gaming performance you can get using its Windows 11 virtual machine.
Follow the instructions below to create a Parallels VM for gaming on your M1 Mac:
Instructions Overview for M1
- Create Microsoft Account
- Download Parallels
- Install Praey For The Gods
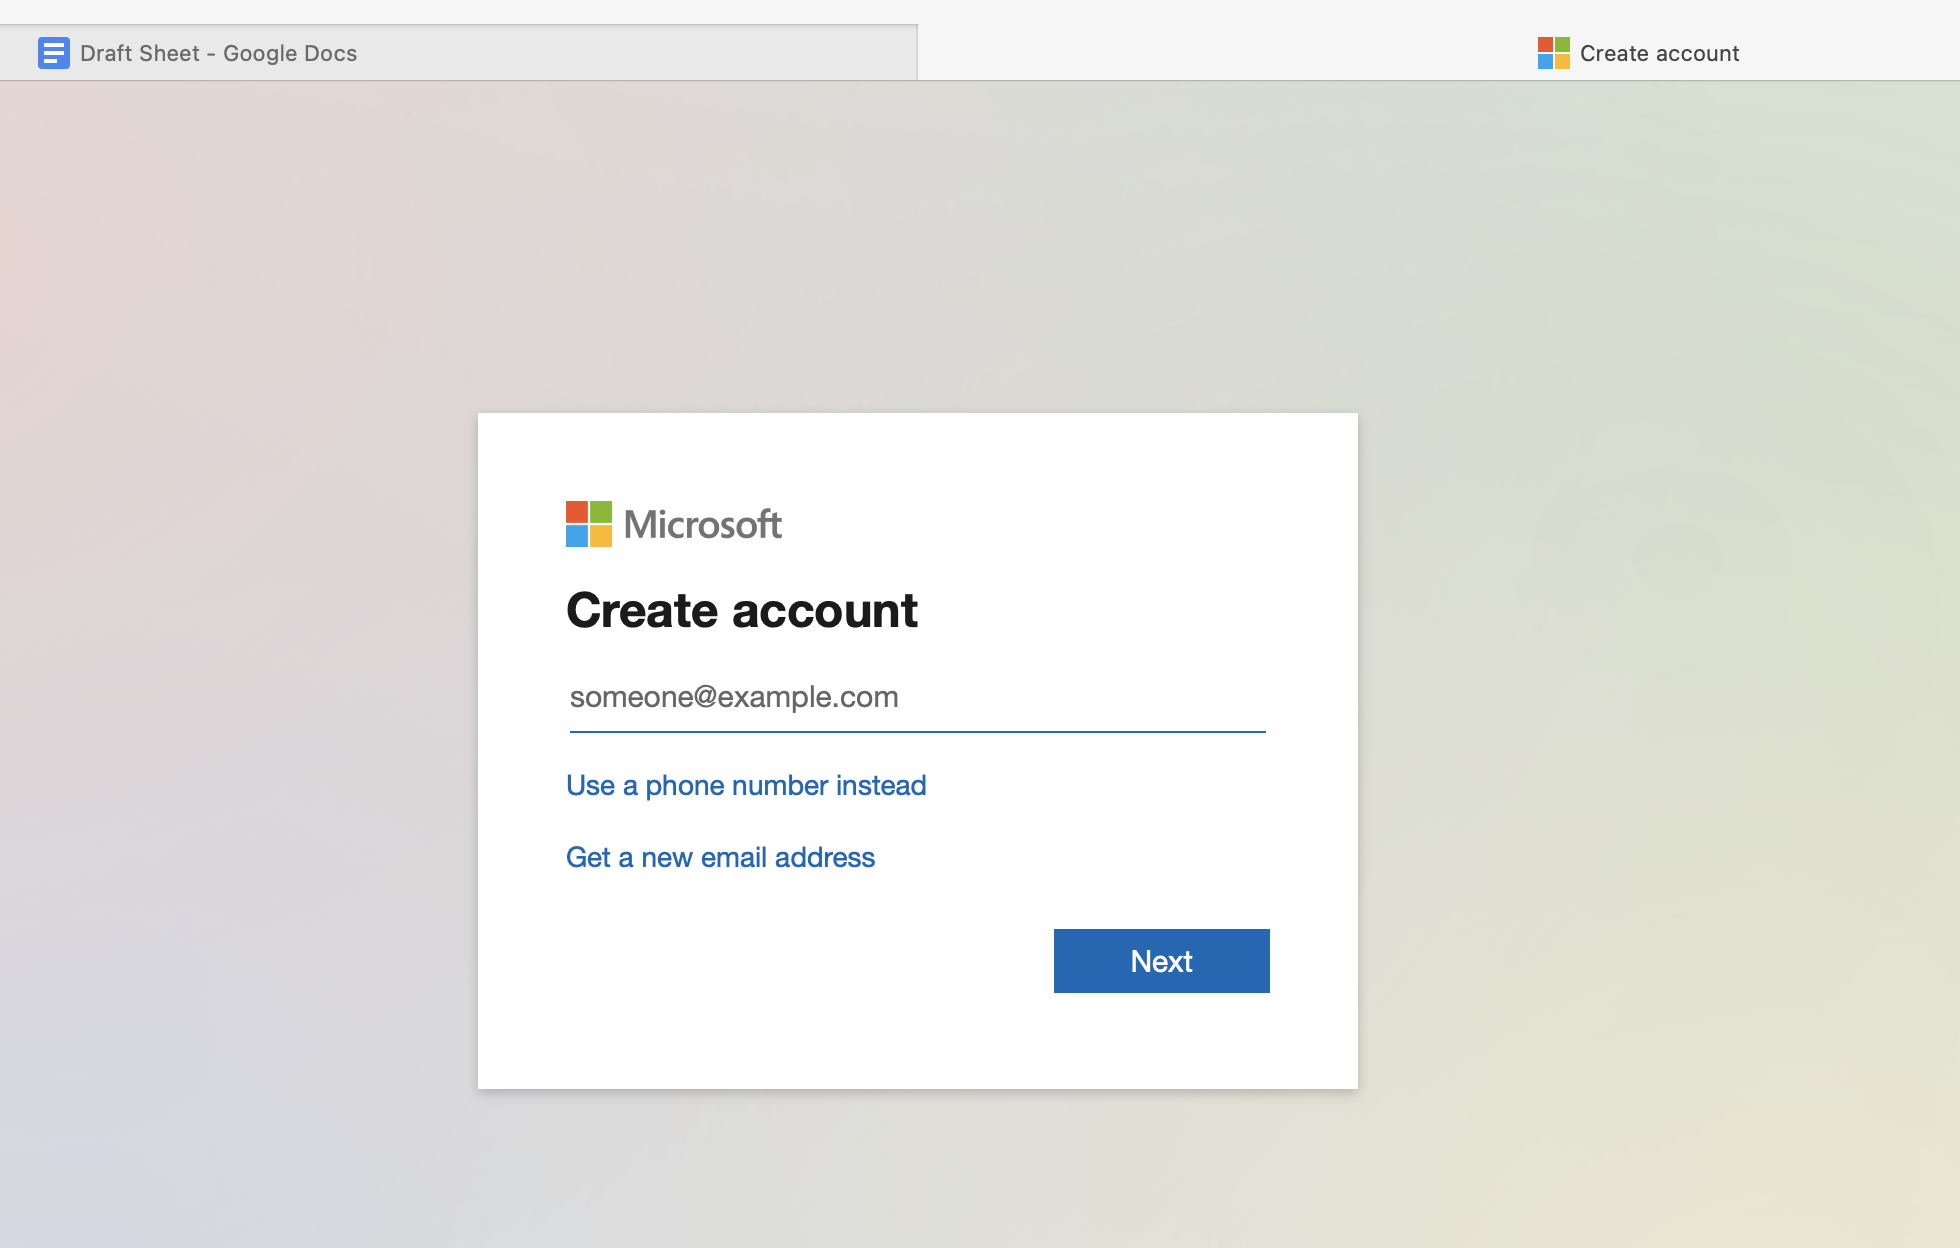
- You must have a Microsoft account to perform the next steps – go here to create an account if you don’t have one.

- Visit this link and click the Register button.

- Click on Sign in and use your Microsoft account to enter.

- Click on Register again and then select Flight Now to enroll in the Windows Insider Program.
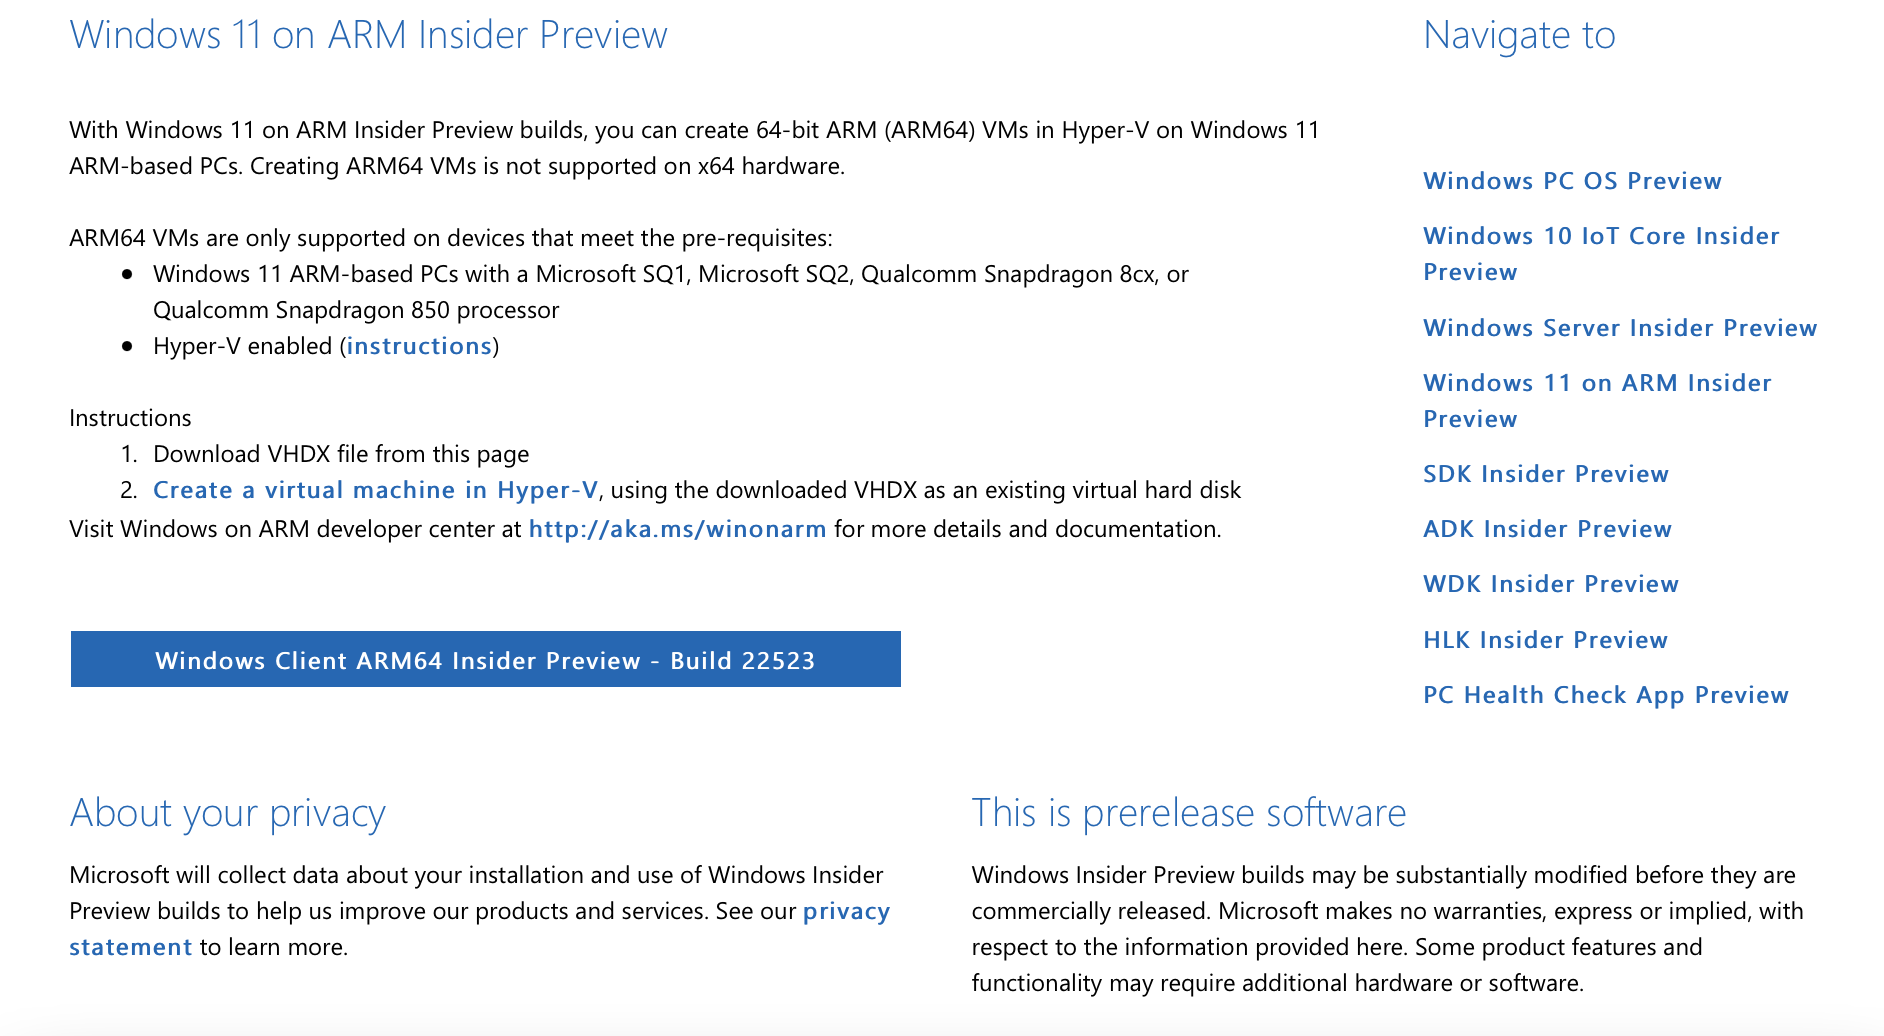
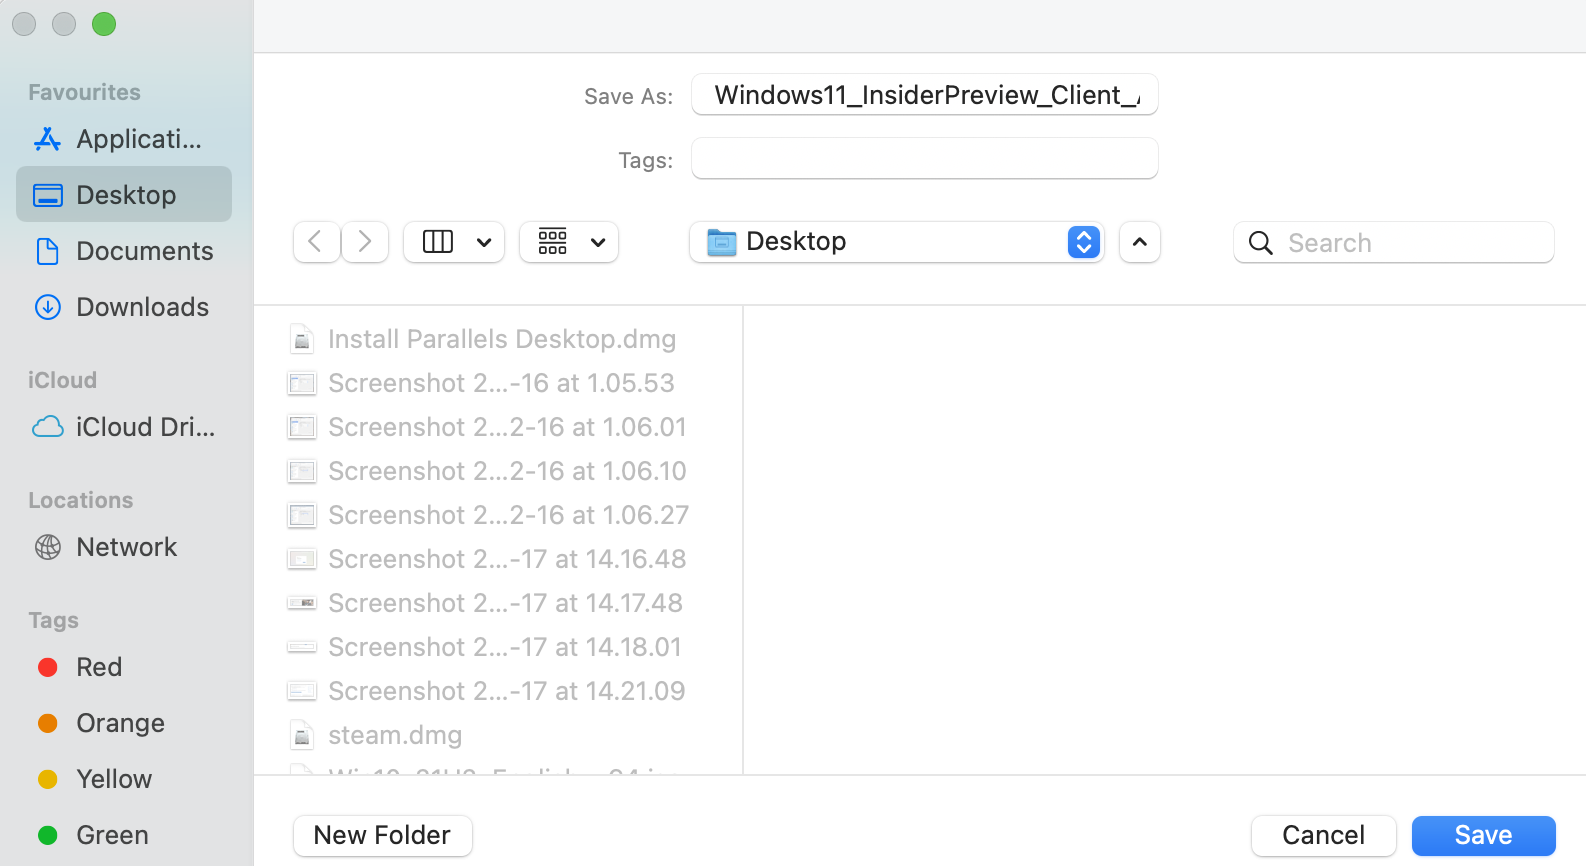
- Next, click here, if you are not signed in on the page that opens, sign in, then click the download button for the Windows Insider Preview Arm file, and download the file. The file is almost 10 GB, so downloading it will take a while.


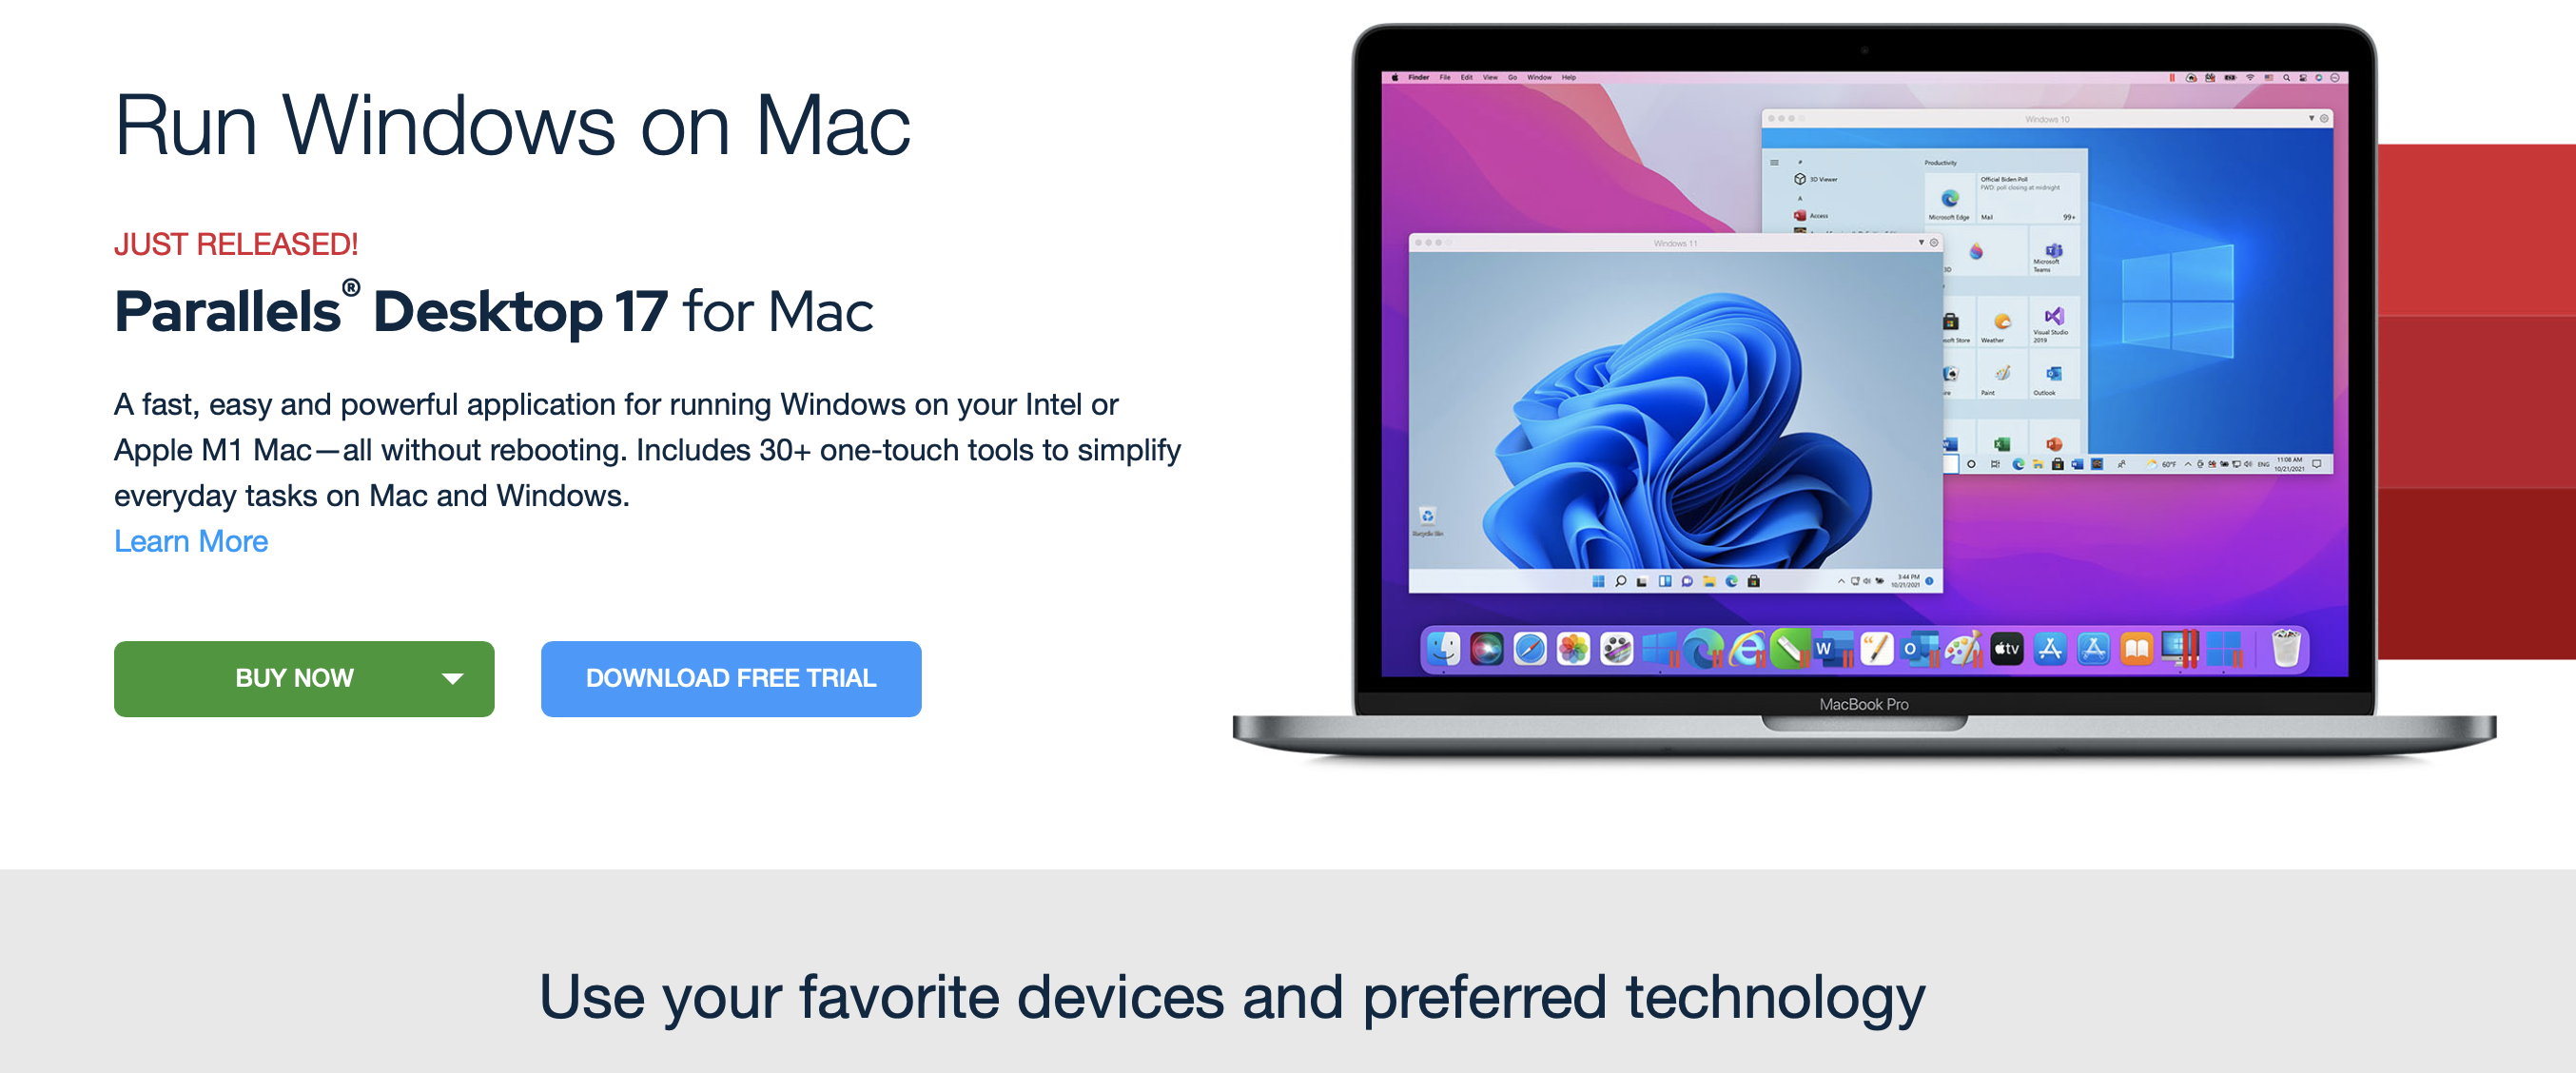
- While waiting for the ARM file to download, go to the website of Parallels, and download the trial version of the program.

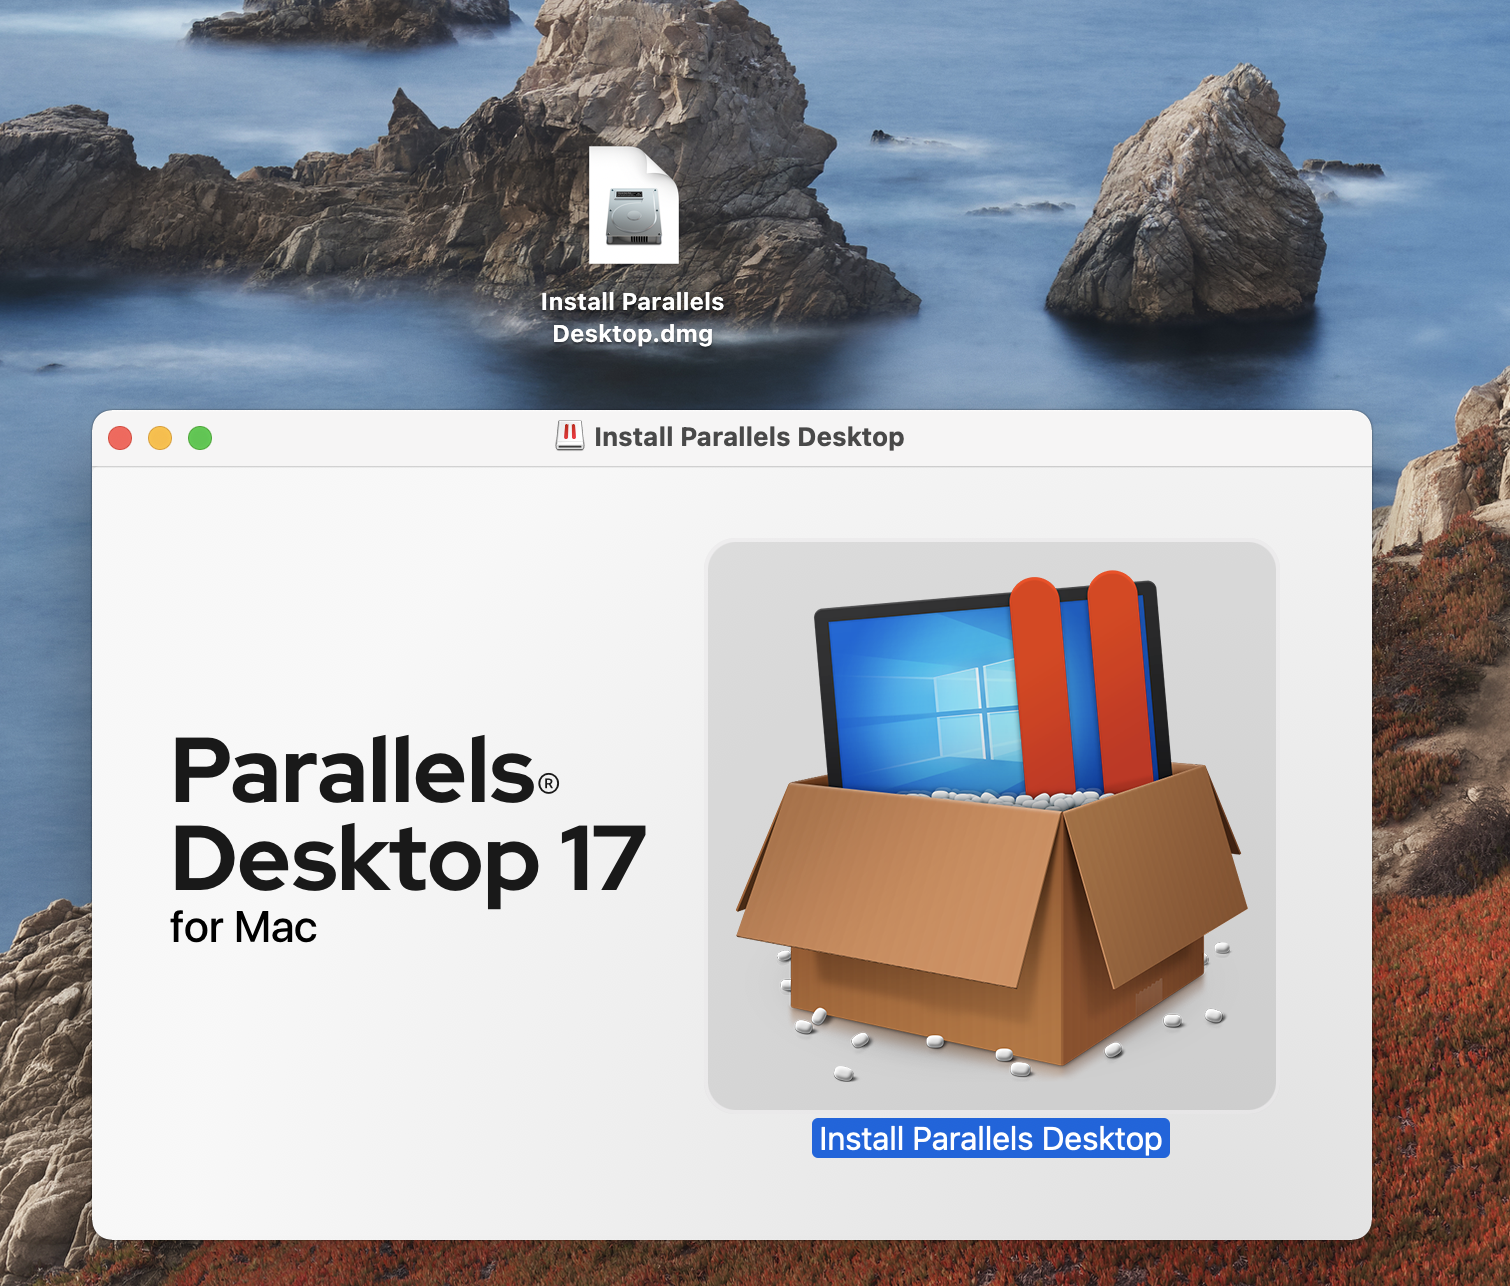
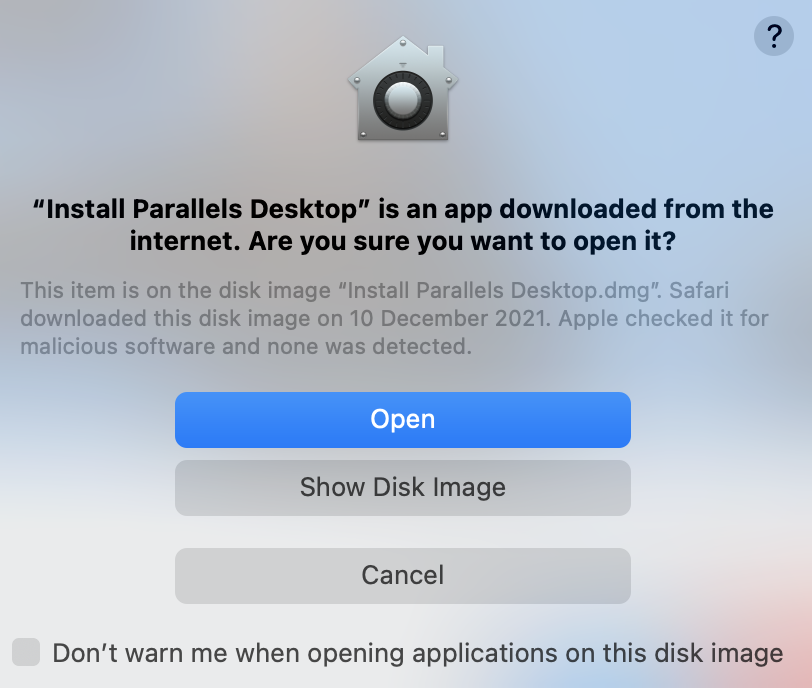
- Start the downloaded .dmg file, double-click the Install Parallels Desktop icon, and click Open if your Mac asks you whether you are sure you want to run the program.


- Wait for the Parallels files needed for the VM creation to download, then type in your Password, and click Next.
- When Parallels asks you for various permissions, click OK on each of the prompts.
- Next, select Continue Trial when asked if you’d like to purchase the full version of the program, and then click Continue.
- When the ARM file downloads, double-click it with Parallels still open on your screen, and a window where you need to choose what you need the VM for should pop up.
- Select Games Only and continue to the next page.
- Be sure to check the Customize option and then select Create.
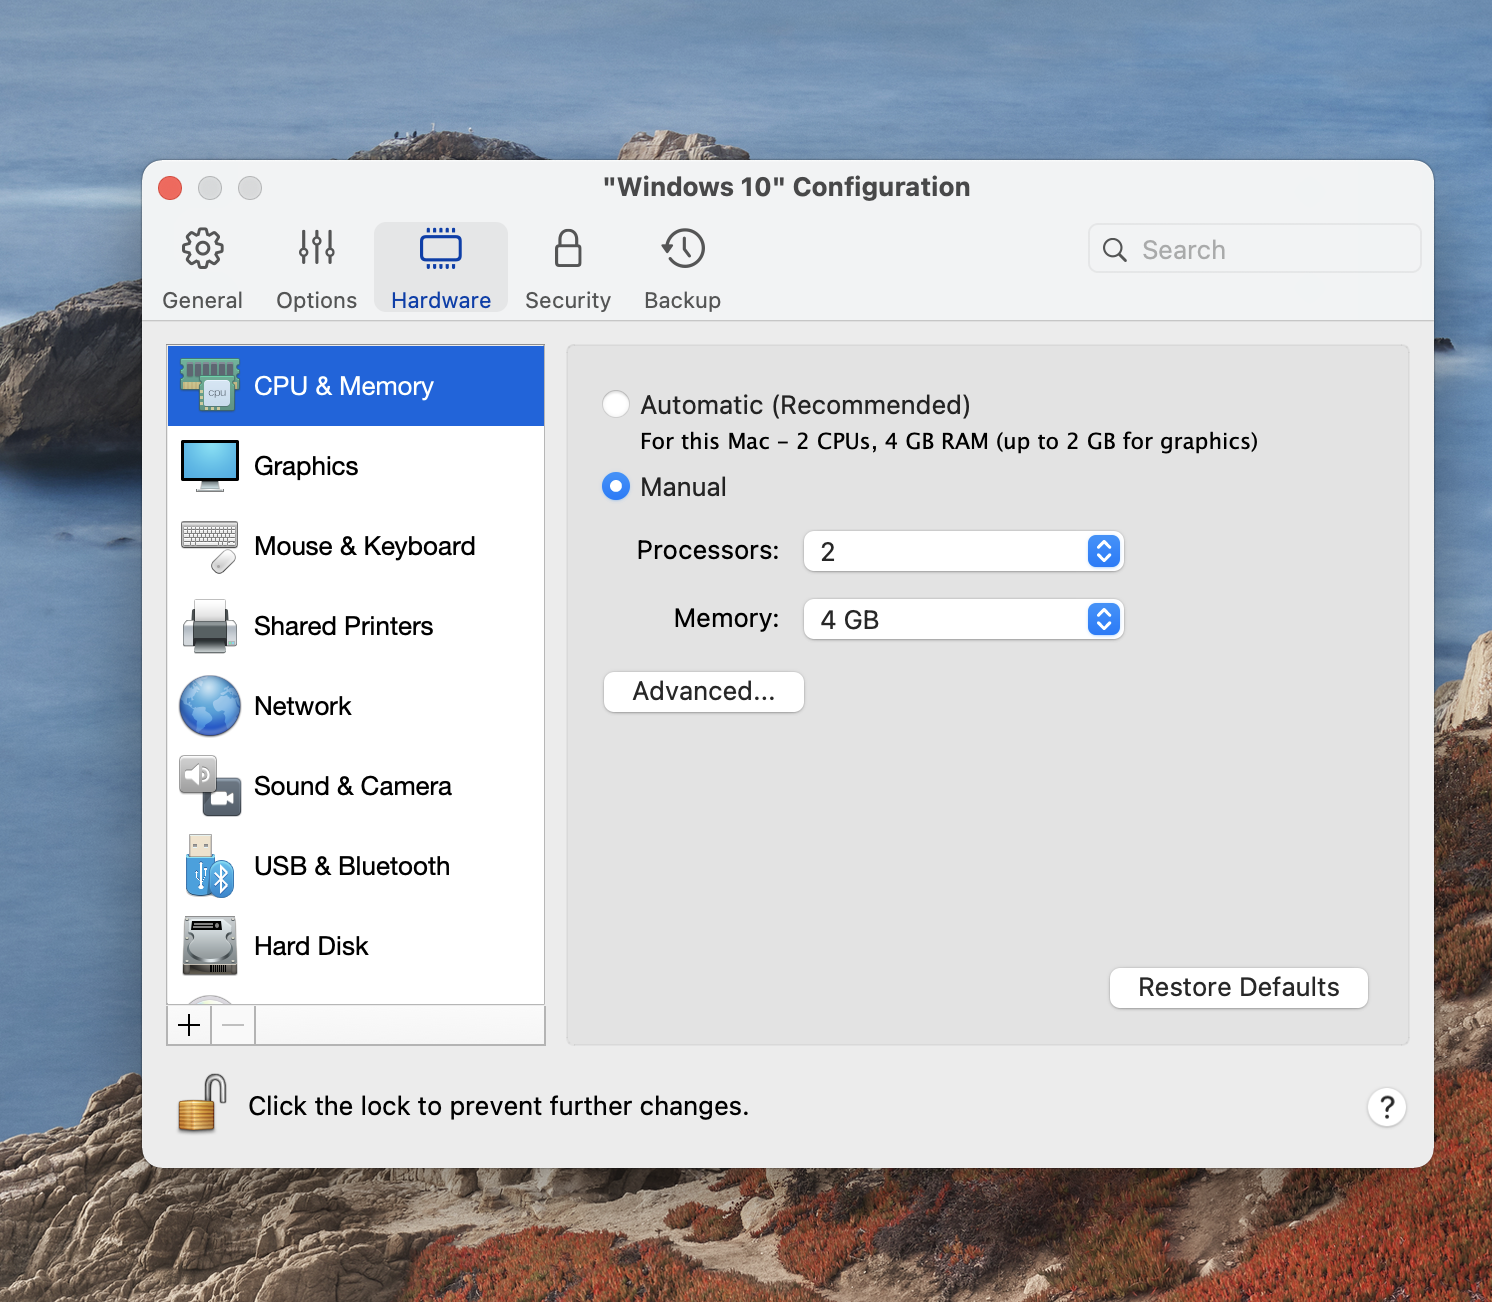
- When the customization window appears, open the Hardware section, click CPU & Memory, and unlock those settings if they are locked by clicking the padlock in the bottom-left and entering your password.
- Next, click Manual, and then set the CPU and Memory settings to the maximum allowed value, after which close the Customization window.

- Click Create again and the installation of the VM will finally start. When asked for different permissions during the installation, clock OK on everything.
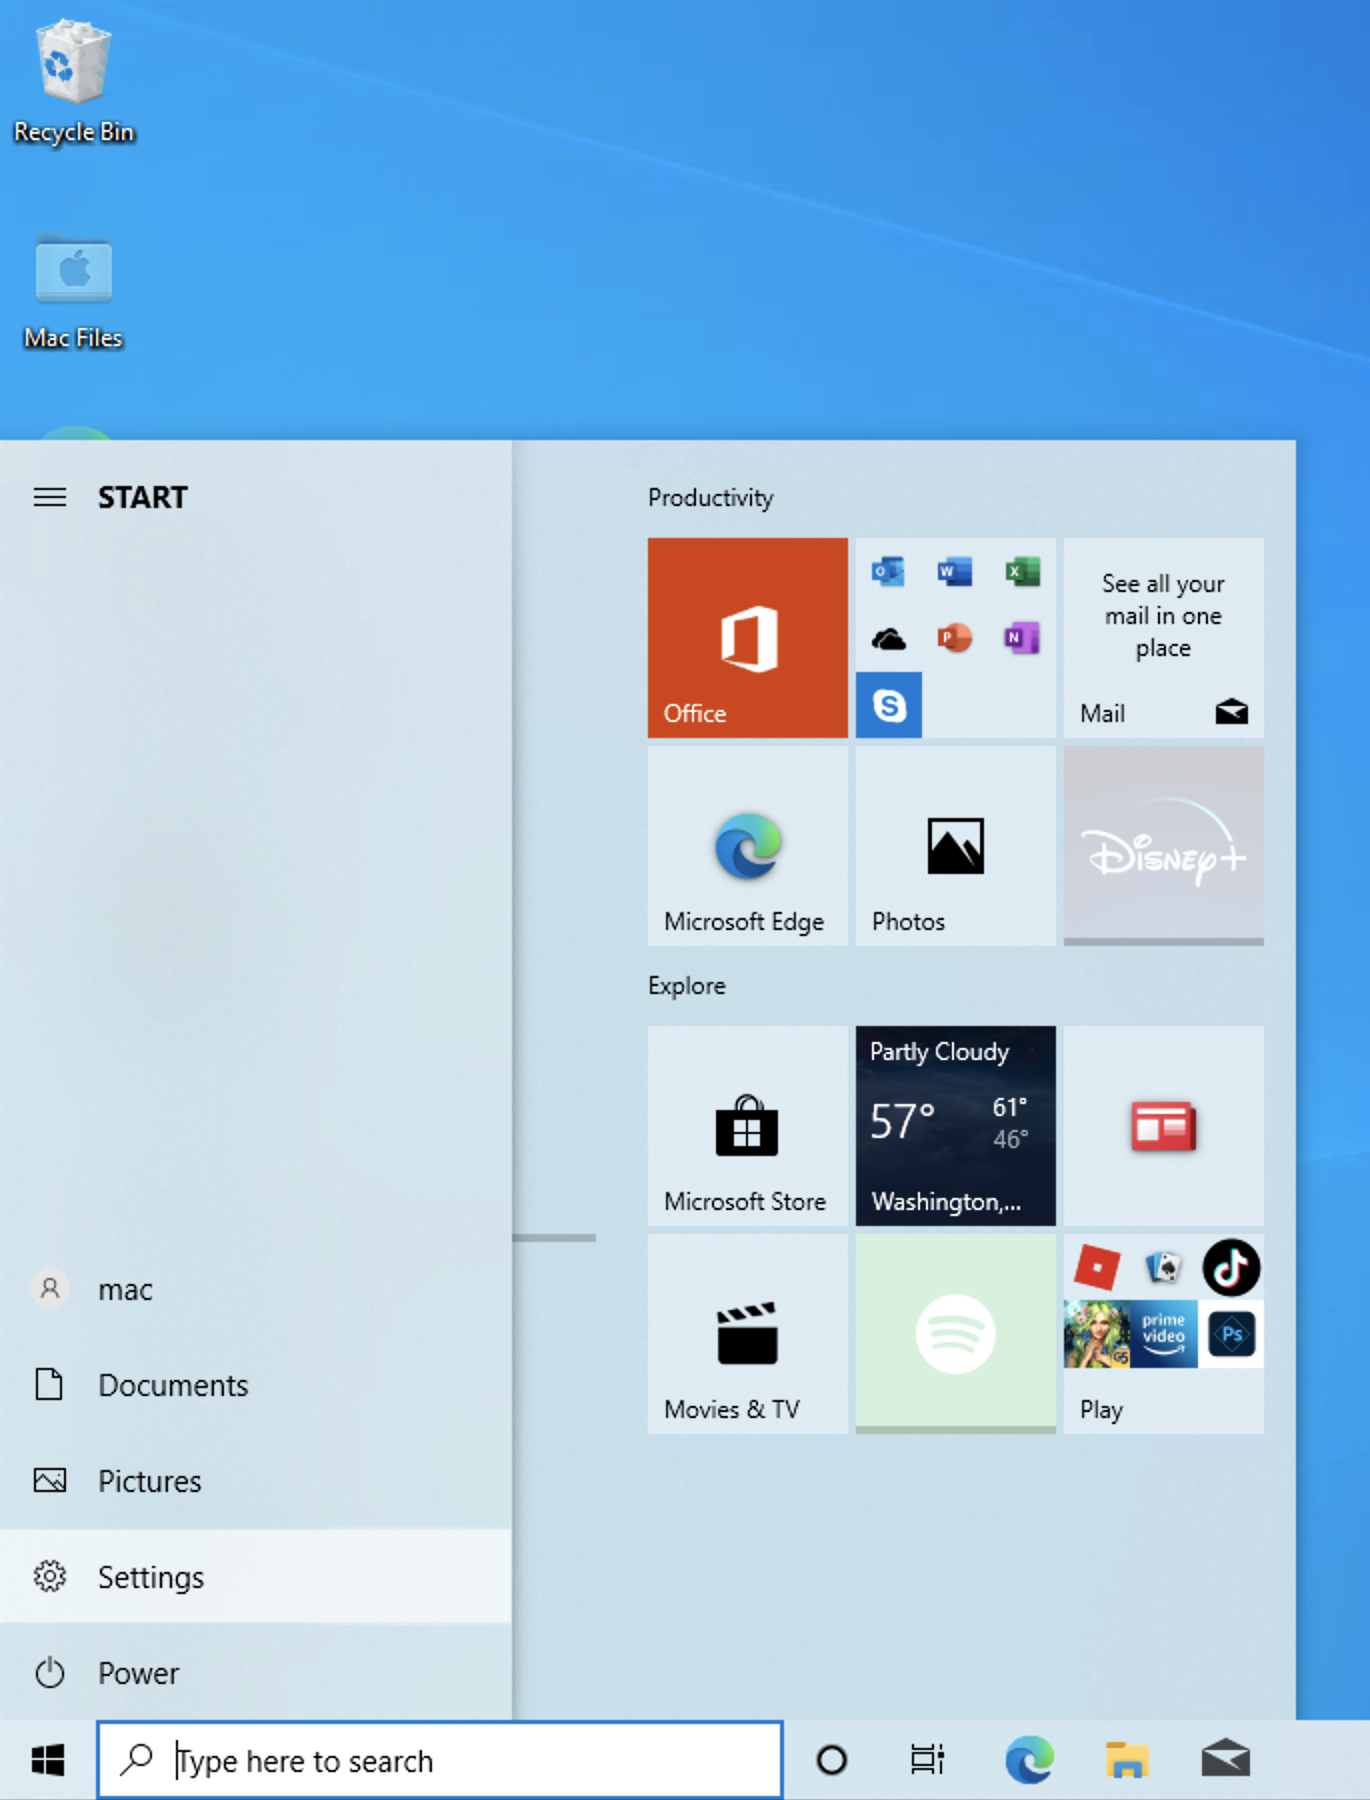
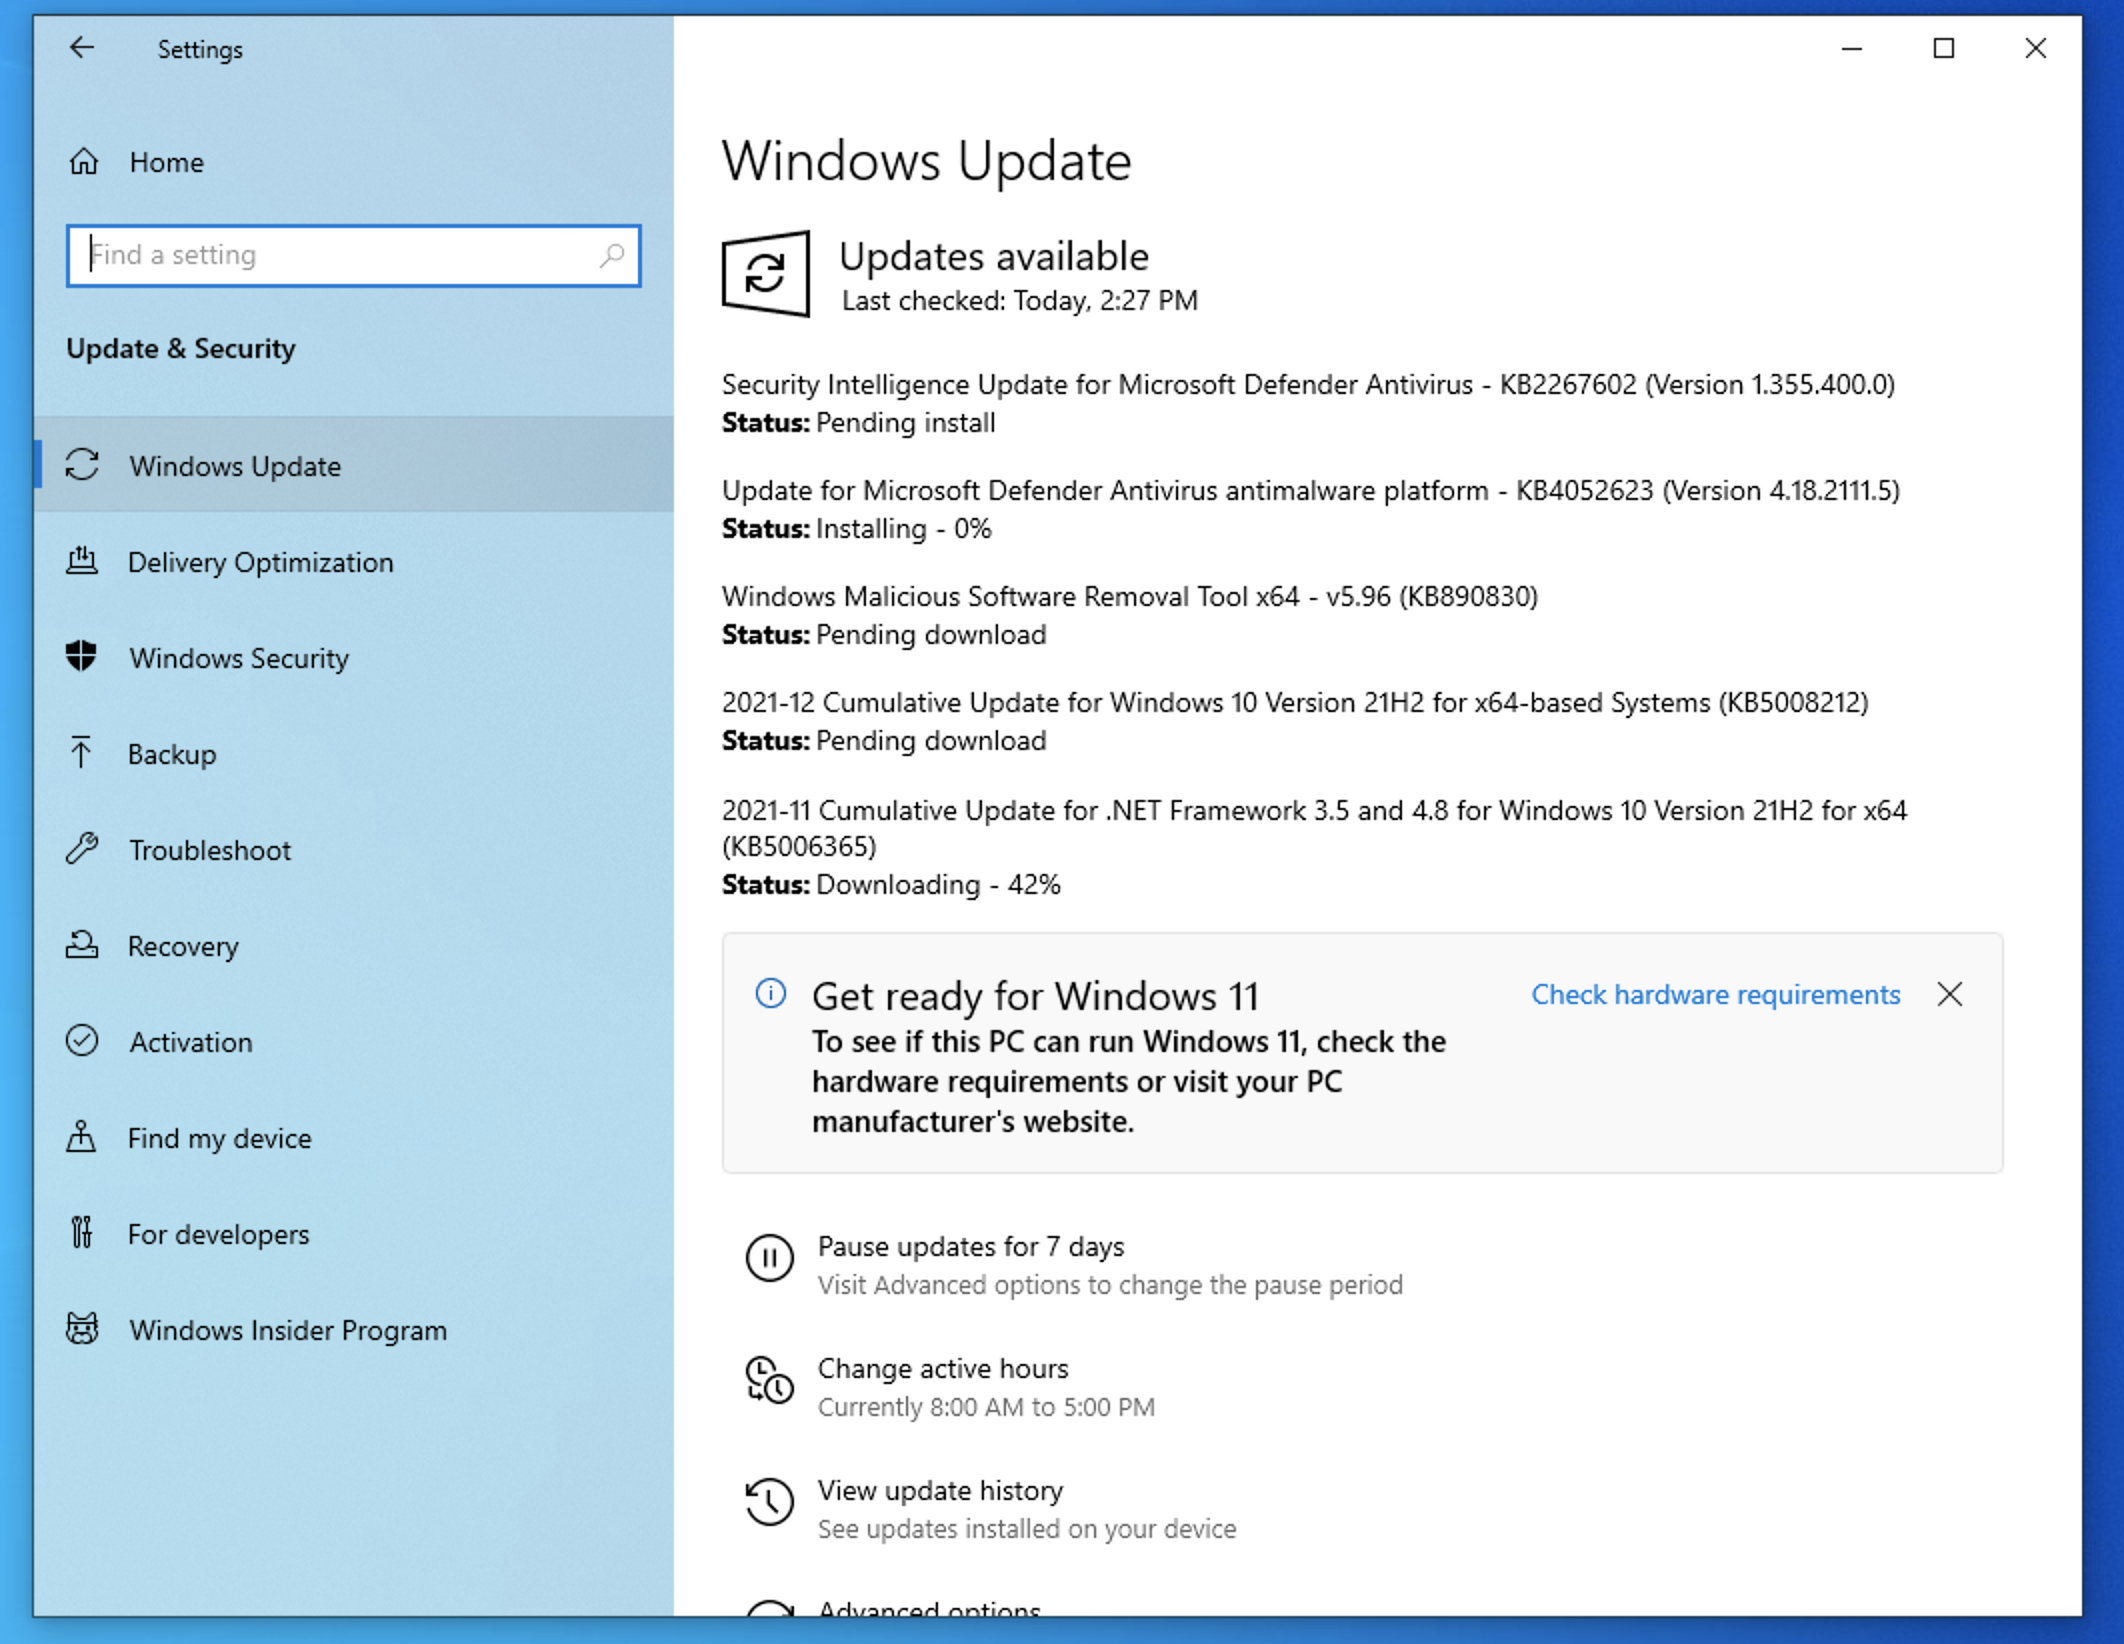
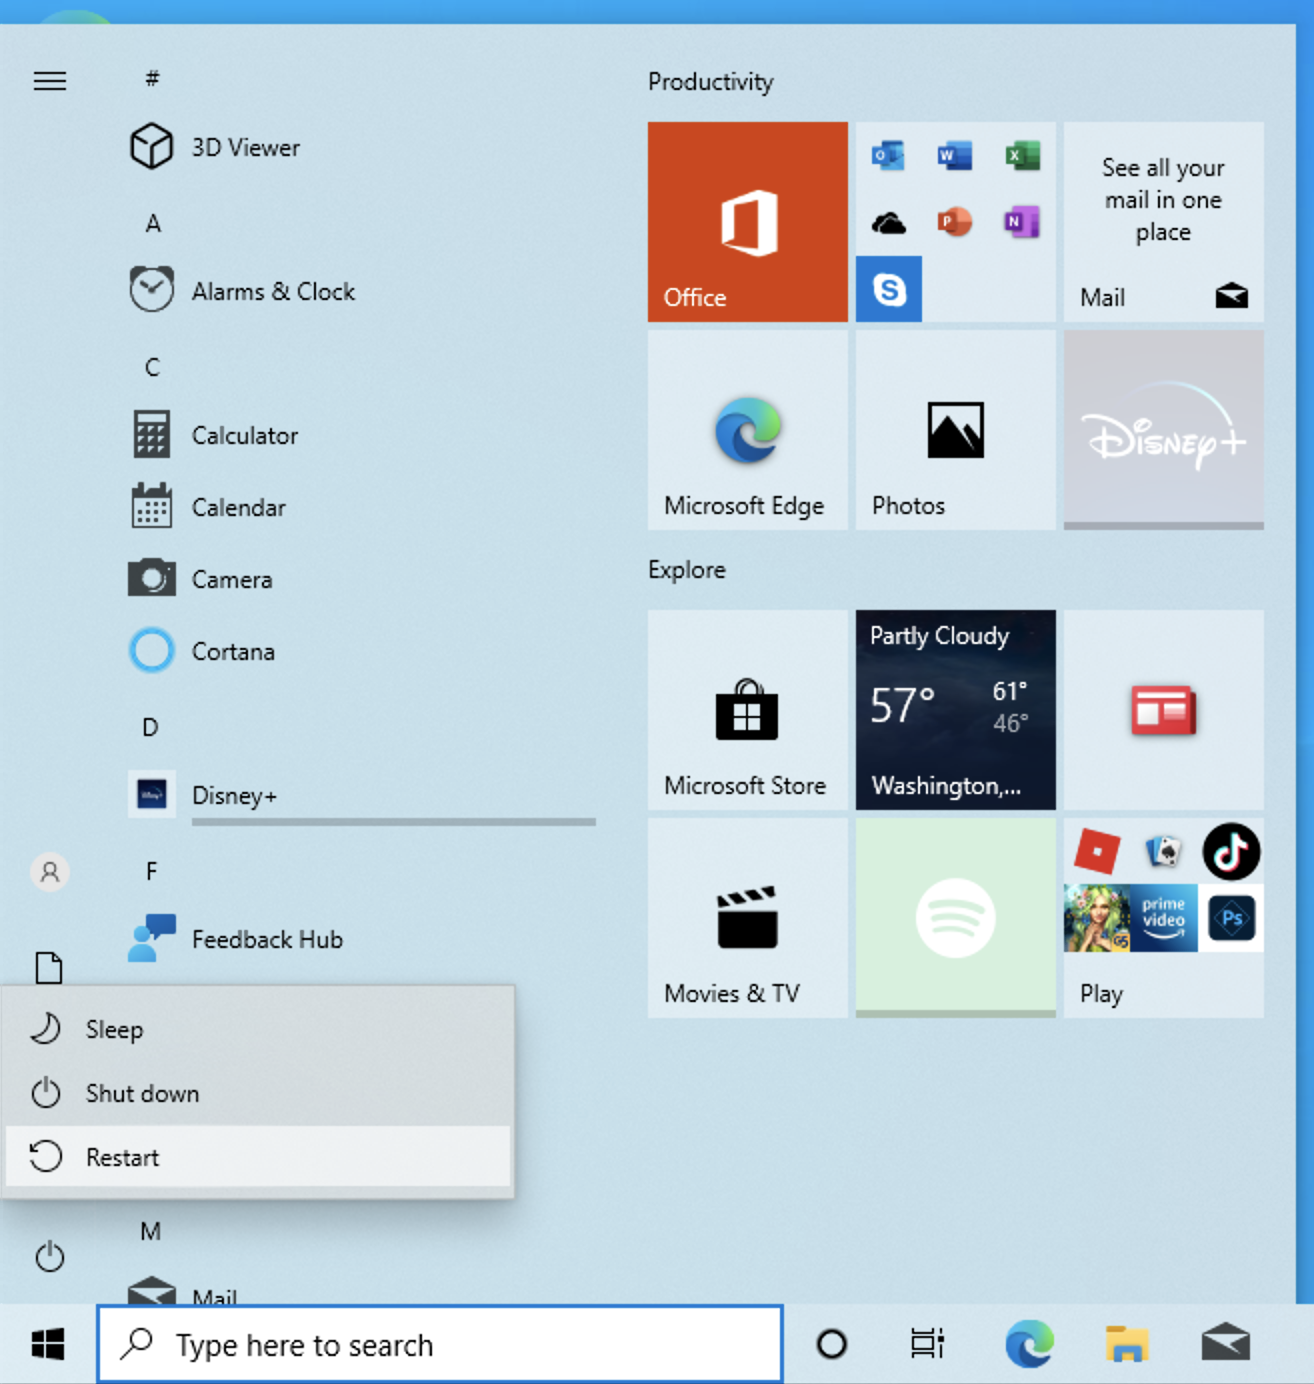
- Once the VM installs and opens, if Windows doesn’t automatically start installing updates, go to the Start Menu, open Settings, go to Updates & Security > Windows Update and manually install any pending updates.


- After the updates are installed, restart the VM and wait for Parallels to automatically install its tools. After this installation completes, restart Windows again, and everything should be ready for you to install and start playing Praey for the Gods.

Note: You can also create Parallels Windows VMs on Intel Macs – the process is nearly identical as the one shown above. The only significant difference is that you need to use an ISO Windows 10 file for the installation. You can download a Windows 10 USO file from this Microsoft page.
How to play Praey for the Gods on Mac Intel
To play Praey for the Gods on Mac, you need to use Boot Camp Assistant to install Windows on the Mac or use Parallels to create a Windows virtual machine. It’s also possible to play Praey for the Gods on Mac through GeForce Now.
In addition to the Parallels method shown above, if you have an Intel Mac, you can also install Windows 10 on it with the help of the Boot Camp Assistant tool that comes preinstalled in Intel Macs (but not in M1 Macs). Another way of playing Praey for the Gods on Mac (Intel or M1) is to use GeForce Now. Below, we will provide you with instructions for both the Boot Camp Assistant and the GeForce Now methods.
Instructions Overview for Mac Intel
- Install Boot Camp
- Download Paey For The Gods From Steam
Playing Praey on Intel Macs using Boot Camp Assistant
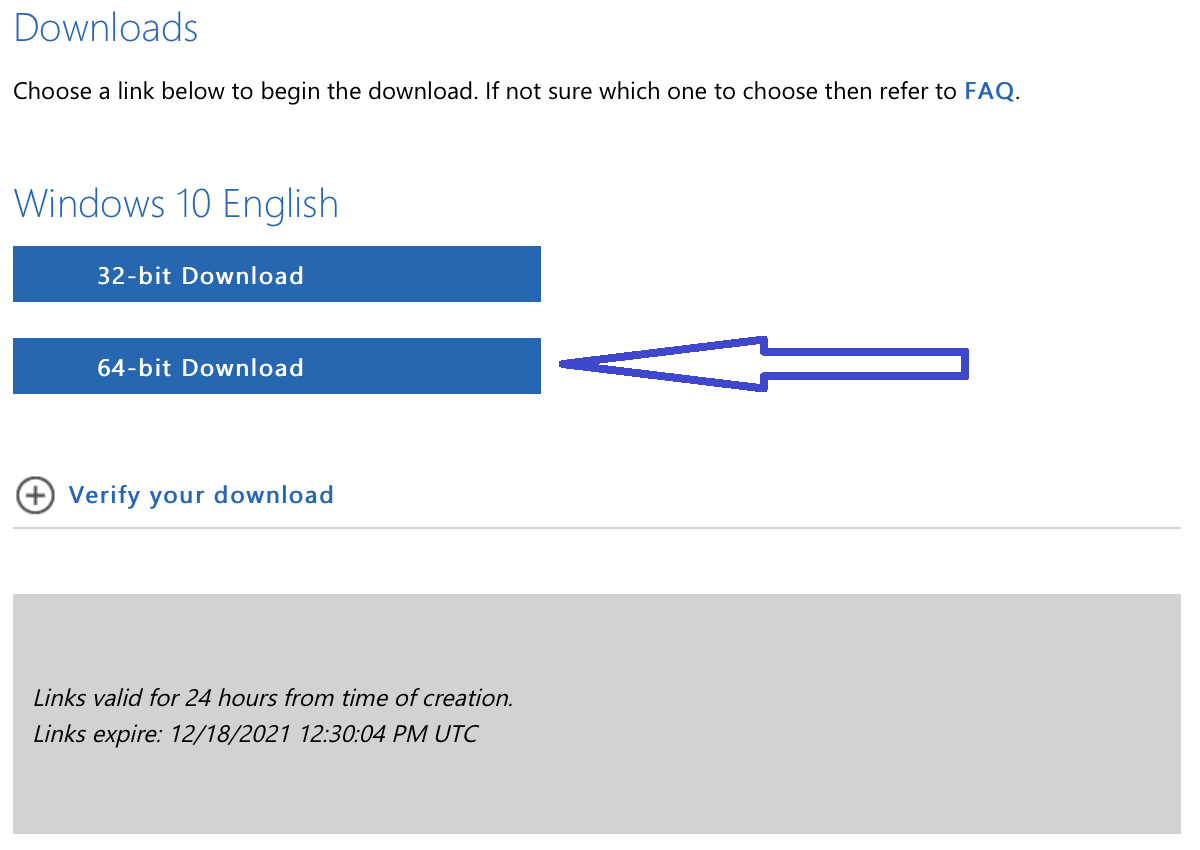
- Download the 64-bit Windows 10 ISO file from this page after choosing a Windows 10 edition and language.


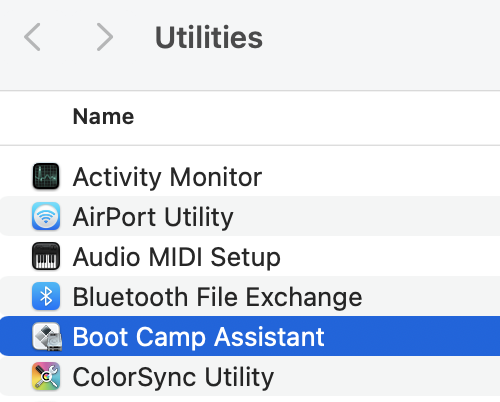
- Once the file is downloaded, open the Boot Camp Assistant app located in Applications > Utilities.

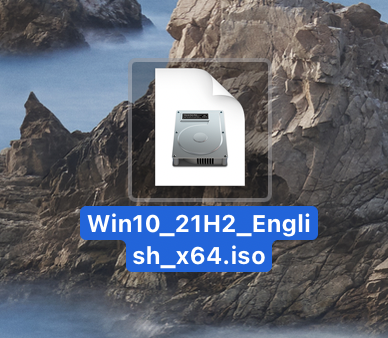
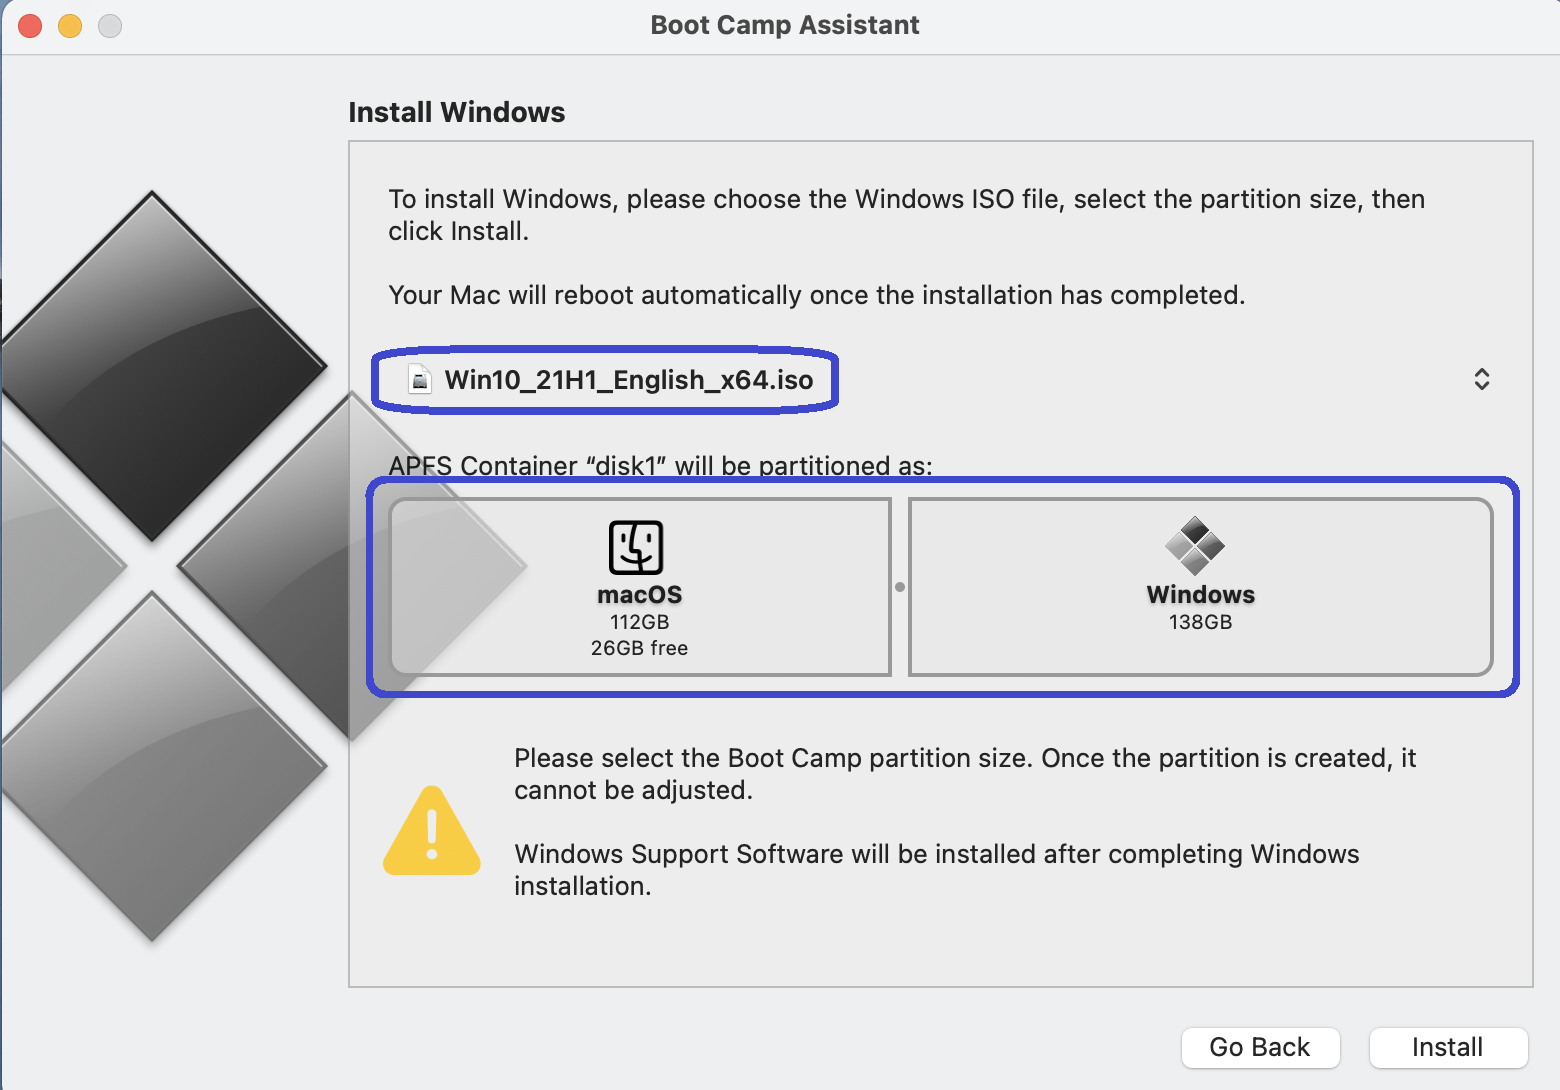
- Click Continue in Boot Camp Assistant, then select Choose, find the Windows 10 ISO file, and open it in the Boot Camp Assistant.
- Adjust the storage space distribution between the two separate partitions. Give the Windows 10 partition at least 130-140 GB. However, also be sure to leave at least 50 GB for the macOS partition.

- Click Install, wait for the initial loading process, then enter your password, and select OK, which will cause your Mac to restart.
- When your Mac boots again, and you see a screen with the Windows logo, specify your location and a preferred language and click Next.
- If you have a product key for Windows, enter it now, and if you don’t, click the I don’t have a product key/Skip button.
- If you are also required to specify a preferred Windows 10 edition, our suggestion is to opt for Home (unless you need Pro for a specific reason).
- After that, you need to Agree to the Terms and Conditions and then click on Next to initiate the installation of Windows 10. If you are on a MacBook, it’s strongly recommended keeping it plugged into a power source – the installation may take a while, and you mustn’t allow its battery to run out of juice before Windows 10 installs.
- When Windows 10 installs, spend some time to go through the initial customization process of its settings, after which choose a username and a password.
- If you want, you can skip the activation and customization of Cortana and directly enter Windows 10.
- When Windows loads, you should be greeted by the Boot Camp Assistant – click Next, then provide your agreement, and click Next again. The Boot Camp Assistant will now start installing different browsers needed for the proper functioning of your Mac while using Windows. Click OK on the permission prompts, and after everything installs, restart your Mac.
- Optional Step: To ensure that everything runs as smoothly as possible, we suggest performing the following two actions, restarting your Mac after each one:
- In the Windows 10 Start Menu, search for Apple Update, open it, and install any pending updates that may be found.
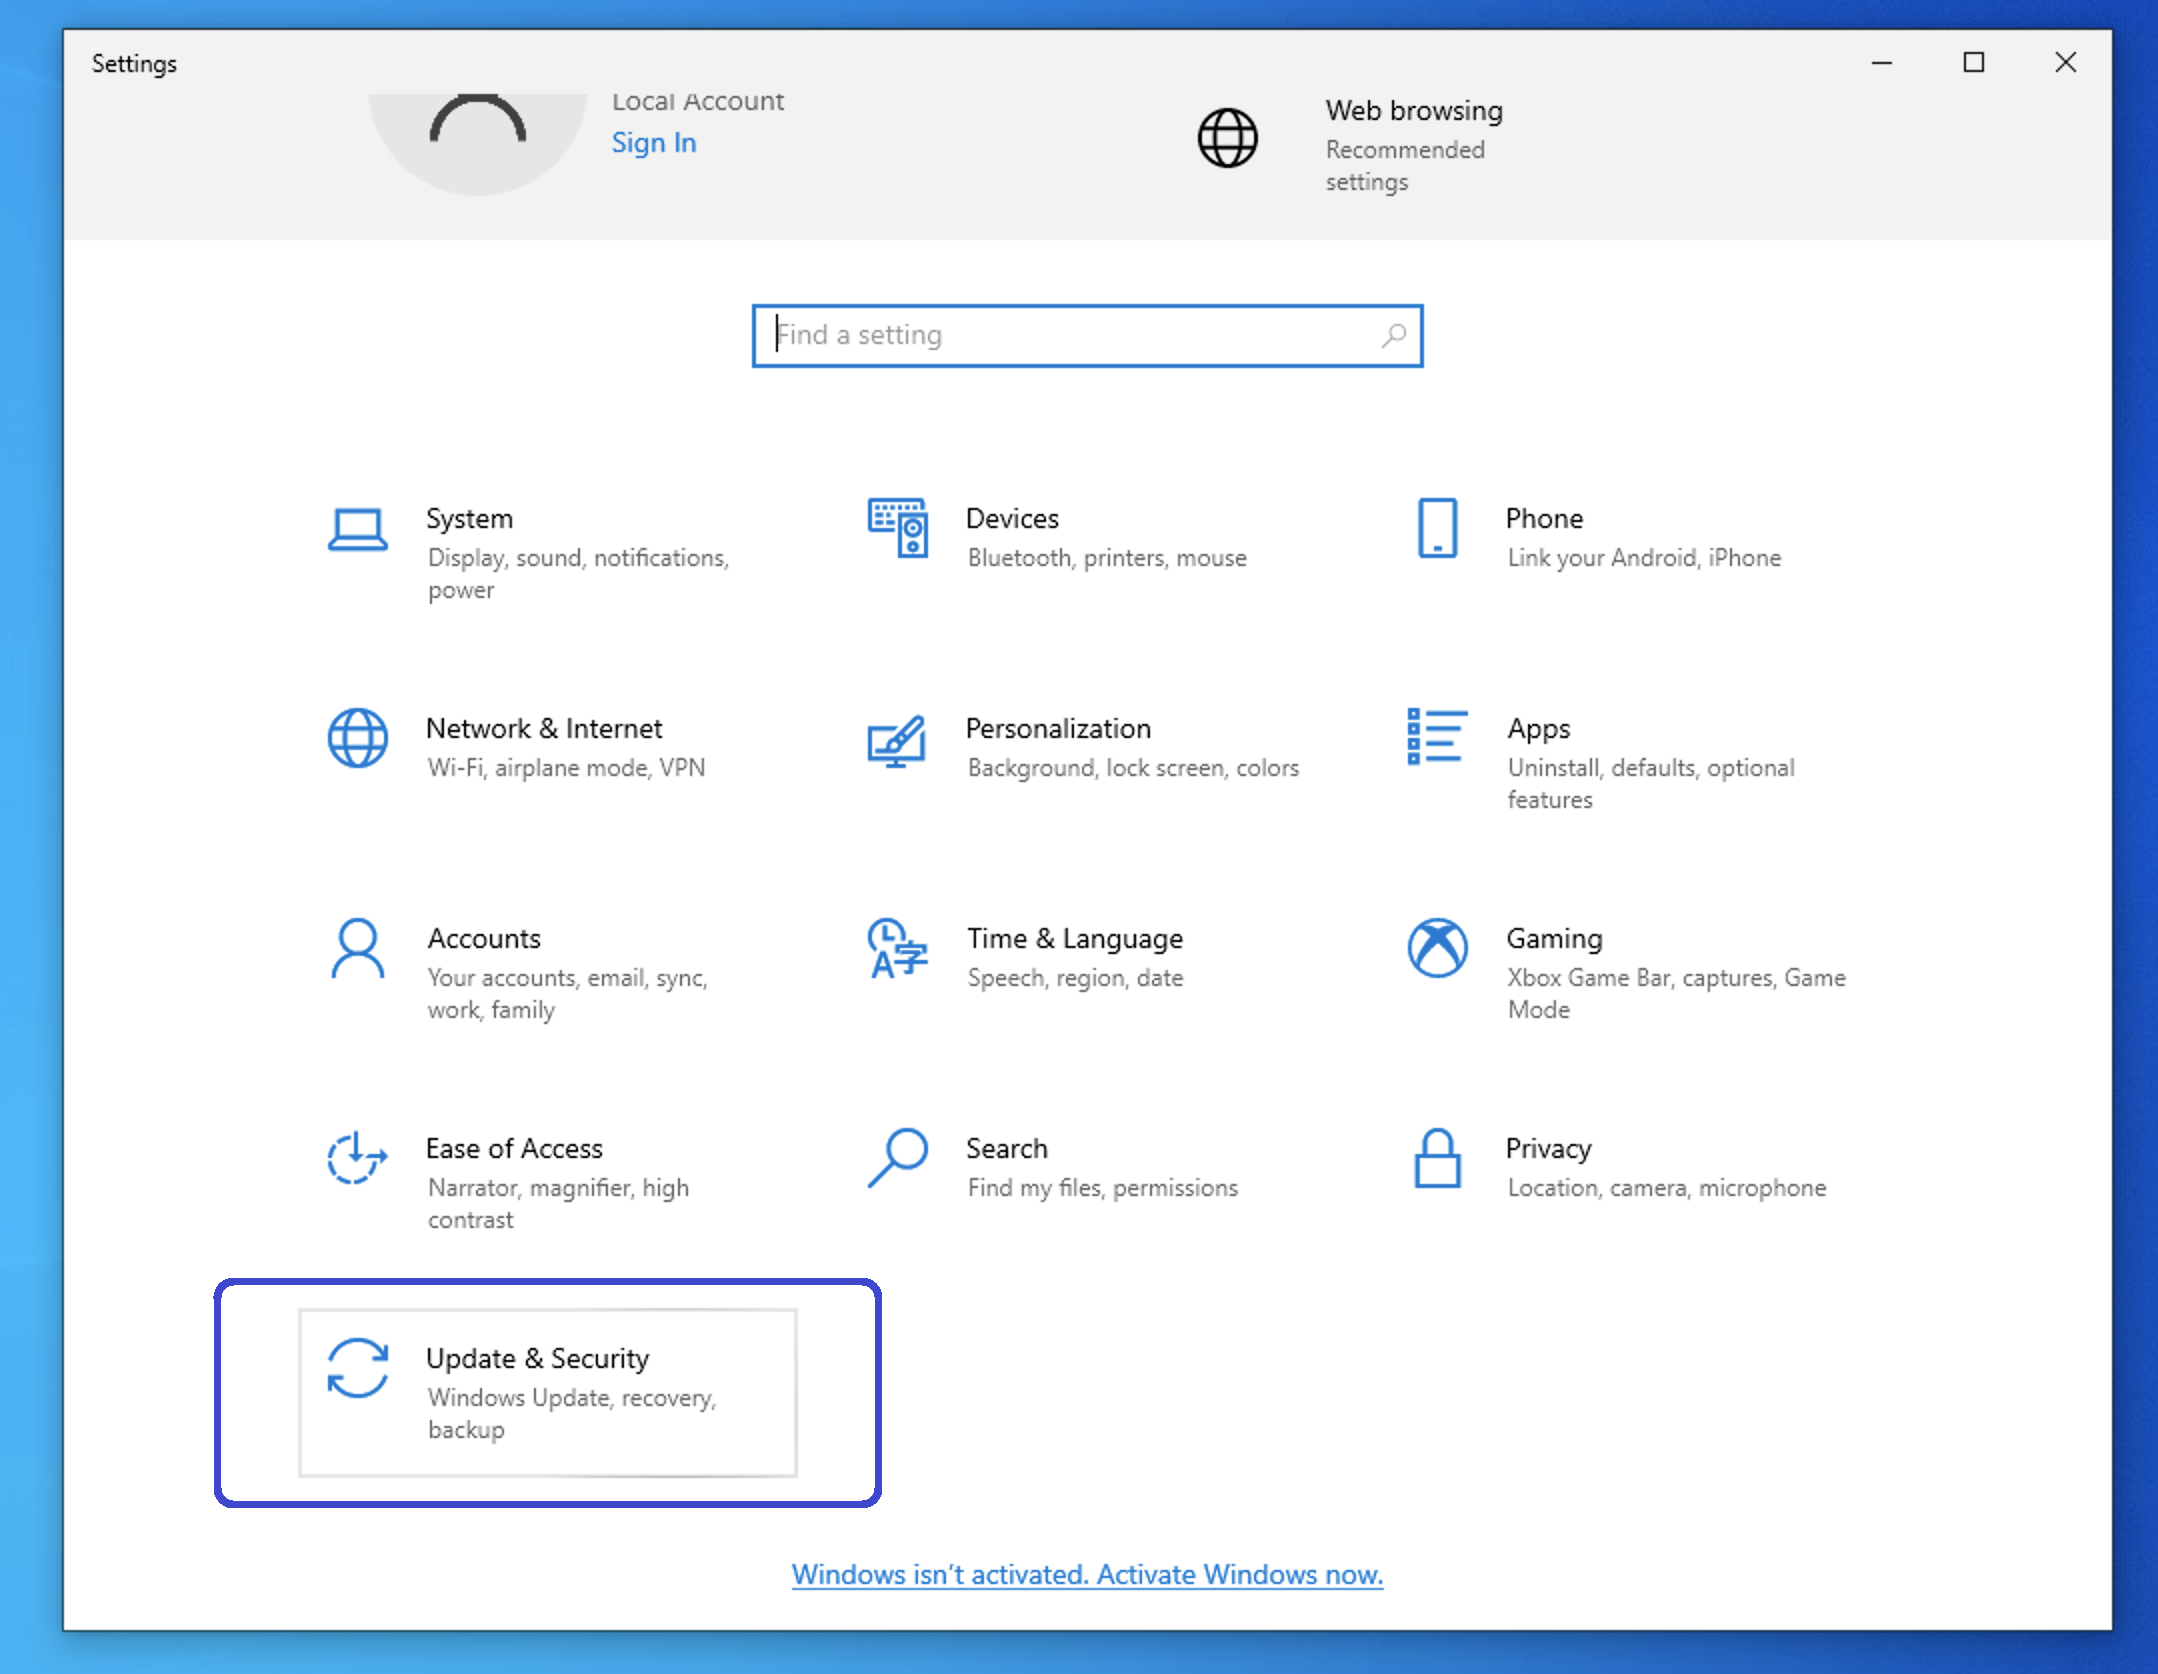
- Go to Settings from the Start Menu, then open Update & Security, go to Windows Update, and if any updates are found, install them manually (if they don’t start installing themselves automatically).

- Once all of the previous steps are finished, go to Steam and download and install Praey for the Gods (see the instructions below).
Installing Praey for the Gods in Windows 10/11 on your Mac
- Restart your Mac into Windows 10 if you used the Boot Camp Assistant method, or start the Windows 10/11 VM if you used the Parallels method.
- To complete the next steps, it is required to have a Steam account, so follow this link to create one if you currently don’t have an account.
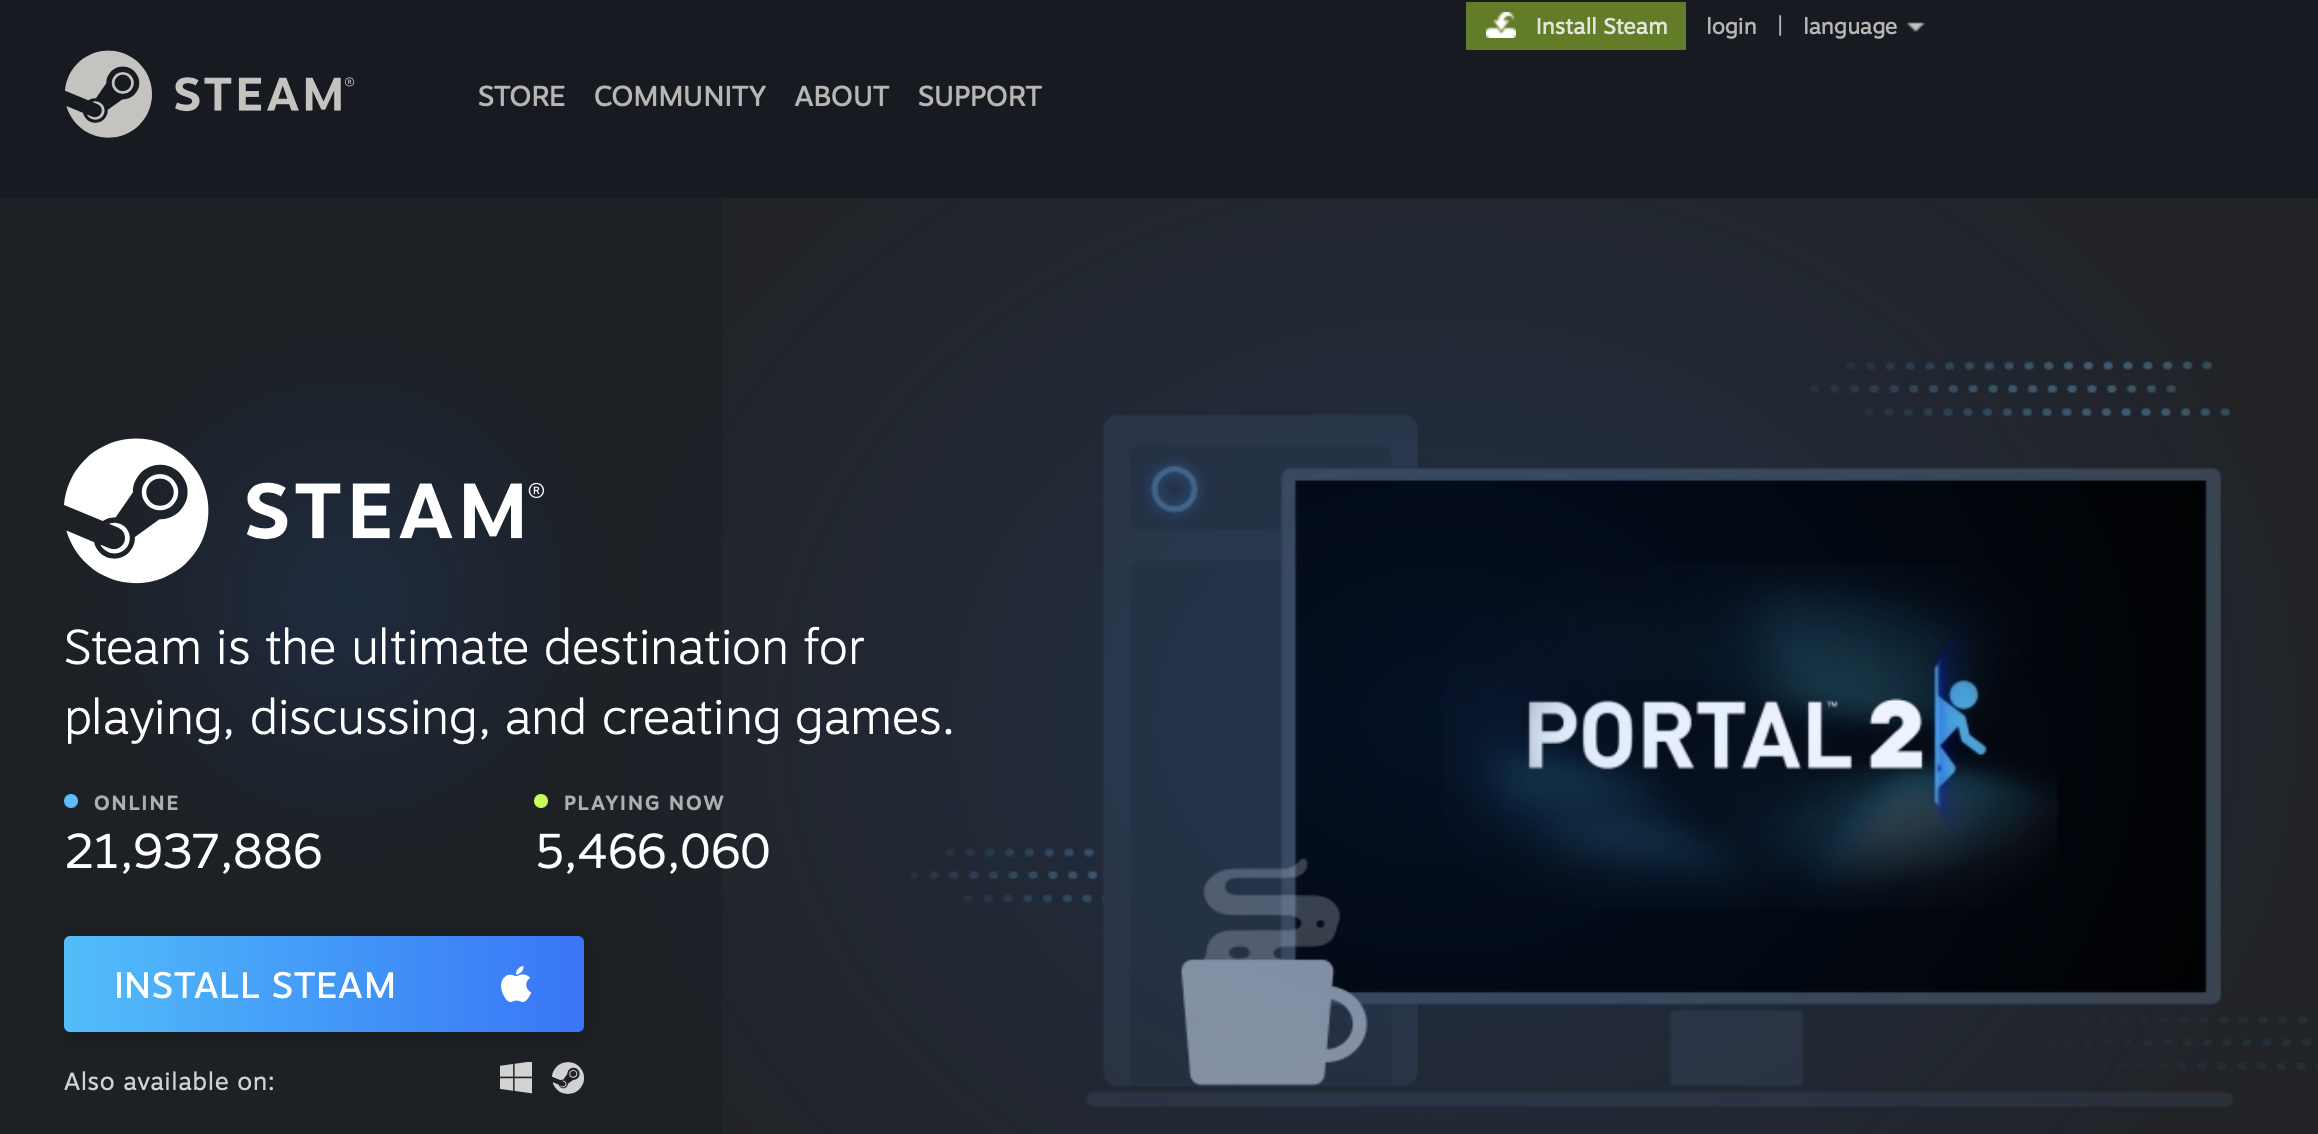
- Download Steam for Windows from here.

- Open the Steam .exe file, and follow the prompts to install the Steam client.
- Start Steam, and log.
- Open Store in Steam, search for Praey in the search bar and click on the game.

- Scroll down a bit on the game’s page, click Add to Cart, select the Purchase for Myself option, pick a payment method, and purchase the game.

- After buying the game, go back to its page in the Steam client, and click Play.
- Download and install the game in Windows 10/11 on your Mac by following the prompts and then start it from the Desktop shortcut or from its page in the Steam app.
Using GeForce Now to play Praey for the Gods on Mac (Intel and M1)
The third option for playing Praey for the Gods on a Mac machine is to use the GeForce cloud gaming service. The advantage of this method is that you won’t even need to install the game in order to play it, which also means that you won’t need to first get Windows on your Mac.
Through GeForce one, you can connect your Mac to a remote PC gaming rig that already has Praey for the Gods installed on it and play the game on that PC from your Mac. You would be controlling what’s happening on the gaming rig, while the gameplay would be getting streamed to you in real-time. Obviously, having a fast and stable Internet connection is crucial here, or else the performance would suffer, and you’d get a lot of latency.
The good thing in the case of Praey for the Gods is that it is a single-player game, which means that you won’t get as much lag as you might if you try to play a multiplayer game via GeForce Now. Still, if your Internet isn’t good enough, you may not be able to play games through GeForce Now (or any other cloud gaming service). On the other hand, since the game wouldn’t actually be running on your Mac, it doesn’t matter if the computer doesn’t meet the recommended or even the minimum system requirements. All that matters is that it meets the requirements for the GeForce Now app, and those are rather low so that most Macs released in the past 6-7 years should have no problem running it. If you are interested in trying this method to play Praey for the Gods on your Mac, follow the next instructions to set everything up.
- Create a Steam account, enter it, then search for Praey for the Gods on the Steam website, and purchase the game.
- Go to this page, click on Join Now and select a subscription plan.
- Type your email, and when the site recognizes that there isn’t an account connected to this email, it will let you create a new account.
- If you chose a paid subscription plan, you will also need to provide your payment details.
- After creating the account, verify your email, return to the link from the previous step, type your email again, click Continue, then type your password, and log in. You may be asked to verify your email again.
- When you enter your profile, click on GeForce Now from the top, scroll down, and click on Download Apps in the Quick Links section.

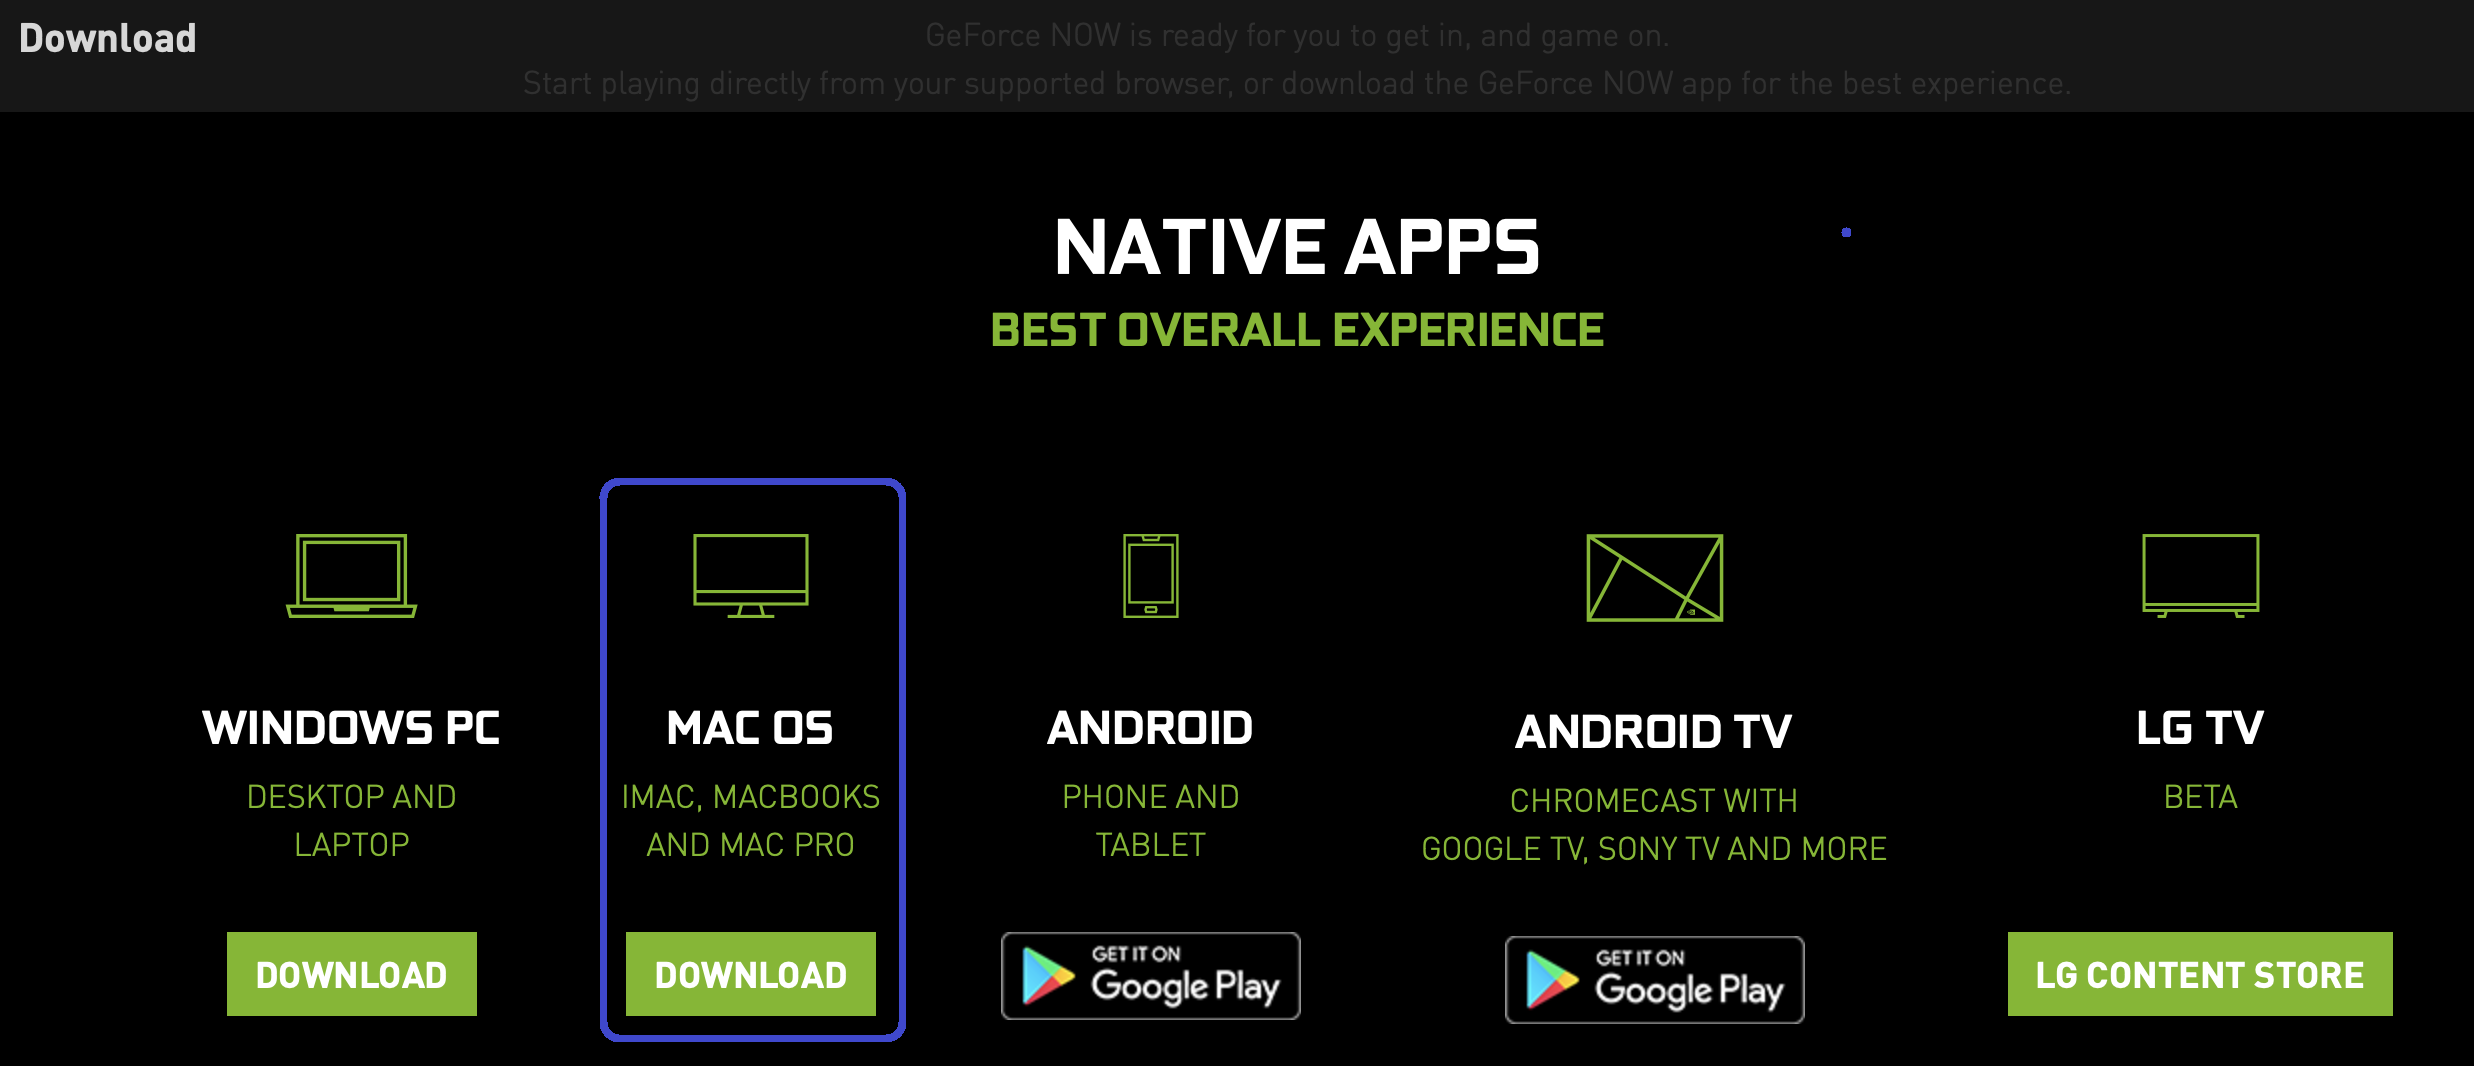
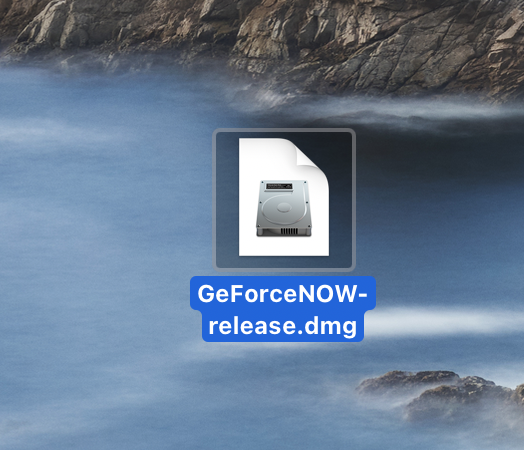
- Download GeForce Now for Mac and open the downloaded file.


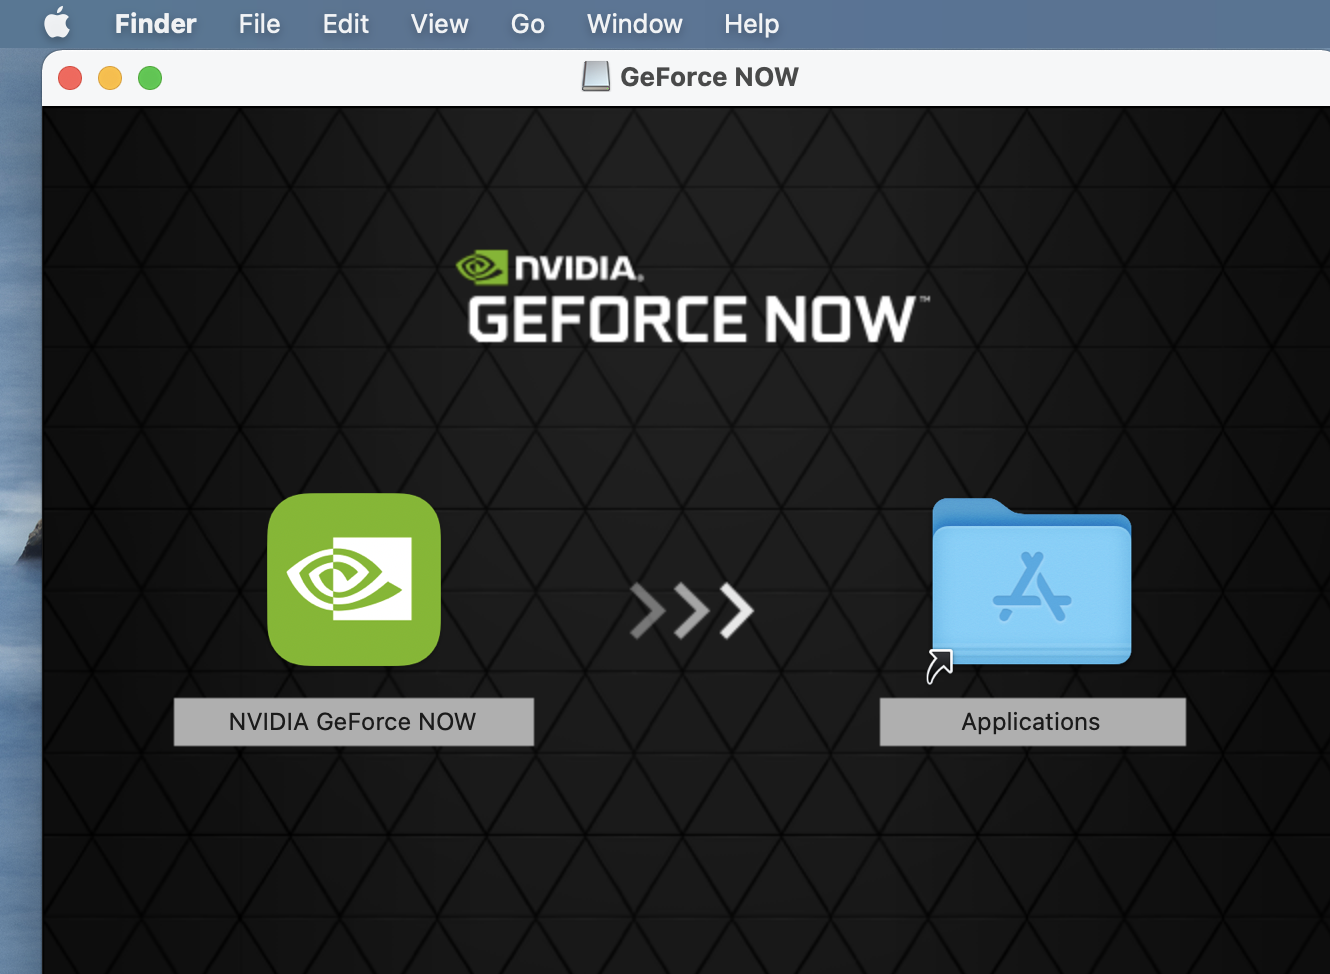
- Allow your Mac to open the app if your permission to continue is required, and then install the app by dragging its icon to Applications.

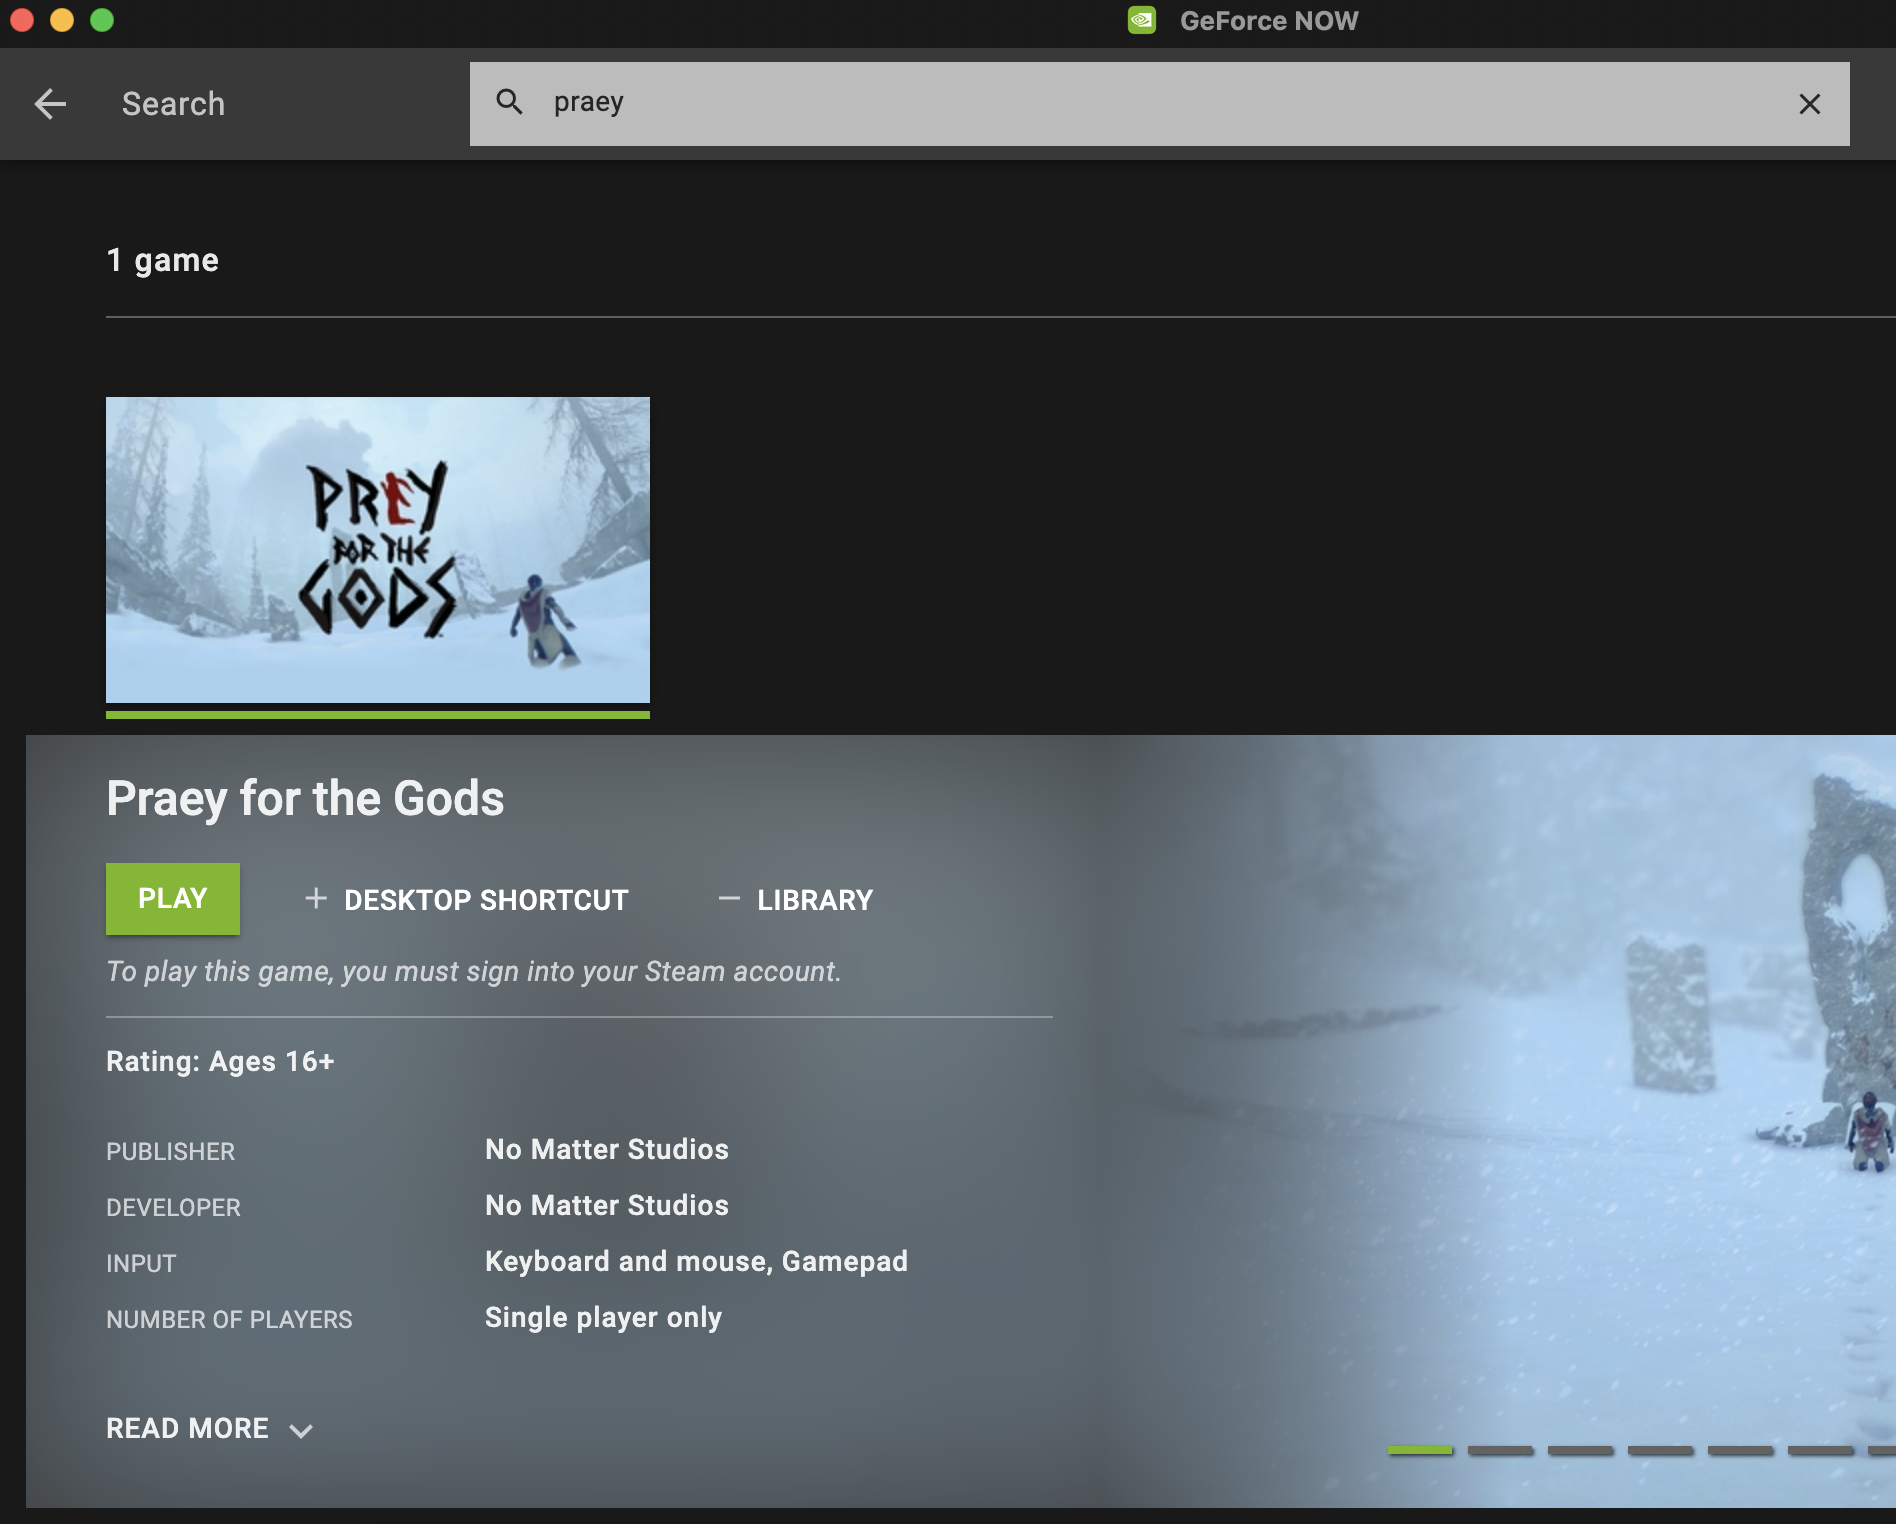
- Start GeForce Now, enter your GeForce Now account, search for Praey for the Gods in the app, and click on the game.
- Click on Play and select Continue.

- Wait in the queue and once it’s your turn, you will be asked to connect to your Steam account, so type your Steam username and password and log in.
- After that, the game should start. If you want to evoke the GeForce Now menu, press Command + G.




Leave a Reply