FIFA 22 on Mac
FIFA 22 won’t be officially playable on Mac computers, since it won’t have a version for macOS. However, there are workaround options for Mac owners to enjoy FIFA 22 on Mac, namely using Boosteroid, Google Stadia, or installing Windows on your Mac.
Editors’ Choice: Play Genshin Impact on Mac
Overview
FIFA 22 is this year’s installment of the popular football/soccer simulator game series. In it, players could pick between a number of game modes. The first one is the well-known and established Career Mode, where you get to create, manage, and play with a custom team. There’s also a Volta Football mode, which offers a “street” version of the game that rewards flair and display of advanced and fancy skills via a Skill Meter exclusive to this Game Mode. FIFA Ultimate Team is another mode – one in which you get to create your dream team, choose among thousands of football players and then play with this team against the computer AI or other players from the FIFA Ultimate Team community.

Unfortunately for Mac users, as we said above, the game won’t be coming to macOS, which severely limits the options to play it on a Mac machine. Nevertheless, there are ways to get around this obstacle.
The first and arguably more effective one is to use Google Stadia – a cloud gaming service that allows you to play games without having them on your machine and without worrying about compatibility or lack of hardware power. FIFA 22 is available for Google Stadia, so everyone who has an account there can purchase the game and play it through this platform. The only problem with Google Stadia is that it’s not available in every country, so you should first check whether it’s available where you live before you try to use it to play FIFA 22.
Other than that, it’s also possible to install Windows 10 on your Mac with the help of the pre-installed Boot Camp assistant tool that Mac computers come with by default. It’s not too difficult to use it and install Windows 10 with its help, but it’s a time-consuming process that’s also quite taxing for the computer. The good news is that Mac users who wish to install Windows 10 on their machines can do so for free, so don’t worry about having to pay for both the game and the Windows OS.
In the guide below, we’ve shown how you can play FIFA 22 using both of those methods, and it’s up to you to decide which one you’d like to try first.
How to play FIFA 22 on Mac
To play FIFA 22 on Mac, the easiest way is to use cloud-based gaming services such as Boosteroid and Google Stadia. The other way of playing FIFA 22 on Mac is to install Windows 10 on the Mac and then play the Windows version of the game.
We recommend first trying the Boosteroid option if the service is available in your country. It requires a much smaller time investment and is easier to set it up and start playing. The other option is much more time-consuming, significantly more taxing on the hardware of your Mac, and, if in the end, you are not satisfied with the result, you’d need to waste even more time removing Windows 10 from your Mac (since there would probably be no other reason to keep it there).
FIFA 22 Set-Up Methods
| Methods | Advantage | Disadvantage |
| Cloud Gaming | – No set-up required – Register and Play – Access to a Library of over 70 top-rated free Games – Smooth performance – Compatible with M1 and Intel Macs |
– Monthly Fee – Requires Decent Internet Connection – No Free Trial |
| BootCamp | – Free to use any time – Windows 10 Environment |
– Painful Setup – Mediocre Performance – Only Compatible with Intel Macs |
| Parallels Virtual Machine | – Easy Set-up – Adequate Performance – Play almost any PC game – Windows 11 environment – Compatible with M1 and Intel Macs – 14-day free trial |
– Yearly Fee |
Play FIFA 22 with Cloud Gaming
FIFA 22 is now available to play on cloud gaming servers. This assures NO
compatibility issues while playing on your Mac as well as top-notch performance.
Step 1. Get FIFA 22
Before playing FIFA 22 make sure you get the game through the official websites. For the moment only Steam and Origin are compatible with cloud gaming services such as Boosteroid and Geforce.
Update: Limited time offer now available at CDkeys.com, – 74% Discount FIFA 22 for just $15.99 (Origin Launcher)
Step 2. Register and Add FIFA 22 to the Boosteroid Cloud Gaming Library
All you need to do now is register for Boosteroid. This allows you to add FIFA 22 to their Cloud Gaming Library. Once uploaded you can seamlessly play the game from your Mac, TV, or Mobile Device.
When Registered you will have additional access to more than 100 top-rated games for free. Pricing varies depending on the subscription plan.
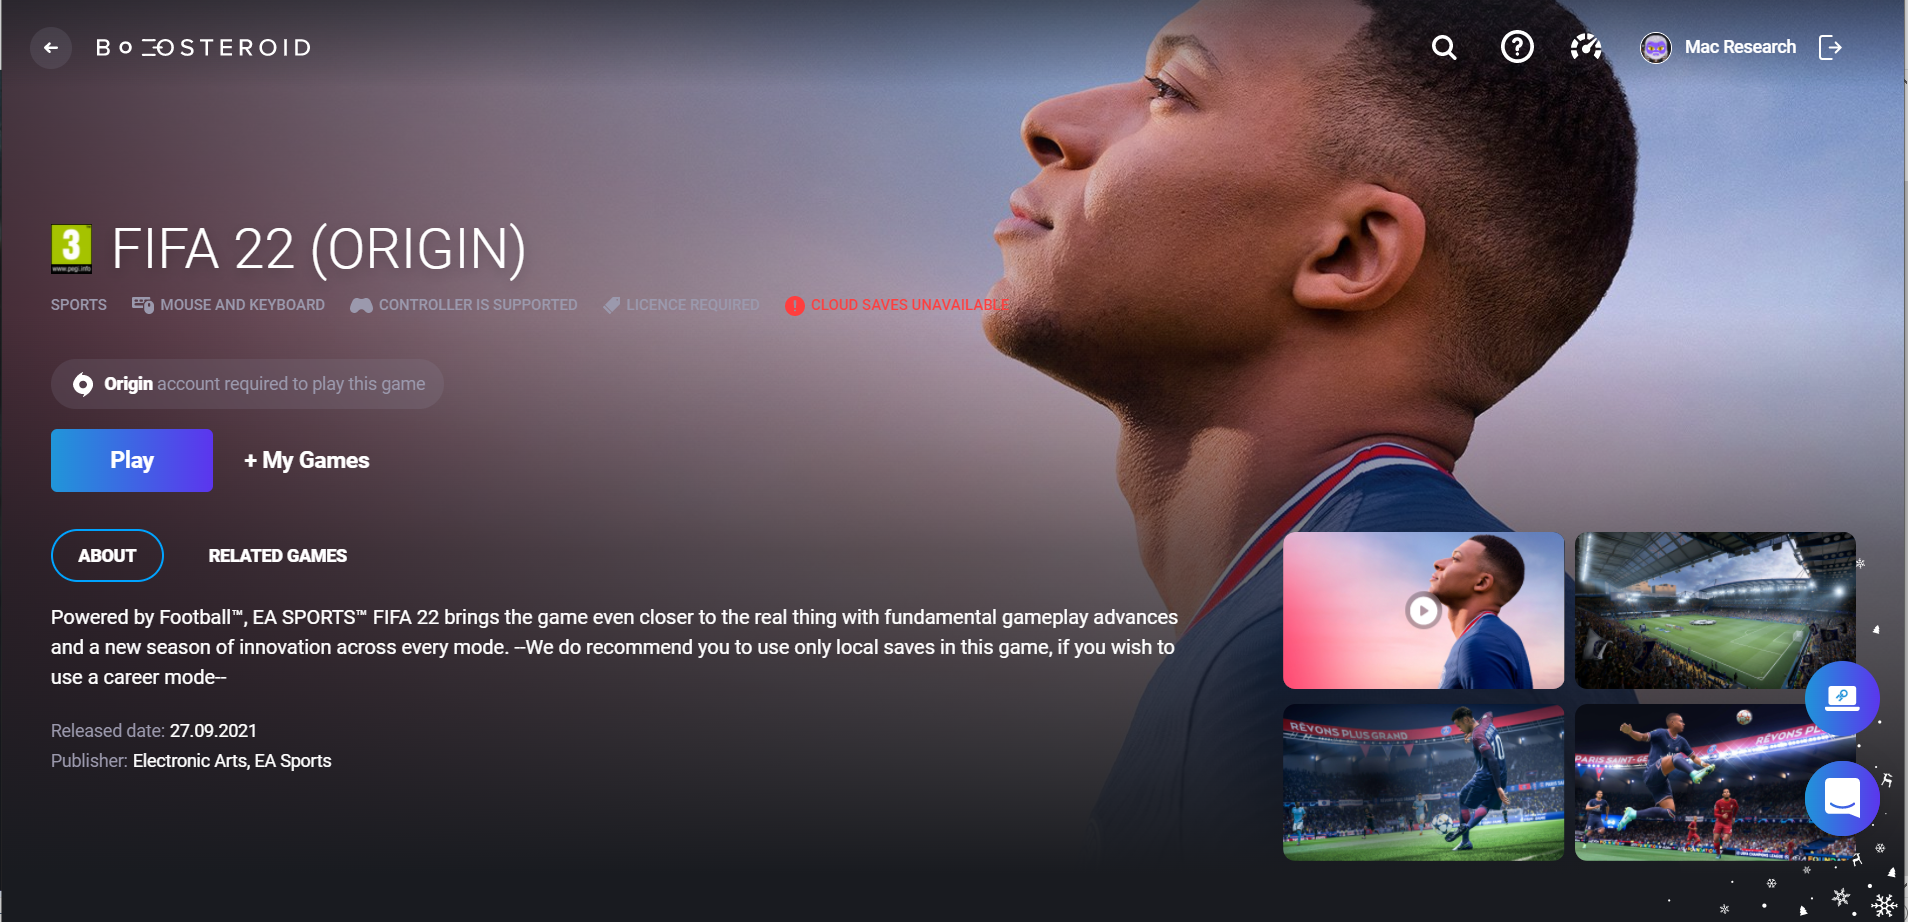
Play Fifa 22 on Mac with Boosteroid
- Go to the Boosteroid website and create an account there.
- Click on your account’s name in the upper right corner of your screen to view all the subscription options.
- Select a subscription plan suitable to your needs and provide the necessary payment details. You can start using your subscription right away.
- Use the search option in the upper right to type Fifa 22 and go to the game’s respective Boosteroid page.
- Click on the play button once you are on the Fifa 22 page. Depending on whether you chose the Steam or Origin version you will need to link your account to Boosteroid.
- To link your account to Boosteroid just click on the Ok button followed by Let’s Go. FIFA 22 will launch immediately.
- Use full-screen mode for the best experience and also consider playing with v-sync off (framerate unlocked).
Play FIFA 22 on Mac M1
To play FIFA 22 on Mac M1 systems, one method you can try is to use a hardware-virtualization program that can create a Windows 10 virtual machine on your Mac. With its help, you should be able to run FIFA 22 on your Mac M1.
The commonly used Boot Camp method that can allow Mac users to install Windows 10 on their machines and download Windows games on the new Windows 10 partition is sadly not a viable option for M1 chips. However, through the help of a virtualization program such as Parallels, you could still get Windows 10 on your Mac and then download the Windows variant of the game and run it in the Windows 10 environment. We will show you the exact steps needed to set up the Parallels Windows 10 virtual machine, but you must understand that, since this is a workaround method, there are no guarantees that it will always work. Still, Parallels has shown to be a viable option for playing Windows games on Mac systems, and it even has an optimization feature for gaming that can be enabled while creating the virtual machine, so it’s certainly worth giving it a try. The program itself is paid, but its 14-day free trial period would give you enough time to install it and test playing FIFA 22 (or any other Windows game) on your M1 Mac.
- Visit the official website and Download Parallels.
- Install Parallels on your computer by running the .dmg file and following the directions on the screen.
- Once Parallels has been installed, open it and select the “Install Windows” option to begin the process of creating a Windows VM.
- Create a Parallels profile or sign in to the virtual machine using one of the other available sign-up options.
- Once you enter the VM, download the Steam or the Epic Games client and use it to install the game on the virtual machine.
If you need more in-depth steps for Parallels with screenshots , check out our Full Parallels Guide for solutions.
After the Windows 10 virtual machine is finally installed on your Mac, you can start using it and download whatever game you want on it. Switching between Windows 10 and macOS is done either by pressing Command + Tab or by swiping left or right with three fingers on the trackpad of your MacBook.
If you won’t be using the virtual machine for some time and don’t want it to waste any of your Mac’s resources, you can pause it – simply go to macOS, click the icon of Parallels from the menu bar at the top, go to Actions, and click Pause. You can unpause the virtual machine from there or by switching to it and clicking the Pause button that will be shown in the center of the screen. To fully shut down the virtual machine, switch to it, open the Windows 10 Start Menu, click the Power button, and then select Shut Down.
Now that you have the virtual machine all set p, it’s time to actually install the game and play it.
Play FIFA 22 on Mac using Google Stadia
Google Stadia is a popular cloud-based gaming service that allows its customers to play any game that’s available in the service’s library without downloading and installing it locally, on their computers. This technically means you can play games that don’t have a version for your Mac, or even ones that have system requirements that the machine doesn’t meet. It’s all thanks to the fact that the game isn’t actually running on your computer but instead on a much more powerful remote machine, with the gameplay being streamed to your Mac. Of course, your Mac still needs to meet the requirements of Google Stadia, but those are significantly more permissive.
Another plus side of this method is that it’s really easy to set up Google Stadia – you just need to download its desktop app, create an account, and purchase the game. However, if you think you may need more detailed instructions, you can find them in our guide on How to use Google Stadia on Mac.
Play FIFA 22 on Mac with Boot Camp
If Google Stadia isn’t available in your country or for some other reason that method didn’t work out for you, there’s another potential method of running FIFA 22 on your Mac. For this, you’d need to use the Boot Camp Assistant app of your Mac to install Windows 10 on a separate partition and then download and install the Windows version of the game in that partition and play it from there. It’s a lengthy process, and you’d need to make sure that your Mac has enough free space and meets (or preferably exceeds) the minimum requirements to run FIFA 22.
Installing Windows 10 on Mac
This is the more time-consuming part of this method, and it requires your Mac to have no less than 200 GB of free space, so make sure that there’s enough free storage space on the computer before you begin.
- Start by visiting this link from Microsoft’s official site and select the regular/plain Windows 10 edition of the OS and click the Confirm button.
- Pick the language you prefer and click Confirm again.
- Select the 64-bit Download button, and pick a download location if asked to do that. If not, the Windows 10 ISO file you are downloading will most likely be saved in the Downloads folder of your Mac.
- Next, click Go from the menu bar, go to Applications > Utilities, and start the utility labelled Boot Camp Assistant.
- When the Assistant starts, click Continue, and use the dot between the macOS and Windows partitions to allocate enough storage space to the Windows partition. You should give the Windows partition at least 150 GB of space since 64 are required for the OS, another 52 for the game, and the rest so that you don’t experience any errors and performance issues due to lack of space. Also, there should be some spare storage space left for the macOS partition (at least 50 GB), which is why we earlier told you that you’d need at least 200 GB of storage space to set everything up.
- Next, click on Choose a Windows 10 ISO file, click Choose, find the ISO file you downloaded, select it, and click Open.
- Select Install and wait – after some time you will be required to type in your Admin password – do that and click OK.
- After your computer restarts, and you see the Windows 10 logo on its screen, select a language and location and click Next.
- When asked to type in your product key, do that and click Next if you have such a key. If you don’t have a key, select Skip/I don’t have a product key.
- If on the next screen, you are asked to choose between the Windows 10 Home and Pro edition, we suggest going for the Home one. Windows 10 Pro isn’t required to play FIFA 22, and you’d only need to pick it if you also intend to perform more advanced tasks in Windows 10.
- Next, click I agree and then select Next to launch the installation. This will take some time, and we suggest that your Mac stays plugged into a power outlet during the process so that you don’t risk running out of battery juice. The computer mustn’t be interrupted or shut down until the installation completes.
- Once Windows 10 gets installed, the Mac will restart, and you will be greeted with a screen that asks you whether you’d like to customize your Windows 10 settings or use the preset ones. We recommend going through the customization process.
- Next, you must create an account for Windows 10 – you can skip creating a password if you’d like, but we recommend that you pick a password for security reasons.
- After that, choose whether you’d like to activate and customize Cortana or leave that for later.
- When Windows 10 finally loads, the Boot Camp Assistant should be open on your screen – click Next in it, then I accept, then Next one more time. This will begin the installation of Mac drivers for Windows – wait for the process to complete and if your permission gets requested at any point, provide it by clicking Yes. After the process is over, click Finish and your Mac will restart.
- When the machine boots back up, go to the Start Menu in the bottom-left, open Apple Software Update, wait for the check for updates to finish and select Install if any updates have been found. Like before, if your permission is requested, click Yes to allow the installation. Finally, click Yes when the installation is over, and you are asked to restart the computer.
- After yet another restart, select the Start Menu again and go to Update & Security > Windows Update. This will start an automatic search for Windows updates and their subsequent installation. This may take a while and when the process is over, you will see a Restart Now option that you must click in order to restart your Mac one last time before you are ready to download and play FIFA 22.
Switching between the different partitions
Before you install the game, you should learn how to easily switch between macOS and Windows 10 on your Mac. To go to macOS from the Windows partition, you must locate and click a small tipped square icon that should be available in the bottom-right of your screen, then select Restart in macOS and confirm the action. If you didn’t see the square icon, click the upwards-pointing arrow icon in the bottom-right, and you should see the square icon in the box that shows up.
To go to Windows from macOS, click the Apple Menu, go to System Preferences, and open Startup Disk. There, select the locked padlock icon, click Unlock, then select Bootcamp Windows, and finally click Restart.
Installing FIFA 22 in the Windows 10 partition/virtual machine
This is the easiest part of this method – the installation of the game itself is quite easy and straightforward. Simply go to its page on Steam, click Add to cart on the edition you prefer (Standard or Ultimate), and then select Purchase for myself. After this, you will have to pay for the game with your credit/debit card, and then you will be able to download and install it, following the instructions in the installer. Once the installation completes, you can start playing the game from the Windows 10 partition on your Mac.
Leave a Reply