How to add phone number to iMessage on Mac
To add a phone number to iMessage on Mac, you must check your phone number in the iMessage settings of your iPhone. After that, to add your phone number to iMessage on Mac, you must go to the Messages app settings on your Mac.
Before you could add your phone number to the Messages app on your Mac or on any of your other Apple devices, you must first activate it on your iPhone in the following way:
- On your iPhone, open the Settings app and open Messages.
- Now, enable iMessage if it isn’t enabled. It may take several moments before iMessage activates.
- Next, go to the Send & Receive section and if there you see an option labeled Use your Apple ID for iMessage, tap it and log in with the same Apple ID that is used on your Mac.
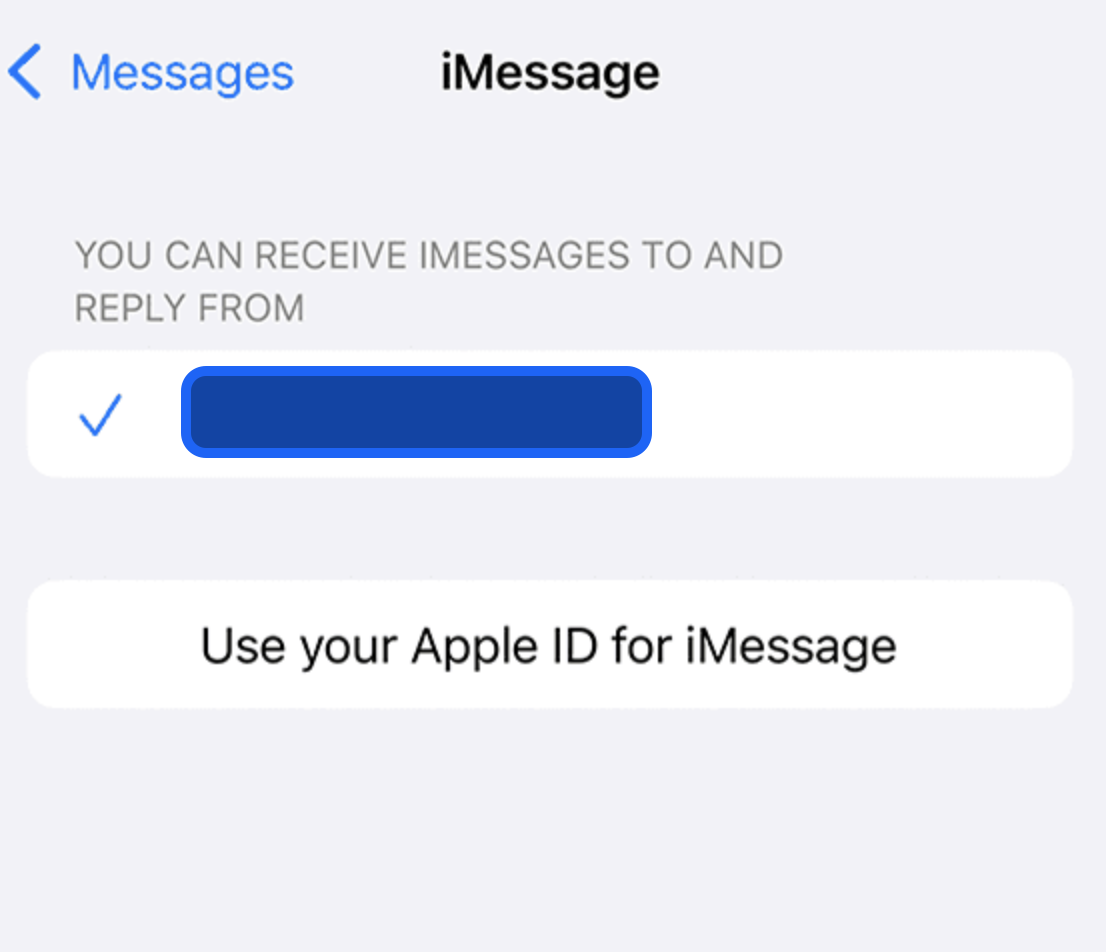
- Next, under the You can receive iMessages to and Reply From section, you must select both your Apple ID and your phone number. After that, you can exit settings – your phone number will be set up in iMessage and you can now connect it to the Message apps on your other Apple devices that are using the same Apple ID.
How to connect phone number to Mac
- Open the Messages app on your Mac and log in to your Apple ID if you aren’t already logged in. It must be the same Apple ID that’s used on your iPhone.
- If you were already signed in with your Apple ID in messages, you will likely get a prompt that asks you if you’d like to add your phone number to iMessage and FaceTime – select Yes.
- Next, from the menu bar, select Messages and go to Preferences.

- Select the iMessage tab and, in it, make sure that both your Apple ID and your phone number are checked.
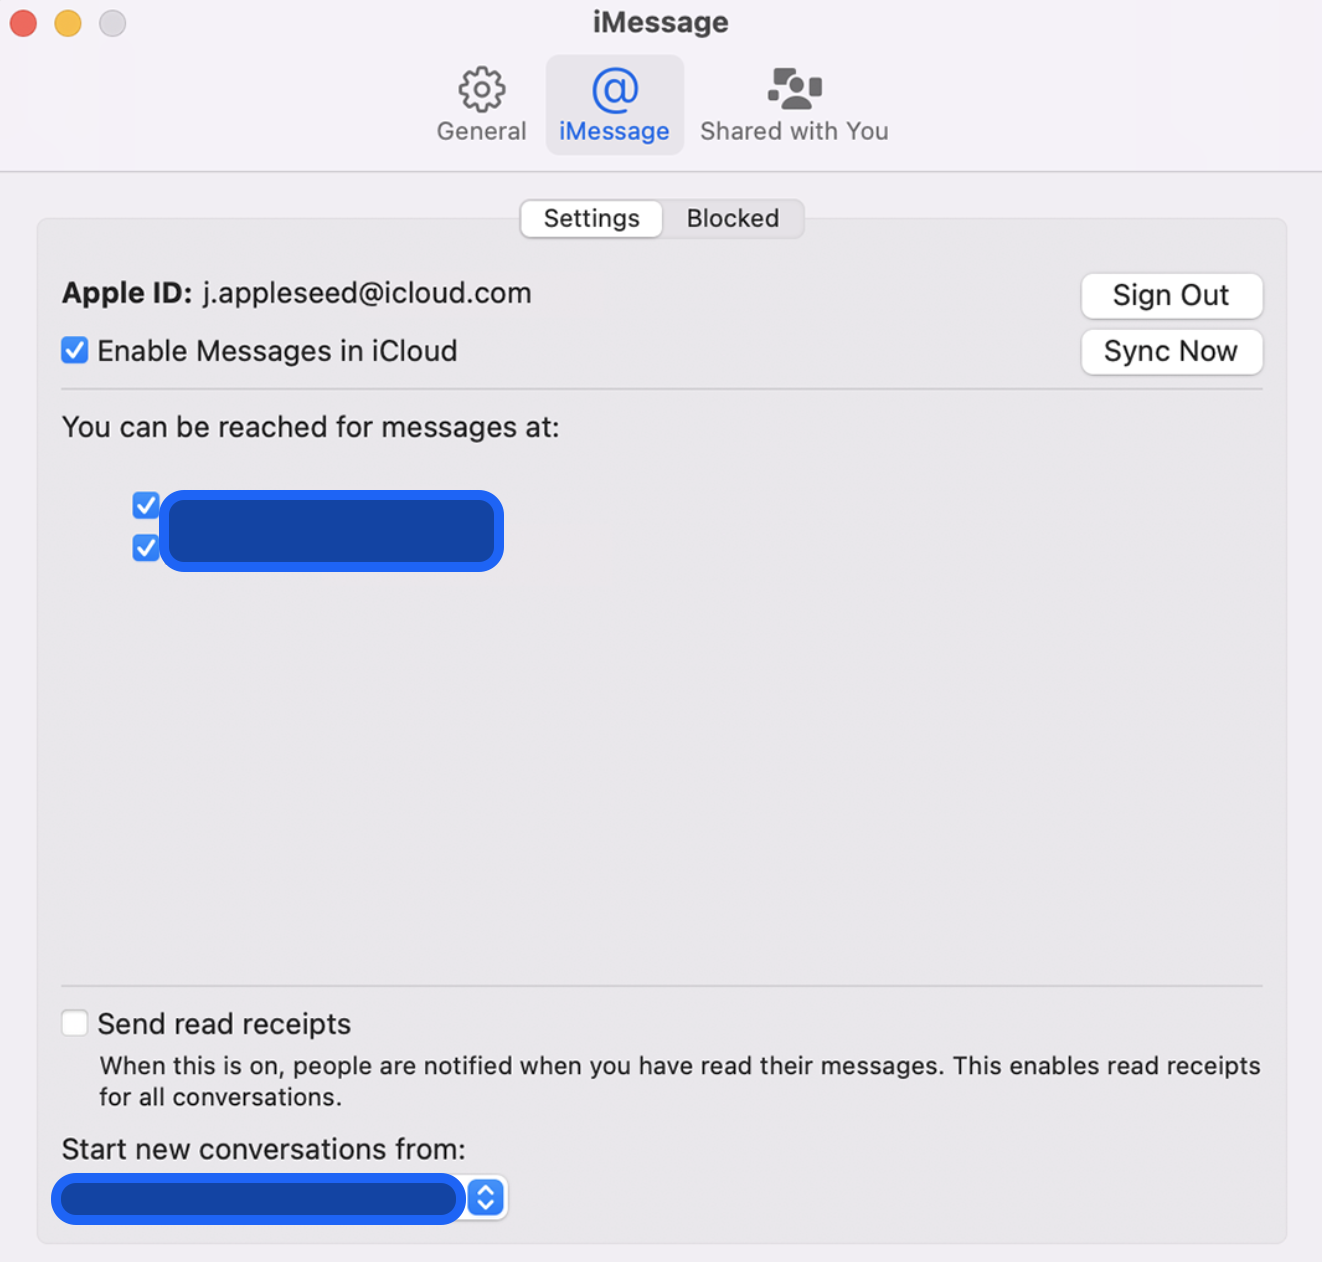
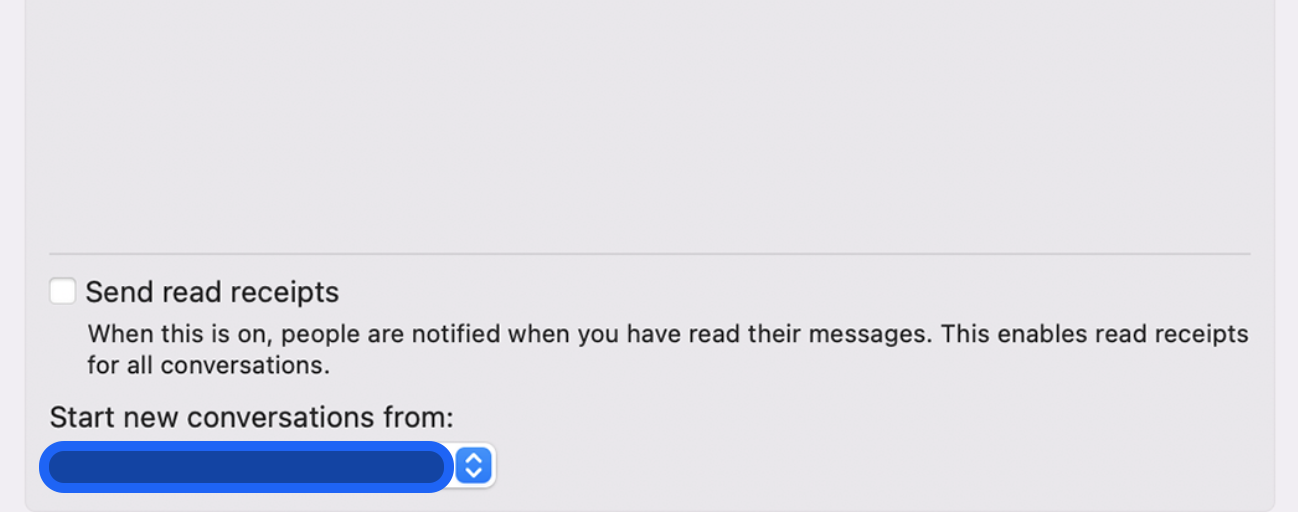
- If you want the recipients of your messages to only see your phone number but not your Apple ID, change the Start new conversation from settings (at the bottom of the screen) to your phone number.
- If you want to connect your phone number to your Mac’s FaceTime app, open FaceTime, select the FaceTime menu from the top, go to Preferences > Settings, and there check your phone number.
- To disconnect your phone number from Messages and/or FaceTime on your Mac, simply go back to the same Settings section of the respective app and uncheck your phone number.
iMessage on Mac can be connected with the phone number of the user so that messages sent to the iPhone would also show in Mac’s iMessage app. To connect iMessage on Mac with one’s phone number, both devices must use the same Apple ID.
If you have both an iPhone and a Mac, then you probably know that the devices can be synced to work together in different ways. Connecting your iPhone’s phone number with the iMessage app on your Mac is one of those ways. By doing so, all messages sent to that phone number would also show in Mac’s iMessage app. This can help you keep in touch and optimize your workflow, as you won’t need to reach for your iPhone every time someone texts you. It’s really easy to connect iMessage on your Mac with your phone number, and below we will show you how to do it.
If you don’t want your number to be connected to Messages on your Mac anymore, here are two ways you can remove it from iMessage:
1. Open Settings on your iPhone, and tap Messages.
2. Open the Send & Receive section and tap on your Apple ID (it should be shown at the bottom).
3. Tap on Sign Out when a prompt appears.
4. Next, from Settings, go to FaceTime, tap on your Apple ID, and select Sign Out.
If you don’t have access to the iPhone to which the number you want to remove belongs, you can also change the password of the Apple ID account that’s being used on that iPhone. This will automatically remove its phone number from all Macs, iPads, and iPod touch devices that are using the same Apple ID.
Leave a Reply