External hard drives can be very useful in a number of ways, but one problem you may face when you try to upload something to an external HDD from your Mac is that it may turn out that the drive isn’t compatible with your Mac computer. This, however, isn’t a serious problem and can easily be dealt with if you know how to format your external hard drive so that its new format would be one that is compatible with mac OS.
Mac cannot mount external drive even with exFAT formatting.
You may encounter that your Mac with M1 chip cannot mount the external hard drive event when using exFAT formatting. This can happen if the external hard drive was formatted with a windows computer. To get around this problem you will need to revert to NTFS formatting using your windows PC. Your mac should then be able to read the hard drive even if you can’t upload or edit files. Follow the instructions bellow to format your external hard drive to exFAT.
How to format external hard drive for Mac
To format an external hard drive on your Mac, you need to complete the following steps:
- Start the computer and plug in the external HDD.
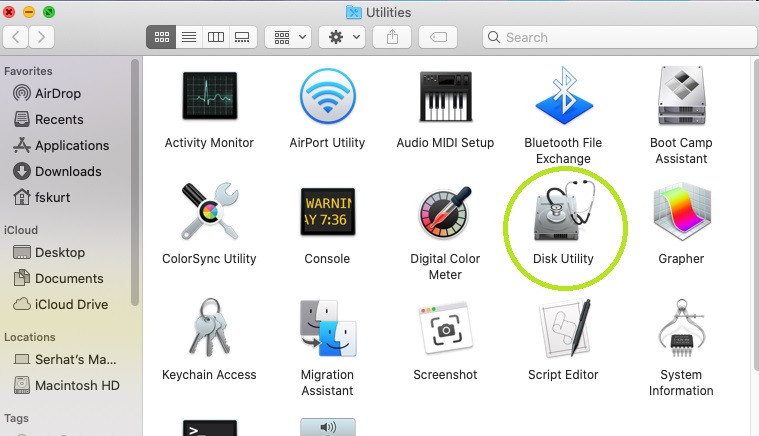
- Open the Disk Utility tool on your Mac.
- Click on the name of the external drive in the left panel of the Disk Utility.
- Select Erase and then type in a name for the external hard drive.
- Next, select either the APFS (Apple File System) format or the Mac OS Extended File System format, set the partition scheme to GUID, and click Erase to format the external drive on your Mac.
This was the short version of the guide. If you would prefer to read a more detailed and in-depth explanation of how to perform the external hard drive reformatting, please, read on.
Step 1
The first thing you have to do is to obviously start your Mac and plug in the external hard drive. Depending on the model of the Mac and the drive, you may need to buy an adaptor.
Newer Macs don’t have USB type-A ports and if your external hard drive’s cable is USB type A, then you will need an adaptor cable to connect it to your Mac. Simply search for “USB type A to type C adaptors” in Google (or another search engine) and you should be able to quickly find what you need.
Also, know that any data stored on the external hard drive will be deleted after you (re)format it. Therefore, if you have any important files stored on the drive, either upload them to your Mac or to another computer so that they don’t get lost.
Once the external drive is connected to your Mac, its icon should show up on the Desktop. If it doesn’t, go to Finder > Preferences > General and check the External Hard Drives option shown there. After that, you should see the drive’s icon on the Desktop.
Step 2
Now you have to go to the Disk Utility app – this is the tool we will be using for the formatting process. To find it, go to Finder > Applications > Utilities. You will see the Disk Utility there – open it.
Step 3
Now let’s use the Disk Utility to format your external drive. First, when the tool opens, look in its left panel – below where it says “External”, you should see the external drive that you connected to the Mac. Click on the icon of the drive (and not on any of the icons below it, or you may cause problems for the drive!).

If you see only one icon below External, click on View from the top, and then select Show All Devices – once you do this one or more additional icons should show up below your external drive in the left panel. You aren’t supposed to touch any of these other icons, you should still select the first icon shown below External – the one that has the name of your external drive.
Step 4
Once you’ve selected the external drive in the Disk Utility, look in the right panel and find and click on the option labeled erase (it’s shown at the top).
In the window that shows up, first type a name for the external hard drive, then select either of the following three formats for the external drive:
- APFS – this format is recommended for SSD drives
- Mac OS Extended (Journaled) – this format is compatible with the biggest number of Macs (newer and older models).
- ExFat – you should pick this format if you want to make the external drive compatible with both Mac and Windows PCs.
Note 1: Only the APFS and the Mac OS Extended (Journaled) formats allow you to use the drive for Mac Time Machine backups.
Note 2: If you do not see the APFS option (sometimes happens when reformatting drives with the NTFS format), you can get it to show by first formatting the drive with the Mac OS Extended format, and then formatting it again – this time the APFS option should be available.
Next, you must also select the GUID Partition Map as the Partition setting.
Step 5
Once everything has been set up as explained above, click on Erase and let the process complete. Be patient, don’t unplug the drive or quit your Mac until the formatting is finished.
Note: If you got an error message after you clicked on Erase, then make sure that you have selected the correct icon from the left panel. If you have, then click on the First Aid button from the top in order to check if there are any problems with the drive itself.
Leave a Reply