Greetings, fellow Mac aficionado! No matter if you’re using the cutting-edge M1 or M2 Mac or a reliable older model, mastering the art of taking a screenshot is essential and straightforward. There are four primary approaches for grabbing screenshots, including an exclusive one for MacBook Pro users equipped with a Touch Bar. Rest assured, these strategies work on all contemporary Macs, such as MacBook laptops, iMac all-in-ones, Mac Mini, and Mac Studio desktops, and we’ve even tested them on the most recent MacOS Ventura update.
How can I screenshot on Mac?
A quick and straightforward way to grab a screenshot on Mac is by using the Cmd-Shift-3 keyboard shortcut. It’s fast, hassle-free, and perfect for capturing a full-screen snapshot. But, that’s just the tip of the iceberg! Keep reading to uncover more advanced screenshot techniques and some handy tips for managing your screenshots!
Alternative ways for capturing a screenshot on Mac
While Cmd-Shift-3 is undoubtedly an efficient way to take a screenshot on Mac, other methods offer additional flexibility and control. We’ve broken them down for you below:
Method 2: Selective area screenshot with Cmd-Shift-4
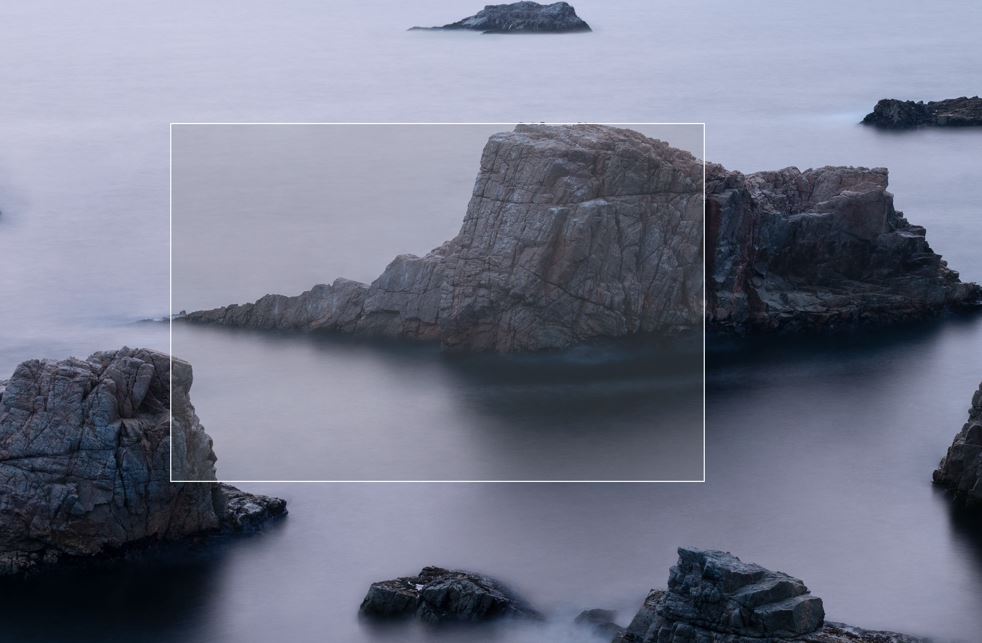
For those who prefer capturing a specific portion of the screen, the Cmd-Shift-4 shortcut is your best bet. Once you press the combination, your cursor will transform into a crosshair, allowing you to click and drag a selection box around the desired area. Release the mouse button, and voilà! Your custom-sized screenshot is ready. This method is particularly helpful when you want to focus on a particular detail or share only a specific section of your screen with others.

Method 3: Screenshot a specific window using Cmd-Shift-4 + Spacebar
Need to capture just one window? Try the Cmd-Shift-4 shortcut followed by pressing the Spacebar. Your cursor will become a camera icon, and you can click on the window you’d like to capture. It’s that simple. This method is great when you have multiple windows open and want to avoid the clutter in your screenshot.
Method 4: Use the built-in screenshot interface (Cmd-Shift-5)
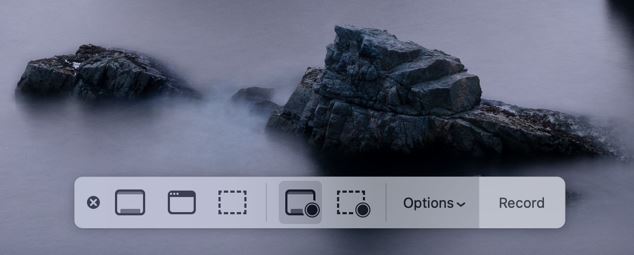
If you’re looking for a built-in tool with more advanced features, try the Screenshot app on your Mac. Press Cmd-Shift-5 to open the app, which offers a range of options such as capturing the entire screen, a specific window, or a selected portion of the screen. Additionally, you can access settings to set a timer or show/hide the mouse cursor in your screenshot.

Method 4: MacBook Pro Touch Bar screenshot with Cmd-Shift-6
MacBook Pro users with a Touch Bar get an exclusive screenshot feature. Press Cmd-Shift-6 to capture an image of your Touch Bar’s current display, making it easy to share or save Touch Bar settings or customizations. This method can come in handy when you want to demonstrate your Touch Bar’s unique configuration to others or when troubleshooting issues.
Managing your screenshots
By default, your screenshots will be saved to your desktop as PNG files, with the filename format “Screen Shot YYYY-MM-DD at HH.MM.SS AM/PM.” However, you can change the default save location and file format with just a few quick adjustments. To change the save location, open the Screenshot app (Cmd-Shift-5) and click on “Options.” Here, you can choose a different folder for your screenshots. To change the file format, open Terminal and enter the following command: defaults write com.apple.screencapture type jpg, replacing “jpg” with your preferred format.
Additional tips:
- If you want to capture a screenshot and copy it to the clipboard instead of saving it as a file, simply add the Control key to the respective keyboard shortcut (e.g., Control-Cmd-Shift-3 for a full-screen screenshot). This way, you can directly paste the image into an email, document, or image-editing application without having to locate and attach the saved file.
- To cancel a screenshot while in the middle of the process, press the Escape key. This is especially useful when you’ve accidentally initiated a screenshot or need to change your selected area.
- For more advanced editing, markup, or sharing options, you can use the Preview app. Open the screenshot with Preview, and you’ll find a range of tools for editing, annotating, and sharing the image. This can be particularly helpful when you need to add arrows, text, or shapes to your screenshot before sharing it with others.
- If you’re a Mac user with an iPhone or iPad, you can also take advantage of the Continuity Camera feature. This allows you to use your iOS device’s camera to take a photo, scan a document, or even capture a screenshot of an app, and then instantly insert it into a document on your Mac. To use this feature, right-click in a compatible app (such as Pages, Notes, or Keynote) on your Mac, hover over “Import from iPhone or iPad,” and then choose the desired action.
With these diverse screenshot techniques, handy tips, and extra features at your disposal, you’re now well-equipped to make the most out of your Mac’s screenshot capabilities. Whether it’s for work, sharing a funny meme, or documenting an issue, you now have the power to capture and manage screenshots on your Mac like a pro!
Leave a Reply