About Warzone on Mac
Warzone can only be played on Mac if you first get Windows installed on the computer through Boot Camp Assistant or Parallels. Another potential way to play Warzone on Mac is through the Shadow cloud-gaming service, but it’s officially available in only a few countries.
Can you run Warzone on Mac?
The short answer is yes. There are a few methods to play and install Warzone, each with its benefits and disadvantages which we discuss below. 1. Play using Cloud Gaming Services2. Play using BootCamp3. Play using Parallels
Call of Duty’s take on Battle Royale
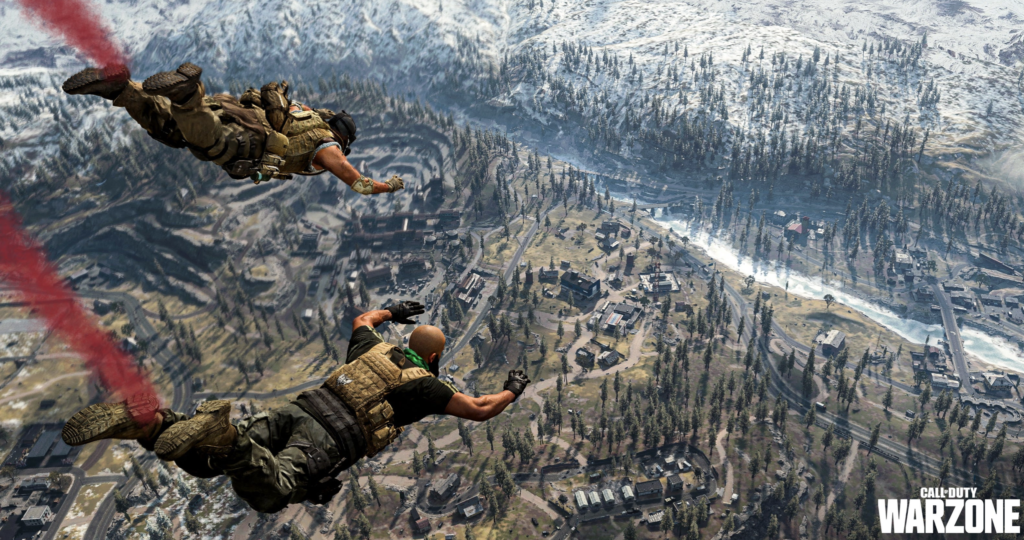
Call of Duty: Warzone is a free-to-play multiplayer FPS game with battle royale-based gameplay. The game is part of Call of Duty: Modern Warfare and it uses the same engine, weapons, and gameplay mechanics, with everything being modified to fit the battle royale style of gameplay. Although Warzone is technically a part of Modern Warfare, you don’t need to already have the latter on your computer in order to download and play Warzone.
If you are already familiar with Call of Duty: Modern Warfare, most of everything you know and like (or dislike) about that game is also present in Warzone. The main change here is the game mode, which is now battle royale – you and a group of several other players get parachute-dropped onto a large map, with the main goal being to be the last squad standing. A circle of poisonous gas that surrounds the entire map is slowly moving closer and closer towards the center, thus limiting the size of the playable area. Of course, there are loot crates and guns spread across the map that you can find and use to fight the other squads. All in all, pretty standard battle royale gameplay that uses the CoD: Modern Warfare engine, guns, gunplay, and movement.
The in-game currency system
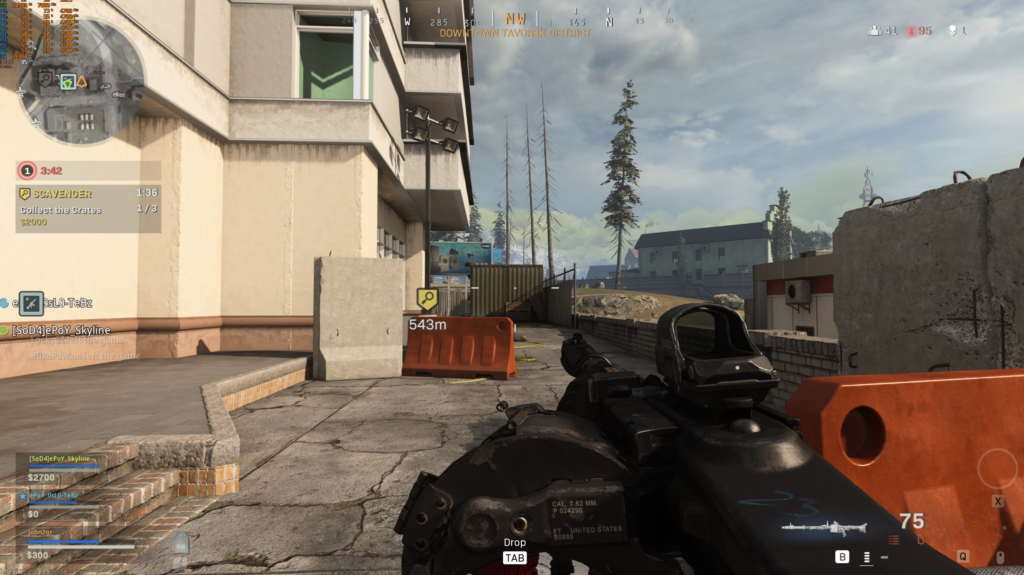
One new feature introduced into Warzone, that’s absent from Modern Warfare, is the currency system. Players can earn Cash in different ways – by killing opponents, finding it around the map, completing quests, etc. – and then spend it on a variety of perks, such as drone-guided airstrikes, respawns for fallen teammates or for yourself, armor, gas masks, etc. One of the most important perks you can purchase using the in-game currency is to receive a Loadout drop at your current location that will grant you your personalized Loadout from Modern Warfare, greatly improving your equipment (provided that you have a good Loadout). Of course, this is an option only for players who have already played Modern Warfare.
Spicing it up
An interesting feature that sets apart Warzone from other battle royale games is the “Gulag” mechanic. The first time a player is killed, they are teleported to a small map that represents the bathroom of a prison-like facility (think the bathroom area from “The Rock” film). There, the player is given a random gun with few or no upgrades and forced to fight in a one-on-one match against another fallen player. The one that wins gets to respawn immediately. It’s a cool and unique mechanic that helps keep fallen players occupied and adds a bit more zing to the overall gameplay.
Map Design
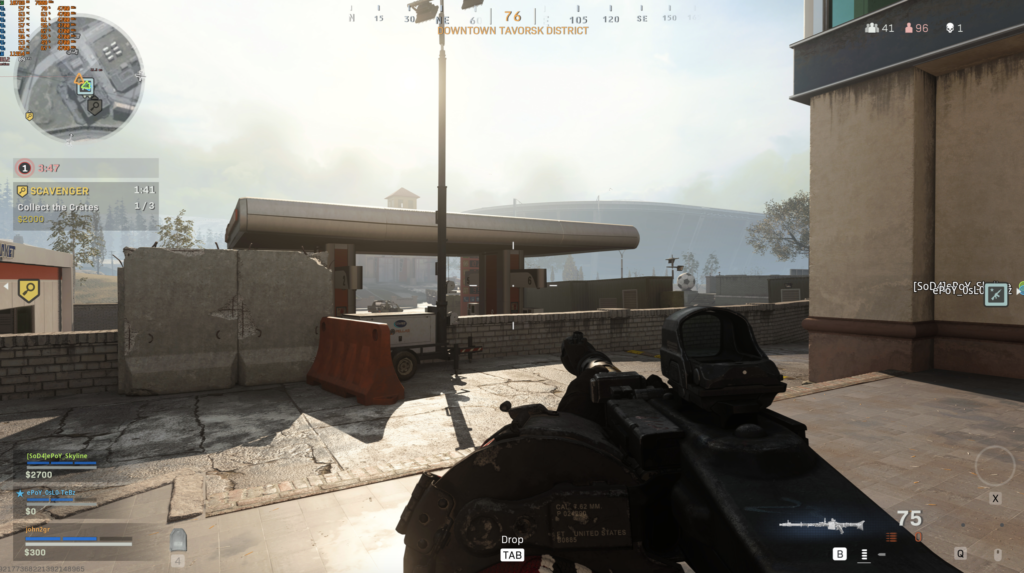
Another cool part of Warzone is the map design itself. While there isn’t anything unique or particularly innovative about the map, it’s nice that there is a lot of variety in terms of verticality. In other words, there are flat fields, hilly regions, and also quite tall buildings – all of this keeps the gameplay from becoming stale and also forces the players to more carefully adapt their tactics according to the specifics of their surroundings. This diversity in the vertical levels of the map also greatly complements the free availability of the parachute mechanic. Each player has a parachute that they can deploy and cut an unlimited number of times. The parachute can be deployed from very low heights, or if the player jumps from higher, they may even be able to deploy it, cut it, and then deploy it again. While totally unrealistic, such a mechanic makes for fun gameplay and adds to the options that players have when trying to outsmart, outshoot, and outplay their opponents.
It’s quite fun!
All in all, if you like either Call of Duty or battle royale games, there’s a high chance you will end up enjoying Call of Duty: Warzone. The game combines the polished movement and gunplay of Modern Warfare with the dynamic (and oftentimes silly) style of battle royale games to bring you a familiar, yet unique gameplay experience.
Can you play Warzone on Mac?
Yes, you can play Warzone on Mac either by creating a Virtual Machine using Cloud Computing Services such as Boosteroid. or You can probably play Warzone on Mac, but you need to first install Windows on the computer or create a Windows virtual machine. To install Windows or a Windows virtual machine and play Warzone on your Mac, you can use Boot Camp Assistant or Parallels.
It’s not a surprise that the game is not available for Mac and will probably never be. Unfortunately, you will probably not find it on any cloud gaming service aside from Shadow Cloud Gaming, which has a rather high monthly subscription fee and isn’t available everywhere.
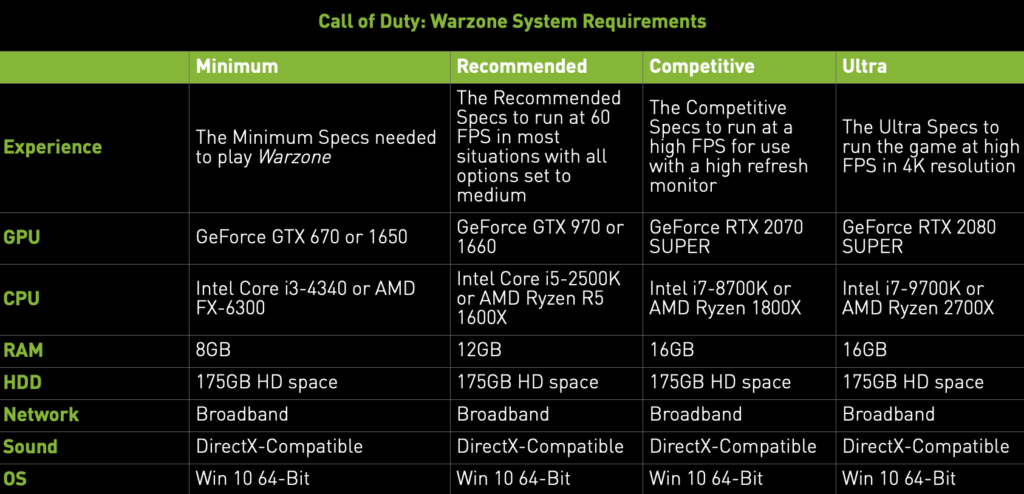
Still, if your Mac is powerful enough, it may yet be possible to get Warzone running on it, after first installing Windows on the computer. There are two main ways to do this – through Boot Camp Assistant (available only for Intel Macs) and through Parallels. Both methods will be explained to you below, but before you try either of them, be sure to check out the system requirements for the game. Note that if you want to use the Parallels method, your Mac should meet the recommended and not only the minimum requirements.
Recommended Warzone with Cloud Gaming
Warzone is now available to play on cloud gaming servers. This assures NO
compatibility issues while playing on your Mac as well as top-notch performance.
Step 1. Create account in Battle.net
Before playing Warzone make sure you have a Battle.net account. This is important as you won’t be able to play the game on cloud gaming services such as Boostorid and Geforce NOW. Below is a link to the official websites.
Step 2. Register and Play Warzone on Boosteroid
All you need to do now is register for Boosteroid. This allows you to add Warzone to their Cloud Gaming Library. Once signed in you can seamlessly play the game from your Mac.
When Registered you will have additional access to more than 70 top-rated games for free. Pricing varies depending on the subscription plan.
Warzone on Mac M1 with Parallels
Warzone on Mac M1 can only be played through a Windows virtual machine or through a cloud-gaming service that has the game in its library. You can use Parallels to create a Windows 11 virtual machine and play Warzone on your Mac M1.
Parallels is a program that lets you run Windows on your Mac from within your macOS, so there’s no need to install Windows in a separate partition. The downside is that macOS and Windows would have to share hardware resources such as RAM and CPU, which is why it’s preferable if your Mac meets the recommended requirements of the game you want to run through Parallels (Call of Duty: Warzone in this case), so that there’s enough processing power and operative memory left for it once you start it in Parallels. Below, we’ve shown you the steps required to set up a Windows 11 VM (virtual machine) using Parallels.
- Before you start, note that Parallels isn’t a free program, but it has a 14-day free trial. We recommend using the free trial to test playing CoD: Warzone through the Windows 11 VM that Parallels creates before deciding if you want to get the full version of the software.
- Go to the Parallels website and download the program’s installation file.
- Install Parallels on your computer by running the .dmg file and following the directions on the screen.
- Once Parallels has been installed, open it and select the “Install Windows” option to begin the process of creating a Windows VM.
- Create a Parallels profile or sign in to the virtual machine using one of the other available sign-up options.
- Once you enter the VM, download the Steam or the Epic Games client and use it to install the game on the virtual machine.
If you need more in-depth steps for Parallels with screenshots , check out our Full Parallels Guide for solutions.
When the VM is ready and opens on your Mac after its installation, Windows 11 will probably automatically start installing software updates. If this doesn’t happen, you must manually install any pending updates by going to the Windows Start Menu > Settings > Updates & Security > Windows Update, and by clicking install on every available update. Once this is finished, restart the VM through the Start Menu.
After the restart, Parallels may automatically begin installing helper tools that are required for best performance – let it install those tools, give any permissions that may be required of you, then restart the VM once more, and you should now be ready to download and play Call of Duty: Warzone.
How to play Warzone on Mac Boot Camp
To play Warzone on Mac, you will first need to install Windows 10 on the machine and then download the game in the Windows partition. Alternatively, you can use Parallels to create a Windows virtual machine from which you can play Warzone on your Mac.
We already showed you how to create a Windows VM on a Mac 1 computer using Parallels. You can use Parallels to create a Windows VM on an Intel-based Mac too and the process is largely the same, with the most significant difference being that, rather than downloading a Windows 11 ARM file, you will instead need to download a Windows 10 ISO file from this Microsoft page and then use that file for the VM creation.
As for the aforementioned Boot Camp method to play Warzone on Mac, this option can only be used on Intel-based Macs, because the Boot Camp Assistant application isn’t available for M1 Macs. If you have an Intel Mac that has enough hardware power to run the game and at least 300 GB of free storage space, then you can follow the instructions below to install Windows 10 on your Mac and then download and play the game from within the Windows 10 partition.
- The reason you will need at least 300 GB of free space on your Mac even though the game itself isn’t that big is that you will need additional space for the Windows 10 installation as well as some free storage that needs to be left for your macOS partition.
Installing Windows 10 on an Intel Mac using Boot Camp Assistant
Step 1: Preparing the installation
Download the 64-bit Windows 10 ISO file from this link after verifying your preferred Windows edition and language.
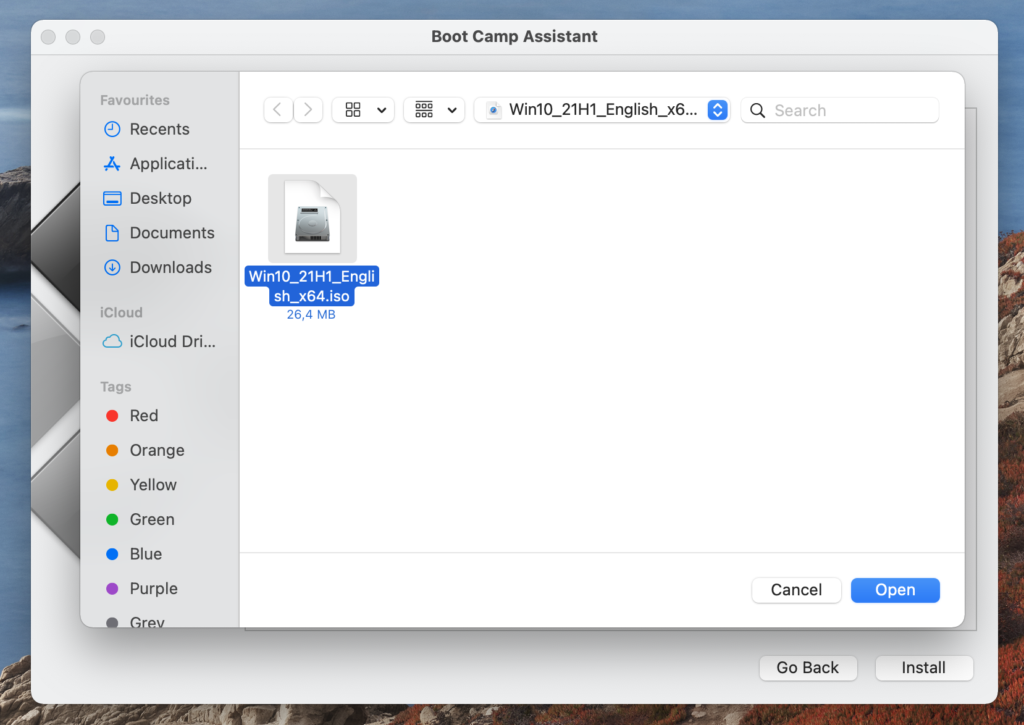
After the file downloads, go to your Mac’s Applications folder, open Utilities, and start the app labeled Boot Camp Assistant. When the app opens, click next, then select the Choose button, navigate to the Windows ISO file, and select it for the installation.

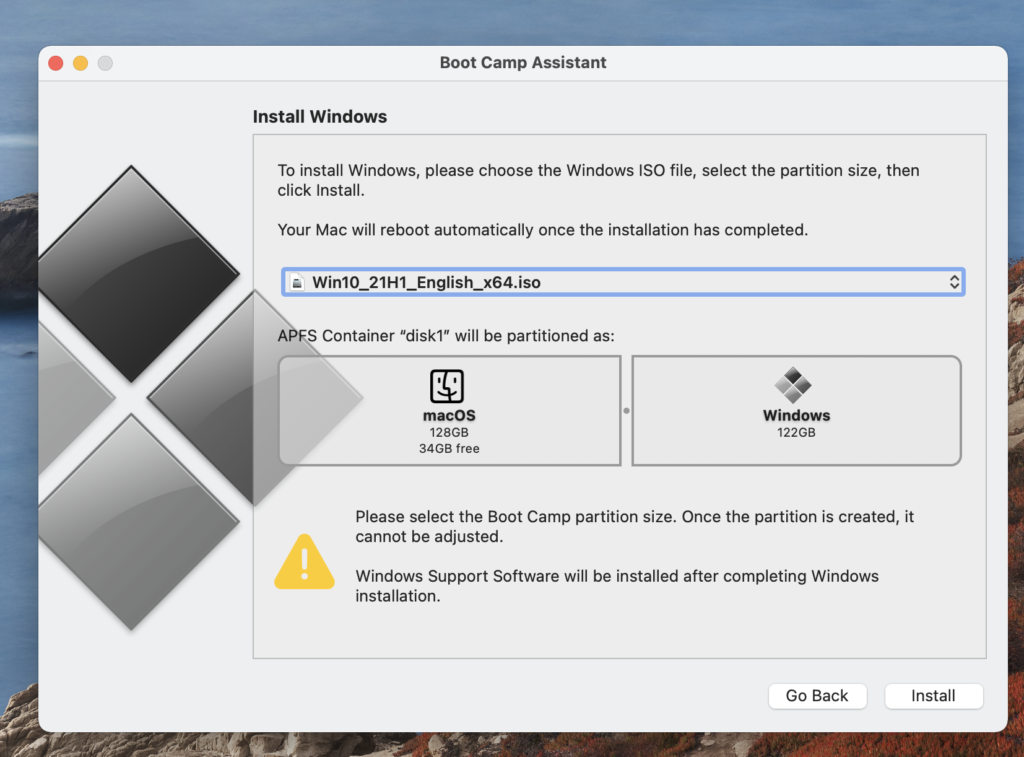
After that, you must also change the distribution of your Mac’s storage space between the two partitions – give the Windows partition at least 250 GB of storage space and leave no less than 50 GB for the Mac partition. To change the storage space distribution, drag the dot between the partitions to the left or to the right.
Step 2: Starting the installation
Once you’ve chosen the ISO file and redistributed the storage space between the partitions, click on Install, wait as your Mac prepares for the installation, then provide your Admin password, and click OK – this will cause the Mac to restart.
Once the machine starts again, choose your location and preferred language, and then, on the next screen, enter your Product key. If you don’t have a product key for Windows, simply use the Skip/I don’t have a product key option to continue.
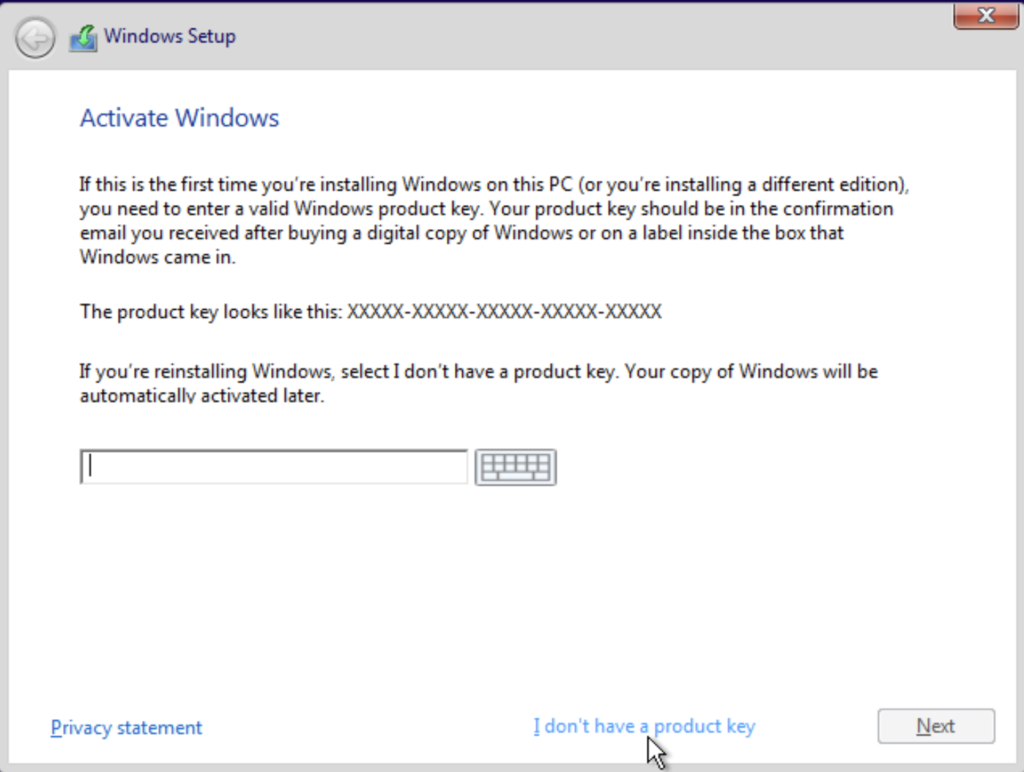
- If you clicked on Skip/I don’t have a product key, you will probably be asked to specify which Windows edition you prefer – we recommend choosing the Home edition, unless you have a specific reason to prefer the Pro one.
Continue to the next screen, agree to the Windows Terms and Conditions, and then click Next to launch the installation. While Windows 10 is getting installed, be sure to keep your MacBook plugged in to prevent it from running out of battery.
Step 3: Setting up Windows 10
Once Windows 10 installs, your Mac will restart once more, and you will be greeted by a settings screen. There, you can choose to skip this step and use the default Windows 10 settings, but we recommend customizing everything yourself.
After that, type a username and a password for your new Windows 10 account, and continue to the next section. There, you can activate and customize Cortana, but you can also skip this step – it’s not necessary to do this now. After that, your Mac will finally enter Windows 10 – there are just a couple of things left to do.
Step 4: Finalizing the installation
Once you enter Windows 10 for the first time, you should see the Boot Camp Assistant open on your screen – follow the prompts in it to begin installing Apple drivers for Windows and give your permission whenever it is required to continue the installation. After this is done, restart your Mac.
The next two actions you must perform are optional, but highly recommended for optimal gaming experience:
Install Apple updates – Select the Start Menu of Windows 10, type Apple Software Update, open the item that gets found, install any updates that may be available in it, and restart the computer.
Install Windows updates – Open the Start Menu again, navigate to Settings > Update & Security > Windows Update, wait for Windows to automatically search for pending updates, and install anything that may get found if the installation doesn’t start on its own. Once the updates are installed, restart your Mac once again.
Once this step is finished, your Mac’s Windows partition should be ready for gaming and you can proceed to the installation of Call of Duty: Warzone. Instructions on how to do this are shown below.
How to install Call of Duty: Warzone on Mac
Even though Warzone is part of Call of Duty: Modern Warfare, since you don’t actually need to have Modern Warfare installed on your Mac in order to play Warzone, we will be specifically focusing on how to download and install Warzone and not talk about Modern Warfare. There’s really isn’t anything complicated about installing the game itself, still, here are our quick instructions.
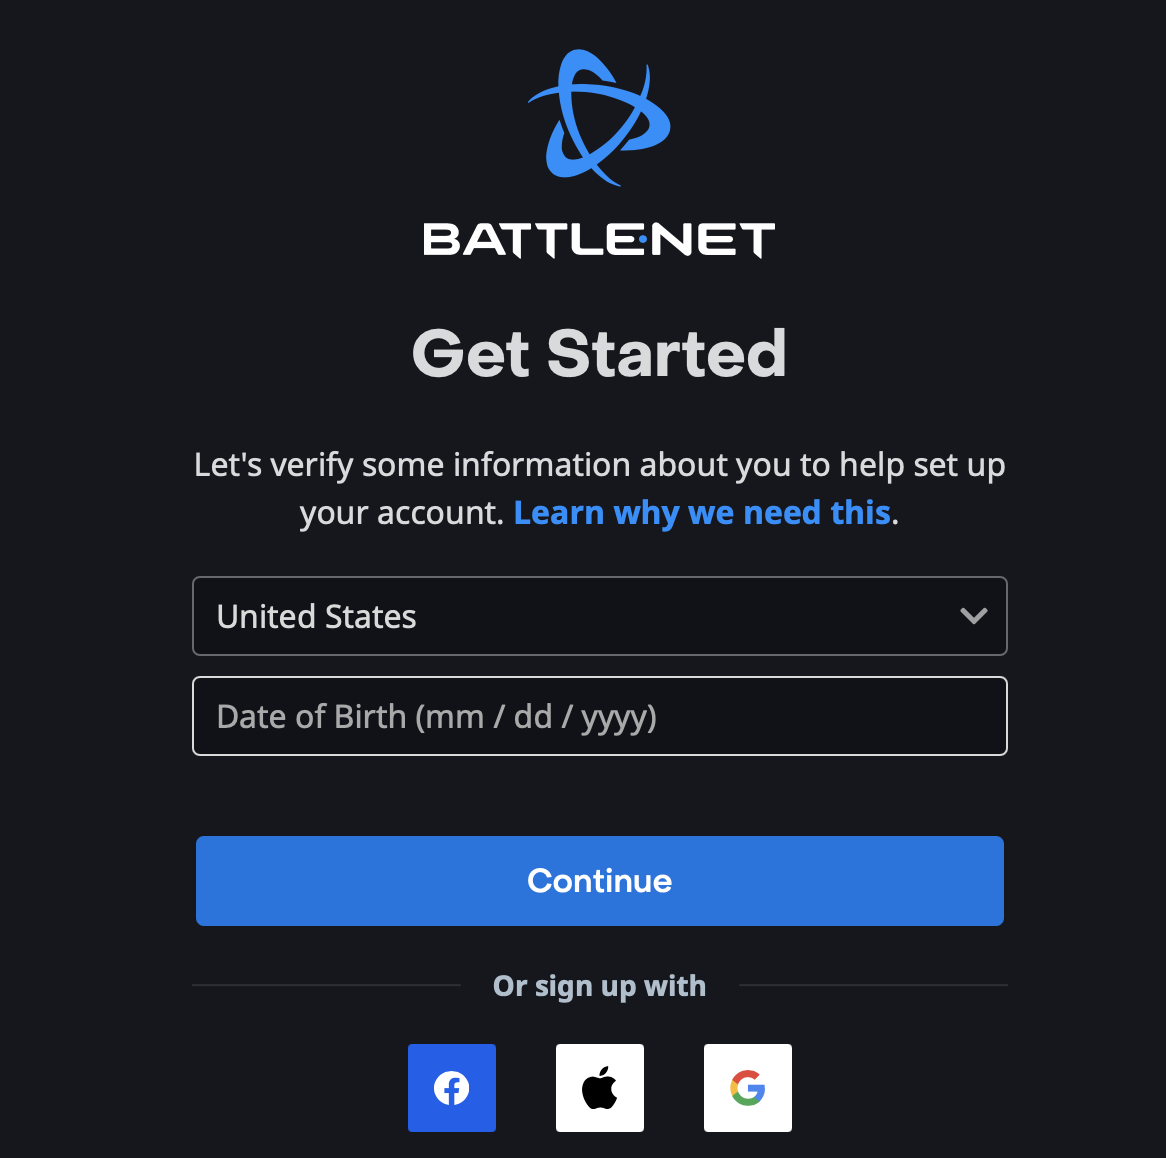
- Go here and create a Battle.net account if you don’t currently have one.

- Start your Windows 10/11 virtual machine if you opted for the Parallels method or boot into the Windows 10 partition if you used the Boot Camp Assistant method.
- Next, download the Battle.net client from this link, open the downloaded installation file, and follow the prompts to install the Battle.net client app.
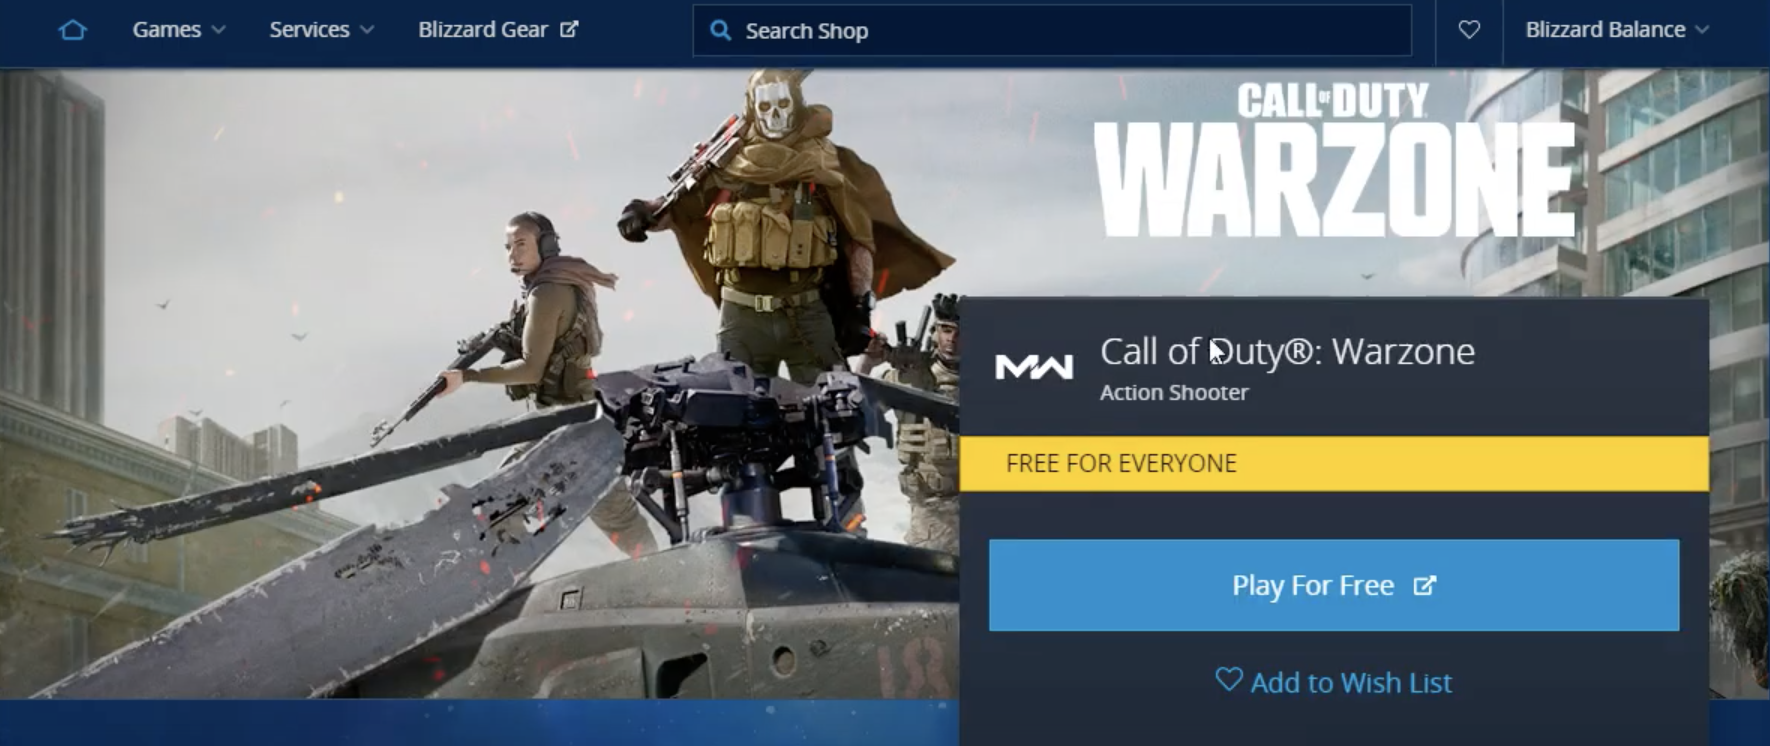
- Launch the Battle.net client, go to Shop, and search for Call of Duty: Warzone.

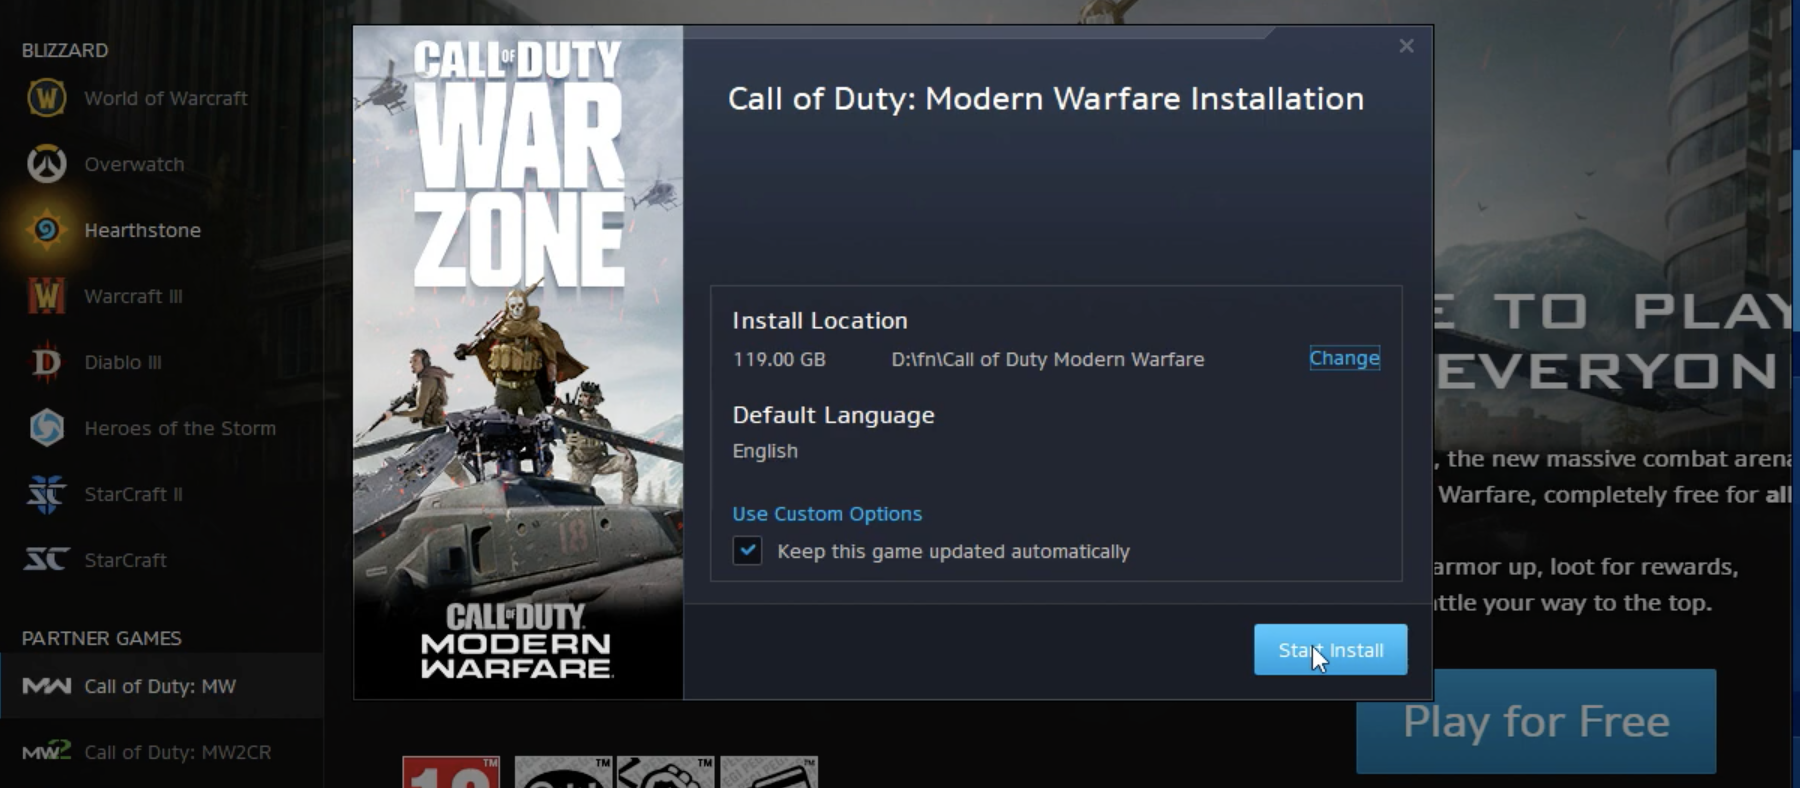
- Click on Play for Free, then follow the prompts, complete the verification requirements, and click on Start Install to begin the installation. The game will soon be installed and you can start playing it. You can launch the game directly from the Battle.net client or from the shortcut that should be created on your Desktop.

Leave a Reply