What Is Marvel Rivals?
Marvel Rivals is a multiplayer action game featuring iconic Marvel characters battling in strategic, team-based matches. Although widely popular on Windows and consoles, Marvel Rivals hasn’t officially released on Mac, leaving Mac users without a direct way to join the action – but there are still alternative ways to play.

Can you play Marvel Rivals on Mac?
Officially? Nope. Marvel Rivals isn’t available natively on Mac, and sadly, it doesn’t look like that’ll change anytime soon. Developers haven’t mentioned plans for a Mac version, so don’t hold your breath. But here’s the good news: alternative methods exist! Apple Silicon Macs handle these alternatives especially well, though Intel Macs can also join the party (just with a few extra hurdles). Considering Marvel Rivals is completely free, these methods are definitely worth checking out. Bottom line: yes, you can totally play Marvel Rivals on your Mac, if you don’t mind some clever tinkering.
Methods to Play Marvel Rivals on Mac
Even without official Mac support, you’ve still got options. First up: cloud gaming. Services like Boosteroid and GeForce Now let you stream Marvel Rivals directly to your Mac without complicated setups. Both services handle performance well, with Boosteroid offering easy access and minimal latency if your internet connection is reliable. GeForce Now delivers similar streaming quality and stability, making either service an excellent choice if you’re not into tweaking technical settings.
If you’d rather run the game locally on your Mac, CrossOver is the way to go. CrossOver lets your Mac mimic a Windows environment, so you can directly install Marvel Rivals and get surprisingly good performance – especially on powerful Apple Silicon Macs. You’ll experience smooth gameplay once you navigate the initial setup, making it ideal for those who prefer having the game fully installed.
For Intel Mac users, Bootcamp is technically an option, but realistically only if you’re rocking one of the highest-end desktop Intel Macs – like a Mac Pro or a very powerful iMac – otherwise, performance won’t cut it. Xbox Cloud Gaming unfortunately doesn’t support Marvel Rivals at this time. Similarly, Apple’s Game Porting Toolkit (GPTK), known as Whisky, isn’t a reliable solution yet, though future compatibility might improve. For now, stick to Boosteroid, GeForce Now, CrossOver, or Bootcamp (on powerful Intel Macs only) depending on your hardware and connection.
How to Play Marvel Rivals on Mac
If you are willing to try one or more of the workaround methods to play Marvel Rivals on your Mac computer, I’ll explain each one to you. Just follow the steps exactly as they are shown and you’ll soon be able to enjoy this title on your machine as if you were running it on a Windows PC!
Play Marvel Rivals on Mac With Boosteroid
Boosteroid is a cloud gaming platform that’s been gaining popularity due to its smooth performance, solid streaming quality, and affordable pricing. To run Marvel Rivals effectively, you’ll need a stable internet connection of at least 15 Mbps for 1080p/60 FPS gaming, with recommended latency under 40 ms for optimal responsiveness. Even if your ping is slightly higher, you can still enjoy smooth gameplay.
1. Here’s how to set up Marvel Rivals on Boosteroid
- 1.1Sign up on Boosteroid’s website by creating an account or signing in with your Google account.
- 1.2Head to your profile page (top-right corner), click Subscribe, select your preferred plan, and complete sign-up.
- 1.3
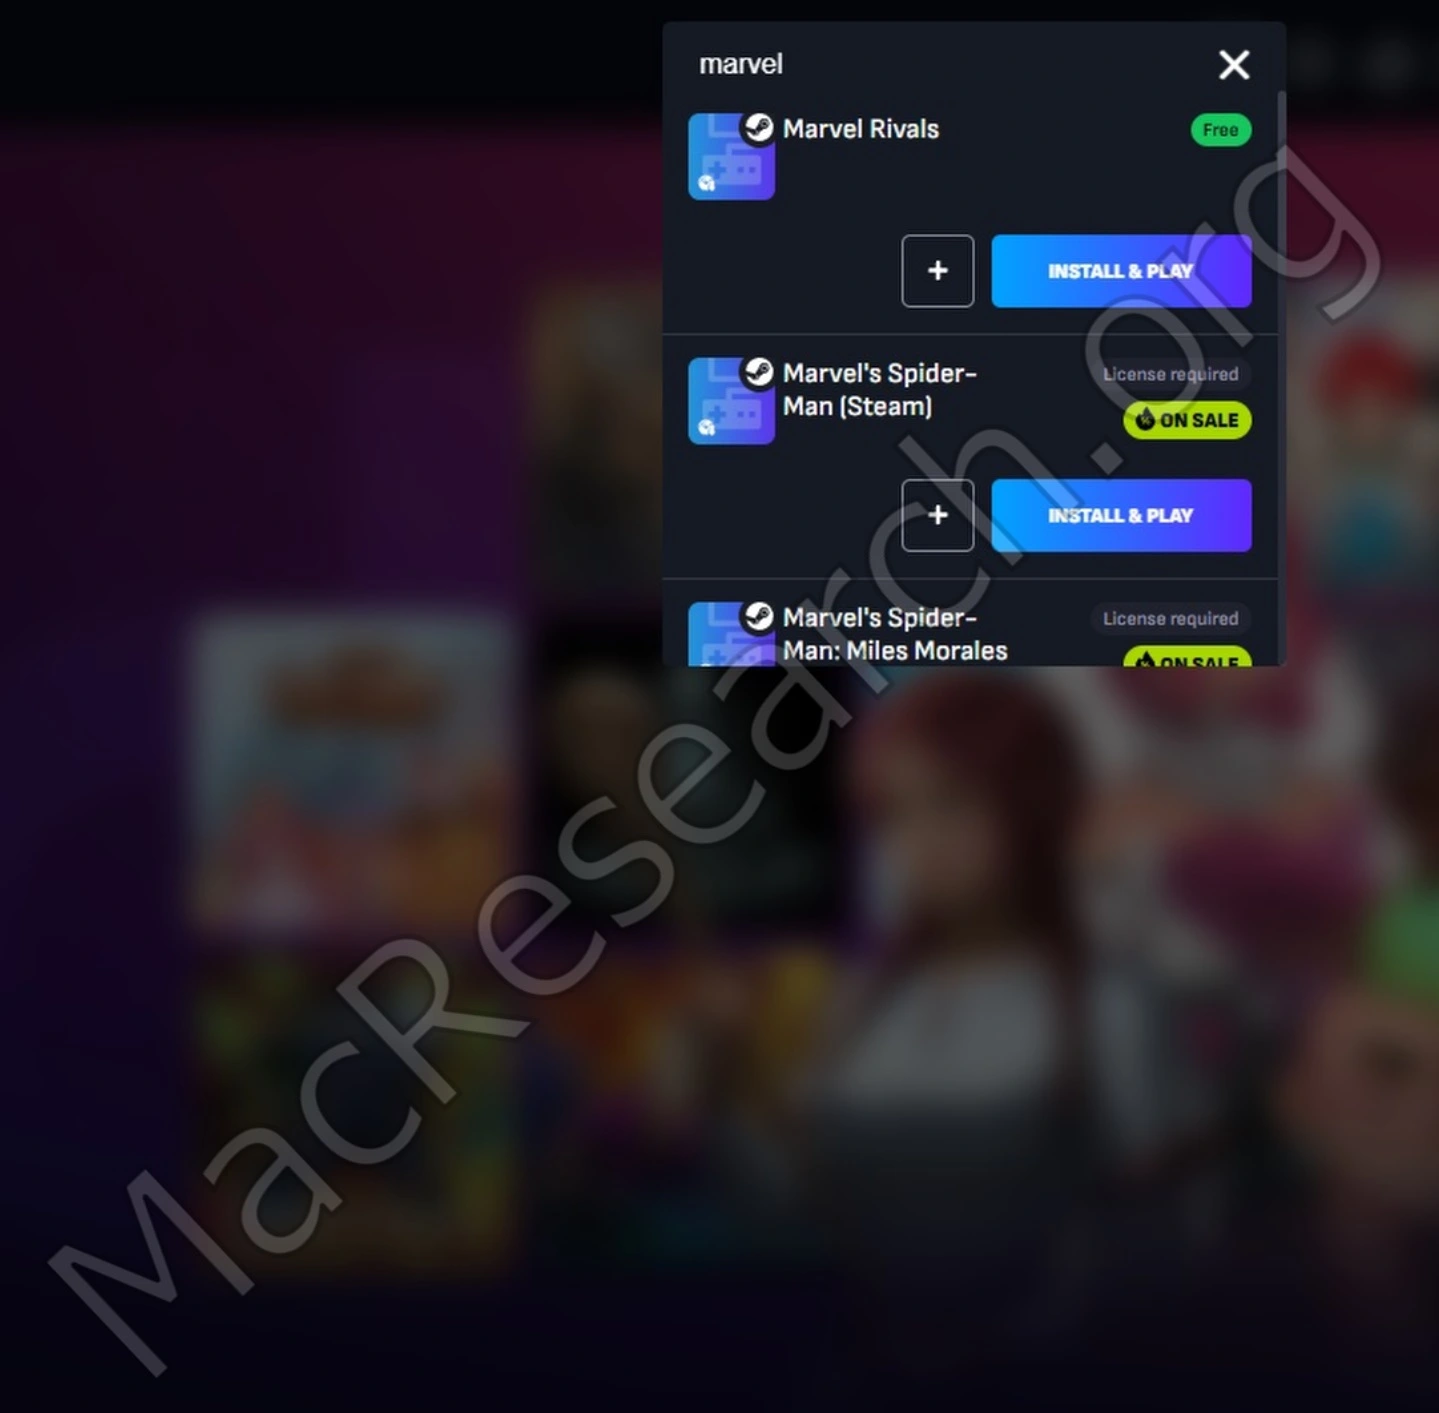
 Click the search icon, type “Marvel Rivals,” then click Play when it appears.
 - 1.4Press OK, Let’s go, and wait for the game to load.
- 1.5Log into your game account, and Marvel Rivals will launch directly in your browser.
Boosteroid also has a native macOS app offering slightly better streaming quality, so consider downloading it for an improved experience.
How to Play Marvel Rivals on MacBook With GeForce Now
GeForce Now is the most established cloud gaming service out there, offering exceptional streaming quality, flexible subscription plans, and one of the most reliable gameplay experiences. Its free tier lets you stream up to an hour at a time, while premium plans offer extended sessions and improved visuals. You’ll need at least 25 Mbps internet speed for stable, smooth performance at 1080p and 60 FPS.
2. Here’s how to set up Marvel Rivals on GeForce Now
- 2.1Head to GeForce Now’s website, click Join Now, and sign up for your preferred plan (free or paid).
- 2.2Visit the downloads page and grab the GeForce Now macOS app.
- 2.3Install the app by dragging it to the Applications folder and opening it.
- 2.4Log in with your account, search for Marvel Rivals, and click Play to start streaming instantly.

With GeForce Now, Marvel Rivals runs seamlessly on your MacBook without compatibility concerns, providing an enjoyable gaming experience.
How to Download Marvel Rivals on Apple Silicon Mac Using CrossOver
Since Marvel Rivals isn’t available natively for Mac, you’ll need to run the Windows version through CrossOver Preview. Below are detailed, step-by-step instructions to get the game running on your Apple Silicon Mac. Follow these steps carefully to set up and optimize your gaming experience.
3. Here’s how to set up Marvel Rivals on CrossOver
- 3.1Ensure you have a valid, paid license for CrossOver Preview from the CrossOver Website. Log into your account, navigate to the Downloads section, and download the latest CrossOver Preview ZIP file.
- 3.2Open Finder, go to your Downloads folder, and double-click the ZIP file to extract the application. Drag and drop the extracted CrossOver Preview into your Applications folder.
- 3.3Launch CrossOver Preview from Applications. When prompted, click “Open” to manually start the app.
- 3.4In CrossOver Preview, use the search function to find “Steam” and click Install to create a new Steam bottle. Wait for the installation process to complete, approving any prompts like font installations.
- 3.5Run the Windows Steam setup by clicking “Next,” selecting a local installation, and then clicking “Run Steam” once installation completes. Allow Steam to update, then log in with your account or scan the QR code using your mobile app.
- 3.6In Steam, search for Marvel Rivals in the store. If it isn’t already in your library, add it to your account, then navigate to your library, select Marvel Rivals, and click Install to download the game locally.
- 3.7Before launching Marvel Rivals, close Steam. Go back to CrossOver Preview, select your Steam bottle, and open the Graphics settings. Change the graphics mode to d3d metal (for DirectX 12 support) and set synchronization to Msync for optimal performance. Reboot the bottle to apply these settings.
- 3.8Reopen Steam and click Play on Marvel Rivals. If an “operating system outdated” warning appears, click Confirm or Continue to proceed.
- 3.9If a standard Unreal Engine graphics driver error appears, click No to bypass it. Allow the game to compile shaders during its first launch.
- 3.10When a black box appears on-screen, simply click it to move forward. If you have trouble interacting with the interface, press Command + Tab twice to restore mouse control.
- 3.11Press Space when prompted, then click to start the login process.
- 3.12You must accept the End User License Agreement but the button to do that is invisible. Hover your mouse a bit above and to the right of the “Logging in, please wait” message until your cursor changes to a hand – that shows you where the “Accept” button is. One you find it, just click and you’ll be logged in.
- 3.13Finally, once the game is running, open Activity Monitor and force quit the Marvel Rivals launcher (which can consume excessive RAM) to free up resources. Adjust in-game settings to low with aggressive FSR performance mode, and consider playing in the practice range to cache shaders and animations for smoother online gameplay.
Following these steps will help you enjoy Marvel Rivals on your Mac with stable, optimized performance. Happy gaming!
How to Play Marvel Rivals on Intel Mac With Bootcamp
Bootcamp lets Intel-based Macs run Marvel Rivals locally by installing Windows, but it’s really only practical if you have an exceptionally powerful Intel Mac with a dedicated GPU. Before proceeding, ensure your Mac has at least 120 GB of free storage, then follow these steps carefully:
4. Here’s how to set up Marvel Rivals on Boot Camp
- 4.1Head to Microsoft’s official site and download the latest Windows 10 ISO file.
- 4.2Next, open Boot Camp Assistant (found in Applications > Utilities).
- 4.3Click Continue, select Choose, pick your downloaded Windows ISO file, then click Open.
- 4.4Adjust the slider to give your Windows partition at least 100 GB storage, then click Install.
- 4.5Confirm your choice; your Mac will restart into the Windows setup.
- 4.6During installation, skip the product key prompt by selecting “I don’t have a product key”, then finish setting up Windows as guided.
- 4.7After setup finishes, Windows will boot up normally on your Mac. Open your browser, go to Marvel Rivals’ official website or game store, and download the Windows installer.
- 4.8Run the installer, log in with your account, and launch Marvel Rivals directly on your Mac’s new Windows environment.
Bootcamp might sound appealing, but honestly, it’s only worth considering if your Intel Mac is seriously powerful. Otherwise, performance issues might overshadow the gameplay experience.
Marvel Rivals Performance on Mac
Running Marvel Rivals locally on your Mac via CrossOver or Bootcamp comes down heavily to your hardware specs. CrossOver performance varies dramatically depending on your Mac’s RAM and GPU power. Entry-level Macs like the M2 Air – even with upgraded specs – typically struggle, dropping from around 40 fps to below 15 fps during intense moments. Mid-range options, like the M2 Pro MacBook with 16GB RAM, still frequently dip into single-digit frame rates, particularly during busy team battles, causing noticeable stuttering and crashes. Realistically, for consistently smooth gameplay, you’ll need at least 32GB RAM paired with a higher-end processor like an M3 or M4 Max. Even powerful models, such as the M4 Max MacBook Pro, occasionally experience drops to around 50 fps, though generally remain playable at 60 fps or higher on low to medium settings.
If you’re using an Intel Mac, Bootcamp is theoretically an option – but tread carefully. Unless your Intel Mac has truly high-end specs, such as a premium iMac or a Mac Pro with a dedicated GPU, expect disappointing performance, with frame rates dropping to unplayable levels even on low settings.
Bottom line: for users without a powerful Apple Silicon or top-tier Intel Mac, cloud gaming services like Boosteroid or GeForce Now are the safest bets for reliably smooth gameplay without frustration.
Marve Rivals on Mac: Conclusion
Marvel Rivals isn’t made for Mac, but that doesn’t mean you can’t play it. If you’re running a high-end Apple Silicon Mac with 32GB RAM or more, CrossOver is your best bet for local gameplay. You’ll get a solid 60 fps with occasional drops, but it’s good enough for competitive play. Anything lower – like an M2 or M3 Pro – will struggle with major frame dips and stuttering, making it more frustrating than fun. Intel Mac users don’t have many options. Unless you’ve got a high-end iMac or Mac Pro with a dedicated GPU, Bootcamp won’t cut it.
If your Mac isn’t powerful enough, Boosteroid and GeForce Now offer the easiest, most reliable way to play. Both deliver smooth performance without stressing your hardware, and setup takes minutes. At the end of the day, Marvel Rivals can work on Mac – you just need the right method. Pick the one that fits your hardware, and enjoy the game.