What is AWS CLI on Mac?
AWS CLI is a command-line tool that provides Amazon Web Services users with a way to manage all AWS services that they use. Through AWS CLI, one can control multiple Amazon Web Services through the use of command-line scripts.
AWS stands for Amazon Web Services, and it is an Amazon subsidiary that offers cloud-computing platforms to individuals, organizations, businesses, and governments. AWS encompasses over 200 services that are globally available. If you are an AWS customer and need an easy way to manage all the Amazon services that you use, the Amazon Web Services Command Line Interface tool (AWS CLI for short) can help you with that. It is a unified tool that lets you take control of all your Amazon Web Services from a single place, through the use of command-line scripts.
AWS CLI is available for Windows, macOS, and Linux. If you are a Mac user and need help setting up AWS CLI on your iMac or MacBook, please, read the following lines.
How to install AWS CLI on Mac
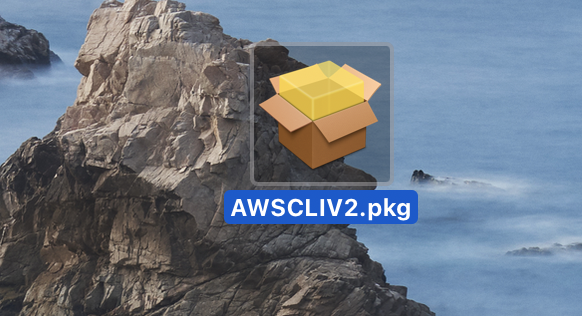
To install AWS CLI on Mac, you need to download the AWSCLIV2.pkg file from Amazon’s site, open it, and follow the installation prompts to complete the installation. Alternatively, you can also install AWS CLI on Mac using command line scripts.
If you are new to this, we recommend performing the installation by downloading and running the GUI installer (the AWSCLI2.pkg file), as this installation method is easier for users who aren’t yet accustomed to working with a command-line tool (though some command line scripts will still need to be used to complete the setup process).
Here is how to install AWS CLI on your Mac using the GUI installer
- Click this link and download the AWSCLI2.pkg file onto your Mac.

- Open the file, follow the prompts and accept the terms of the software license agreement.


- Choose whether you want to install the tool for the current user only (doesn’t require sudo) or for all users on the Mac (requires sudo).

- Next, once you get to the installation type, if you want, change the location where you want AWS CLI to be installed. Of course, you can also use the default location.

- Review the installation settings and click Install to begin the installation. Enter your password if required to.


Where is AWS CLI installed on Mac?
AWS CLI gets installed in Mac’s usr/local/aws-cli folder if the user chooses to use the default installation location when installing the tool. During the installation, the user can pick a different location where AWS CLI will be installed on the Mac.
The default location where AWS CLI will be installed is usr/local/aws-cli. During the installation, you can instead choose another location. Any location can be used for installing AWS CLI so long as you have to write permissions for that folder. If you’ve chosen a location different from the default one and you are installing AWS CLI for all users, a symlink will automatically be created in /usr/local/bin/aws. If you’ve chosen to install the tool only for a user, you will need to manually create a symlink file in the $PATH you’ve chosen. Use the following commands for that:
- $ sudo ln -s /folder/installed/aws-cli/aws /usr/local/bin/aws
- $ sudo ln -s /folder/installed/aws-cli/aws_completer /usr/local/bin/aws_completer
How to install AWS CLI on MacBook Pro
To install AWS CLI on MacBook Pro, download the AWSCLIV2.pkg file from Amazon, run it, and go through the prompts to perform the installation. Alternatively, there are command-line scripts that can be used to install AWS CLI on your MacBook Pro.
Whether you are using a MacBook Pro, MacBook Air, or an iMac, the process of installing AWS CLI stays the same – download the GUI installer from Amazon, go through the prompts, and perform the installation process. For more detailed instructions, check out the guide that we’ve posted above.
Leave a Reply