Table of Contents
What is Apple Pay?
Apple Pay is an all-in-one payment service that allows Apple users to perform in-person and on-the-web payments through their iPhones, Apple Watches, iPads, and Macs. Apple Pay is only available for devices manufactured by Apple, and can’t be used on Android or any Windows browser.
This tool can be used as a replacement for plastic credit or debit cards, allowing the user to perform in-person transactions at contactless PoS terminal devices. The PoS terminal at which Apple Pay can be used doesn’t need to be manufactured by Apple – it is enough for the device to support contactless transactions.
Apply Pay accounts are protected by two-factor authentication – a combination of two of the following auth methods: Face ID, Touch ID, passcode, and PIN.
Apply pay is available for iPhone 6 and newer, Macs with Touch ID, iPad Air 2 and newer, and all Apple Watch models. Users can store between 8 and 16 cards on their Apple Pay accounts. It’s worth noting that using Apple Pay doesn’t add any fees – using this service is free of charge for Apple users.
How to set up Apple Pay
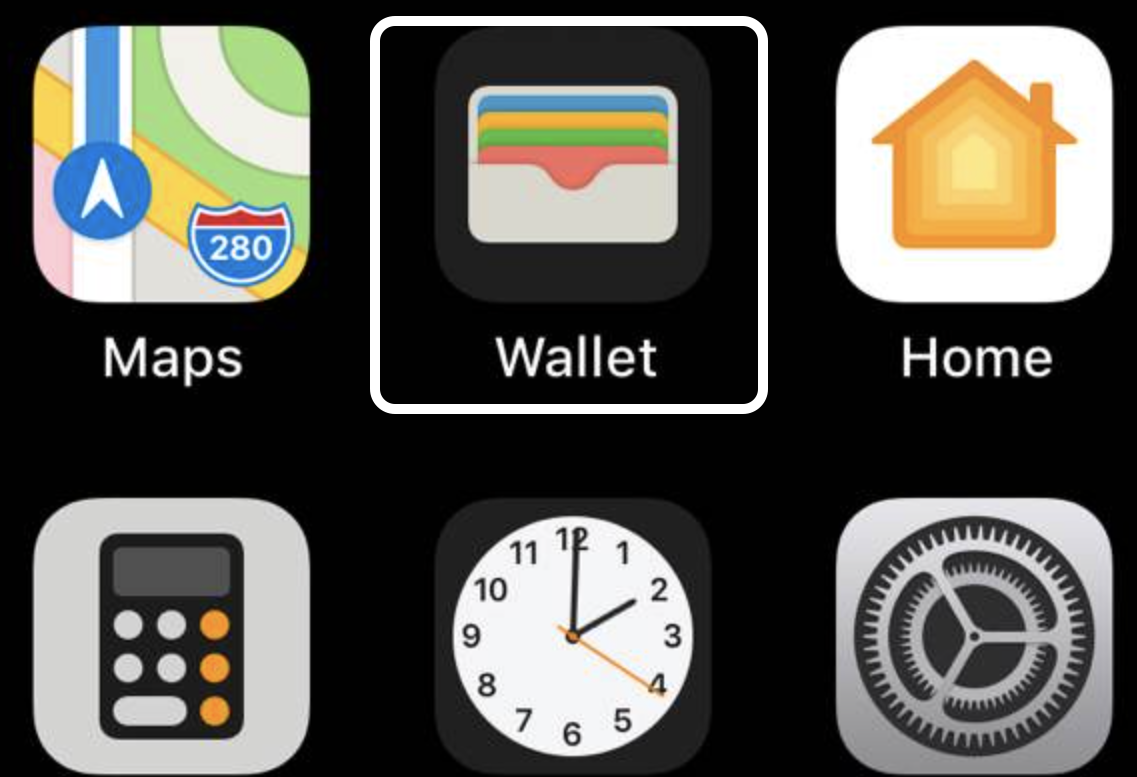
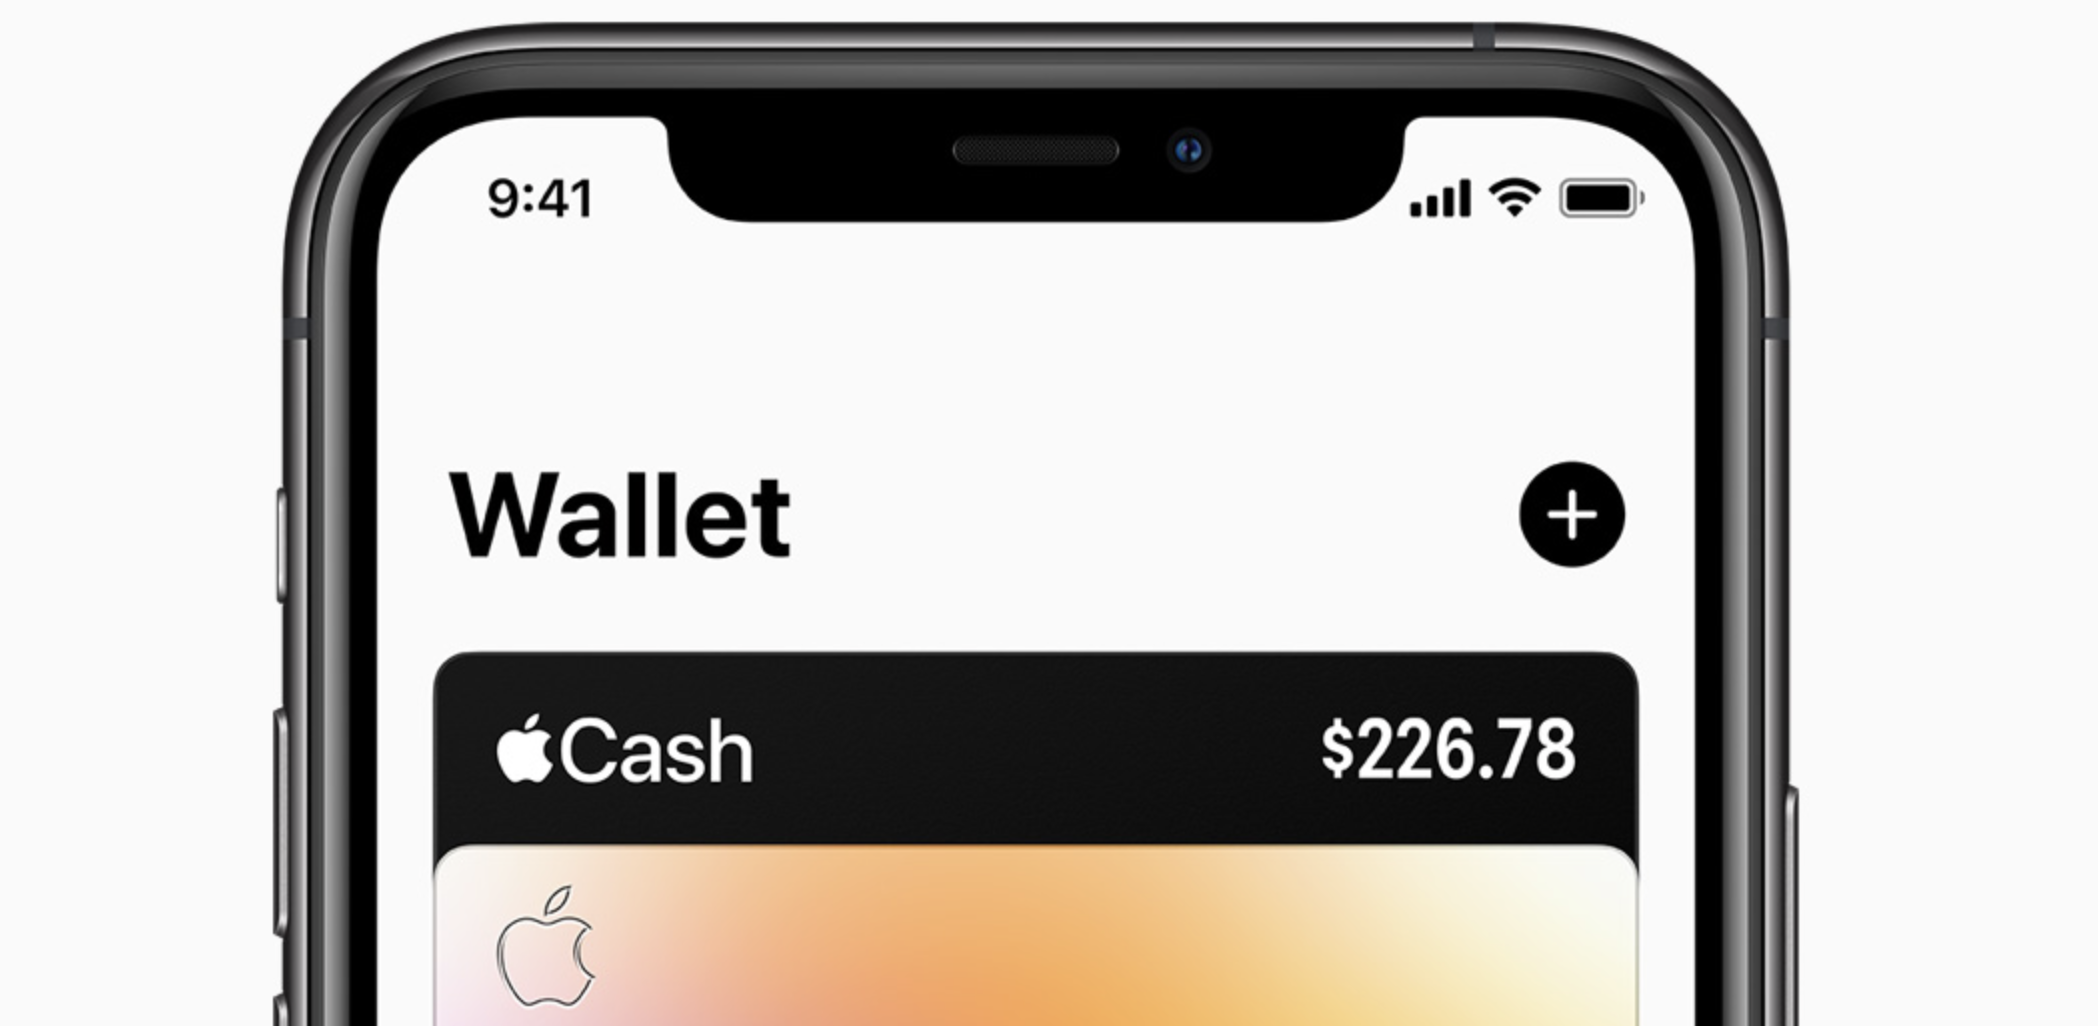
To set up Apple Pay on your iPhone, go to Wallet, press the Plus button, tap Credit or Debit, and follow the on-screen steps. To set up Apple Pay on Mac and iPad, go to Wallet settings, tap Add Card, and complete the next steps.
Setting up Apple Pay is really easy, but the exact steps differ a little depending on what device you are using. Here is how you can set up Apple Pay on your iPhone, Apple Watch, Mac, or iPad.
Setting up Apple Pay on iPhone
- Open the Wallet app on your iPhone and tap the Plus (Add) button.


- Tap on Credit or Debit card.
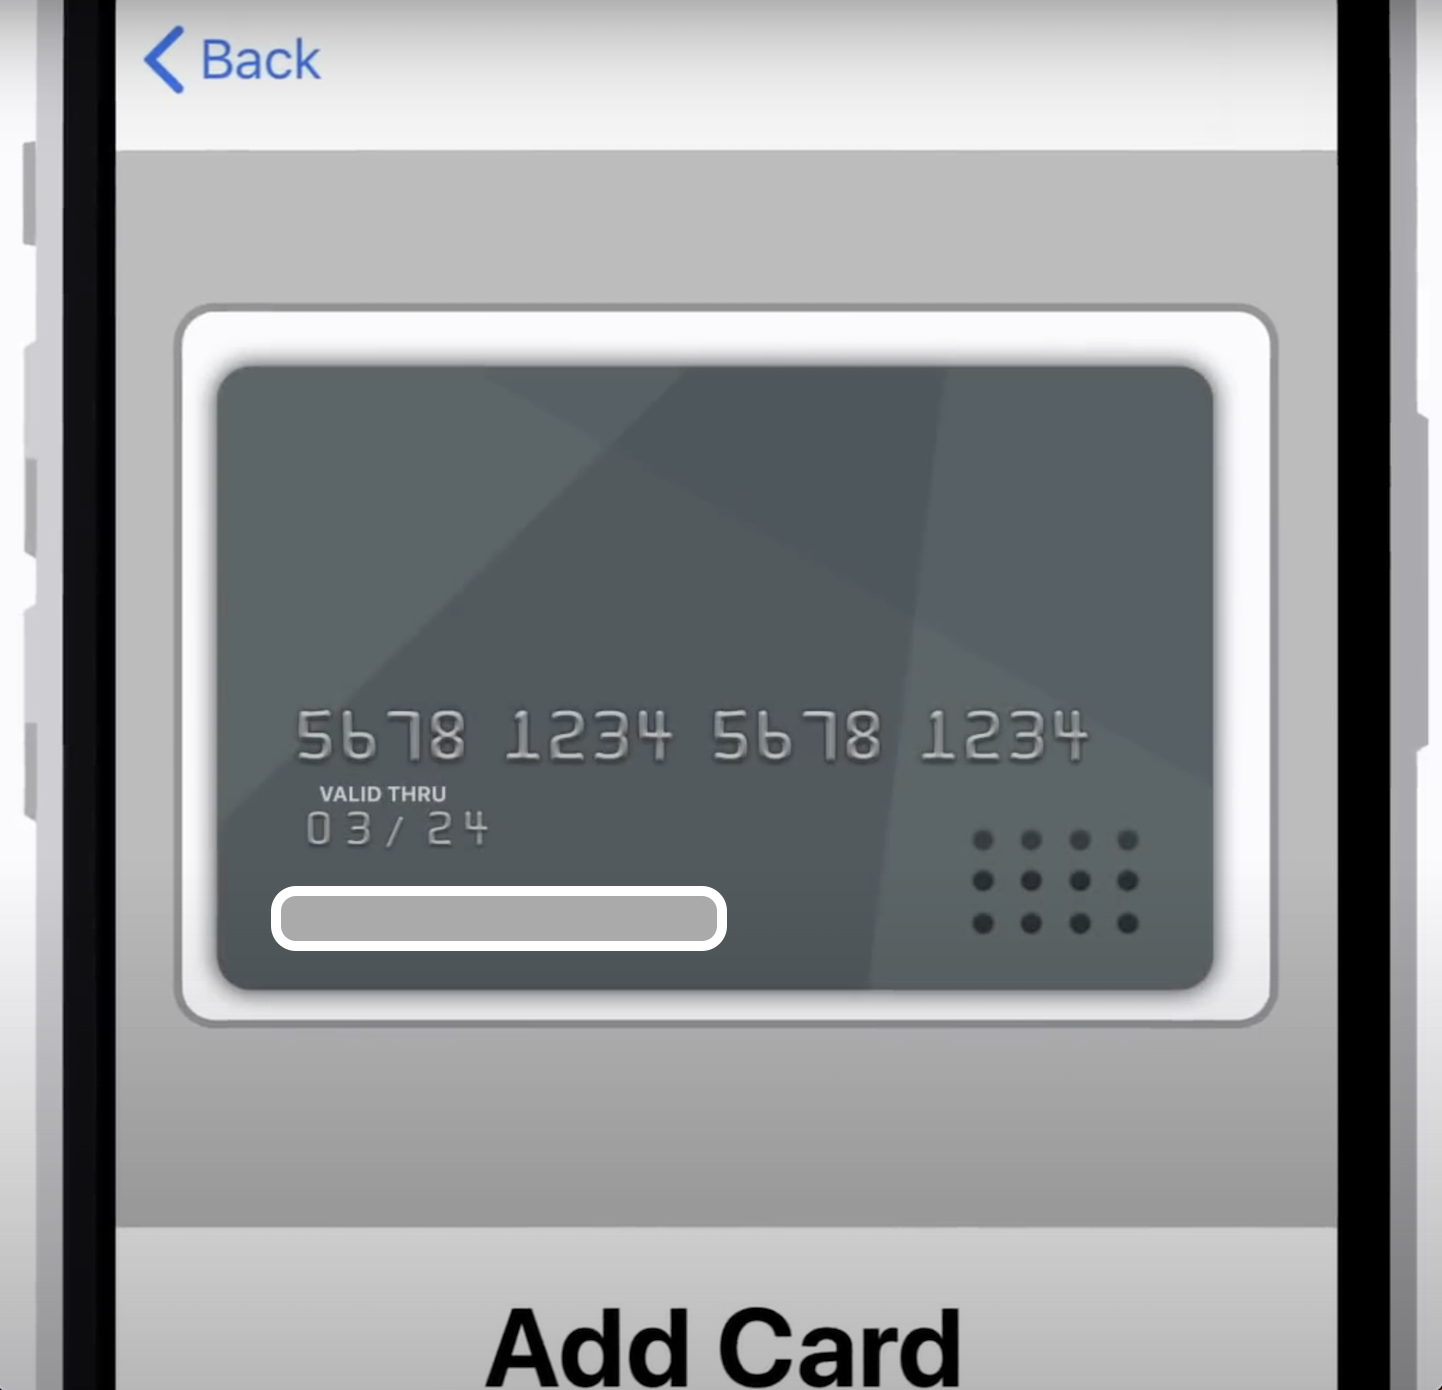
- Enter the details of your card or scan your card with the iPhone’s camera.


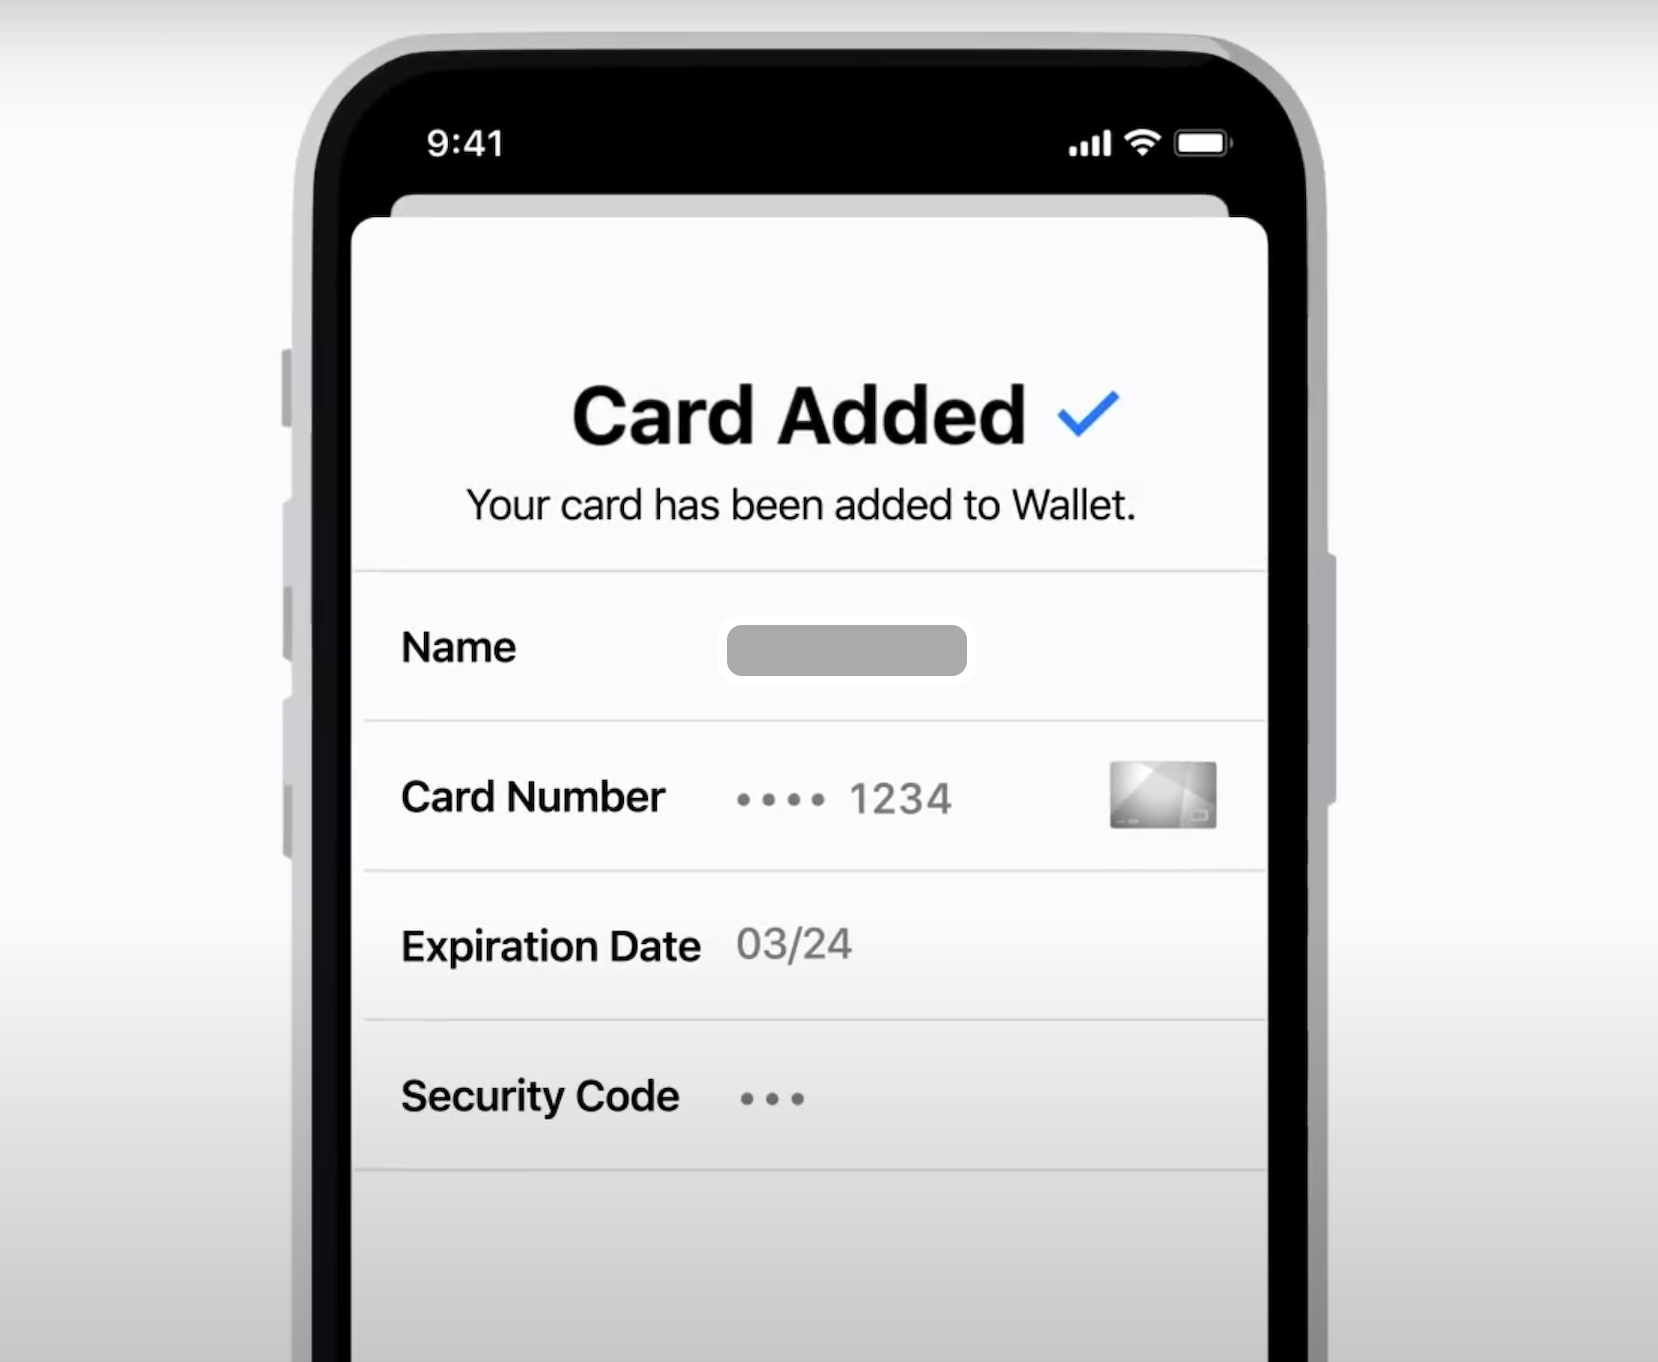
- Enter a name for the card and a CVV code.
- Agree to the terms of use and give Apple Pay permission to use the device’s location.
- Verify your card by receiving a verification code via a text message or a phone call. Alternatively, call your bank for approval,
Setting up Apple Pay on Apple Watch
- Access the Wallet app, scroll down, and tap the Add Card button.
- Tap on Debit or Credit Card, then tap Continue,
- Enter your card’s information and, if prompted to, use the Apple Watch app on your iPhone to verify the entered information with your bank.
Setting up Apple Pay on Mac (with touch ID) and iPad
- Go to the Settings of the Wallet app.
- For Macs: go to Apple Menu > System Preferences > Wallet and Apple Pay.
- For iPads: open Settings > Wallet and Apple Pay.
- Tap on Add Card and enter the details of your credit/debit card.
- If required to, verify the information you’ve entered about your card with the bank that has issued the card.
How do I activate Apple Pay?
To activate Apple Pay, all you need to do is add your debit or credit card or cards to your Wallet app. This will automatically activate Apple Pay, after which you can use the added cards to perform online and in-person payments.
Once you’ve added your credit/debit card to the Wallet app on your Apple device (see the instructions above), the Apple Pay feature will become active, and you will be able to perform payments with its help. Before a payment is made, you will need to authenticate yourself – the authentication methods vary depending on what device you are using:
Apple Pay For in-person payments
- iPhones with Face ID: double-click the iPhone’s side button and then authenticate with your passcode or Face ID.
- iPhones with Touch ID: Place and hold your finger on the Touch ID sensor.
Apple Pay for online payments:
- iPhones or iPads with Face ID: double-click the button at the side of the device and then use your passcode or Face ID.
- iPhones or iPads without Face ID (with Touch ID): use Touch ID (rest your finger on the sensor) or use your passcode.
- Apple Watches: double-click device’s side button.
- Macs with Touch ID: Follow the touch bar prompts and then rest your finger on the Touch ID sensor. If Touch ID isn’t enabled at the moment, tap the Apple Pay icon that is on the Touch Bar and complete the prompts that show on the Mac’s screen.
- Mac without Touch ID: Use an iPhone or Apple Watch connected via Bluetooth to your Mac to confirm the payment. Note that both your Mac and the Bluetooth-connected iPhone Apple Watch must be logged in to the same Apple ID.
How do I manually set up Apple Pay?
To manually set up Apple Pay, go to the Wallet app and use the Add (+) button to add a new card that will be used for payments. Then tap on Insert Card Details Manually to manually set up the new Apple Pay card.
Before you can start using Apple Pay, you must first add your debit or credit card to the Wallet app on your iPhone, Apple Watch, Mac, or iPad – above, we’ve already shown how you can do that. You can add the card’s details by scanning your card with the iPhone’s camera or by manually entering them.
In some instances, before you could start using the card through Apple Pay, you may be required to verify with your bank/card issuer the information that you’ve entered. In most cases, you will be asked to enter a code that would be sent to you via a text message or dictated to you over a voice call (you get to choose which one). It is also possible that you are required to call your bank and personally verify that you want to add the card to your Apple Pay account (in those cases, the Wallet app will give you a button to directly call the bank).
How do I use Apple Pay?
To use Apple Pay for in-person payments at contactless POS terminals, near the backside of your iPhone to the terminal, and confirm the payment with the chosen authentication method. To use Apple Pay for online payments, use the Apple Pay payment method at check-out.
You can use Apple Pay to perform both in-person payments and online or in-app payments from your Apple device. Here are specific instructions on how to do this:
Using Apple Pay for in-person payments
Paying with an iPhone
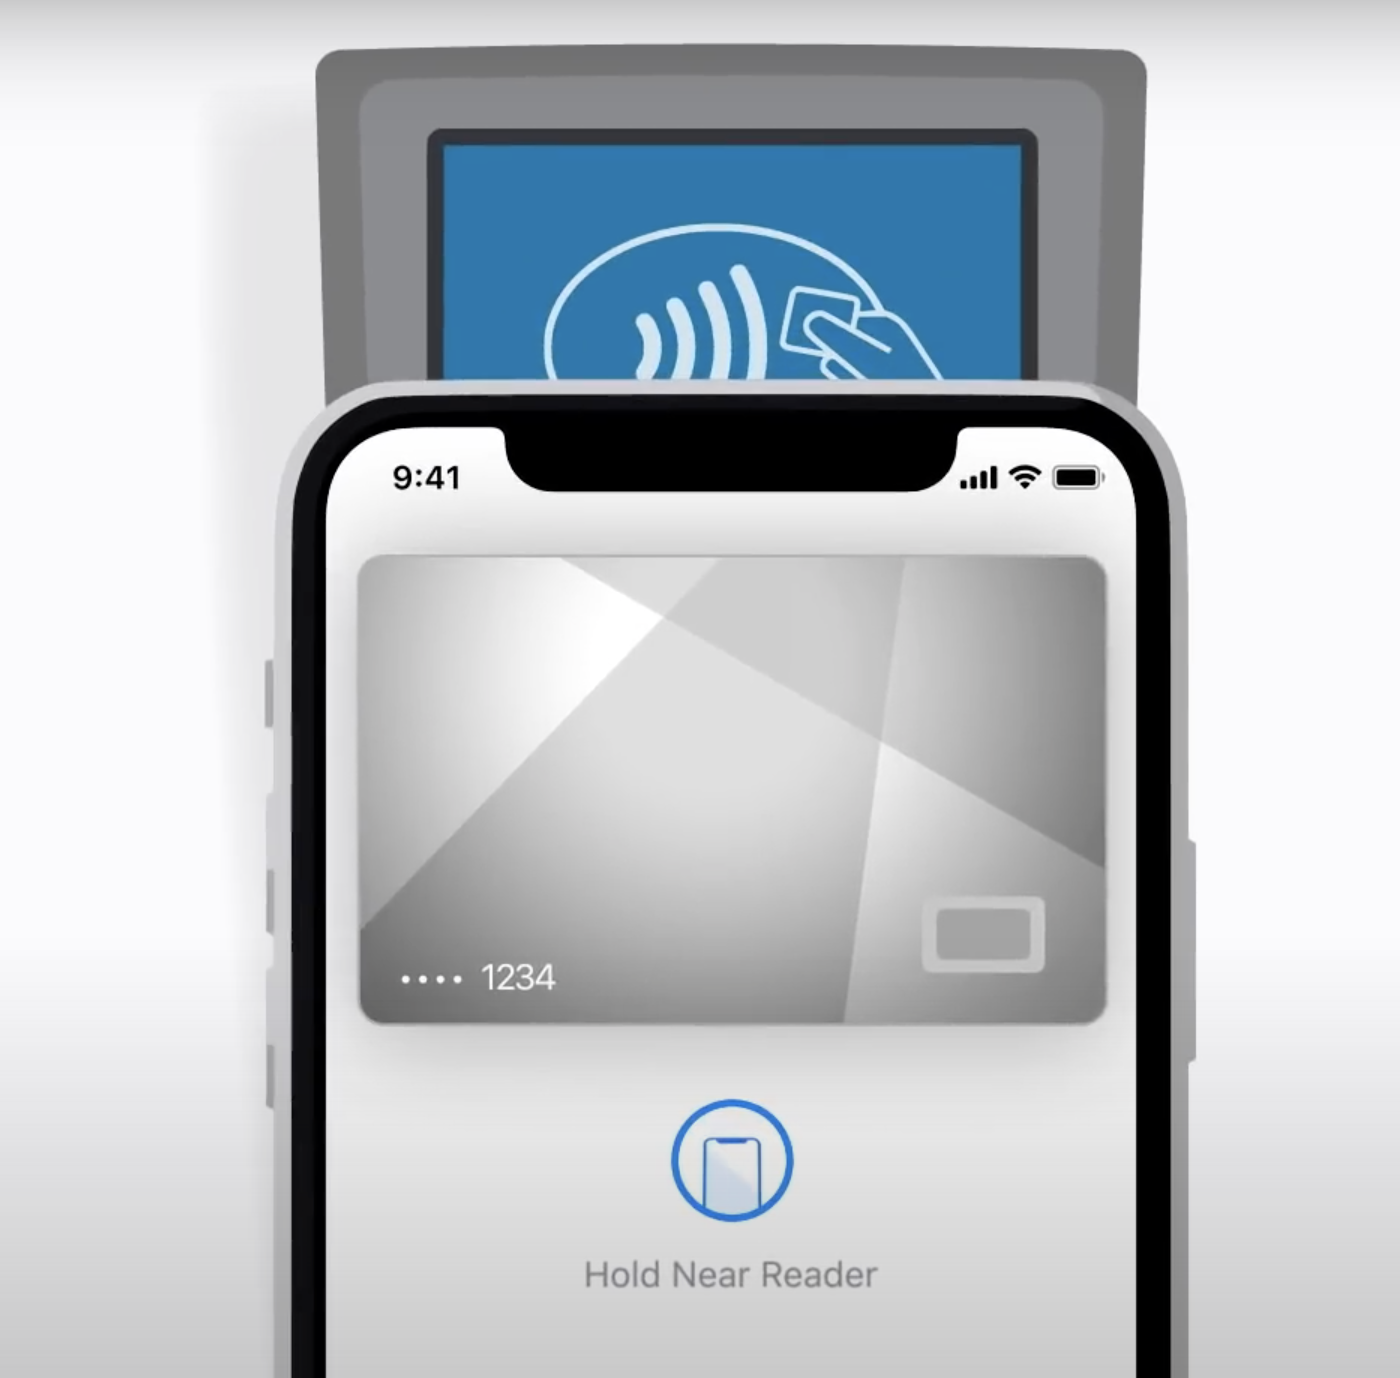
- Bring the back of your iPhone close to a contactless POS Terminal.

- When your default card shows up, confirm the payment with the authentication method(s) that your iPhone uses (see above).
- If you want to use a different card and not your default one, tap on the default card when it shows up to see your other cards, select the one you want to use, and then confirm the payment.
- Keep your iPhone close to the POS Terminal until you see the Done checkmark on the phone, which indicates that the payment has gone through.
Paying with an Apple Watch
- Double-press the side button of your Apple Watch.
- If you want to use your default card, directly bring your Apple Watch close to the card reader.
- If you want to use a different card, scroll down, select the card you want to use, and then bring the watch close to the POS terminal/card reader.
- Keep your Apple Watch close to the reader until you hear a beep and the watch vibrates for a moment.
Using Apple Pay for online or in-app payments
You can perform such payments Safari when visiting websites that support Apple Pay, or within apps that support Apple Pay.
- When you are ready to pay for an item/items, tap on the Buy with Apple Pay button within the app or site, or select Apple Pay as preferred payment method.

- If you want to pick a different card and not your default one, select the Next/Expand Menu button that’s next to the default Apple Pay card.
- If required to, enter your billing, shipping, and/or contact information. Once entered, this info will be stored in Apple Play, so you won’t have to enter it again.
- Confirm the payment using the confirmation/authentication method(s) for your device – Touch ID, Face ID, passcode, PIN (see above).
- If the transaction has been successful, a Done checkmark will appear on your screen.

Leave a Reply