How to remove Adobe Creative Cloud from Mac?
If you’ve ever used Adobe’s suite of creative software, you’re probably familiar with Creative Cloud. But what happens when you no longer need it? Is there a way to remove Adobe Creative Cloud from Mac? Whether you’re decluttering your Mac or moving to different software, removing Creative Cloud can be a bit tricky. But don’t worry, we’ve got you covered! In this detailed guide, we’ll walk you through the process of uninstalling Creative Cloud from your Mac. So, let’s get started!
How to Uninstall Creative Cloud from Mac
Before we dive into the removal process, let’s take a moment to understand what Adobe Creative Cloud is. Essentially, it’s a collection of software used for graphic design, video editing, web development, photography, and more. While these tools are incredibly useful, they can take up a significant amount of space on your Mac. So, if you’re not using them, it might be time to say goodbye.
Step 1: Quit Adobe Creative Cloud Processes
To begin the uninstallation process of Adobe Creative Cloud, it’s important to first close the program and quit any related processes. You can do this by using the Activity Monitor tool.
- Access the Activity Monitor either by locating it in the Launchpad.
- Next, you need to terminate Adobe Creative Cloud processes. In the Activity Monitor, you’ll see a list of running processes. Look for any processes related to Adobe Creative Cloud and select one of them. Then, click on the “Stop” button to quit or force quit that specific process.
- Repeat the previous step for each remaining Adobe Creative Cloud process in the list. Quit or force quit each one to ensure that all instances of Adobe Creative Cloud are terminated.
By following these steps, you will successfully quit Adobe Creative Cloud and be ready to proceed with the uninstallation process.
Step 2: Uninstall any Creative Cloud apps
The next step in removing Creative Cloud from your Mac is to uninstall any Creative Cloud apps you have installed, otherwise, you may not be able to remove Adobe Creative Cloud for Desktop. Here’s how:
- Open the Adobe Creative Cloud desktop app: You can do this by clicking on the Creative Cloud icon in your menu bar.
- Go to the Apps tab: Once the Creative Cloud desktop app is open, navigate to the ‘Apps’ tab. Here, you’ll see a list of all your installed Creative Cloud apps.
- Uninstall the apps: To uninstall an app, simply click on the three dots next to the app’s name, then select ‘Uninstall’. Repeat this process for all the Creative Cloud apps you want to remove.
How to Delete the Creative Cloud Desktop App from Mac
Once you’ve uninstalled all your Creative Cloud apps, the next step is to delete the Creative Cloud desktop app from Mac. Here’s how:
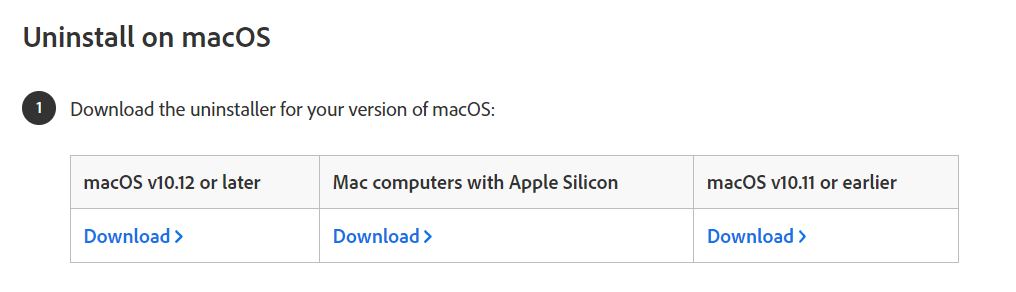
- Download the Creative Cloud Uninstaller: Adobe provides a Creative Cloud Uninstaller tool that you can download from their website. Simply go to the Adobe Creative Cloud Cleaner Tool page, download the tool, and install it on your Mac.
- Run the Creative Cloud Uninstaller: Once the tool is installed, open it and follow the on-screen instructions to delete the Creative Cloud desktop app.

How to Remove Creative Cloud Files from Your Mac
Even after uninstalling the Creative Cloud apps and the desktop app, there might still be some Creative Cloud files left on your Mac. Here’s how to remove them:
- Open Finder: Click on the Finder icon in your Dock to open a new Finder window.
- Go to the Library folder: In the Finder window, navigate to Go > Go to Folder, then type in ‘~/Library’ and hit Enter.
- Delete Creative Cloud files: In the Library folder, look for any folders that have ‘Adobe’ or ‘Creative Cloud’ in their name. Drag these folders to the Trash to delete them.
Conclusion: A Cleaner, Faster Mac
By following these steps, you should be able to completely remove Creative Cloud from Mac. Remember, while Adobe’s suite of creative software is incredibly powerful, it’s not necessary for everyone. If you’re not using these tools, removing them can free up valuable space on your Mac, helping it run smoother and faster.
We hope this guide has been helpful. If you have any other tech-related questions or if there’s a specific topic you’d like us to cover, feel free to let us know. We will be glad to help!
Leave a Reply