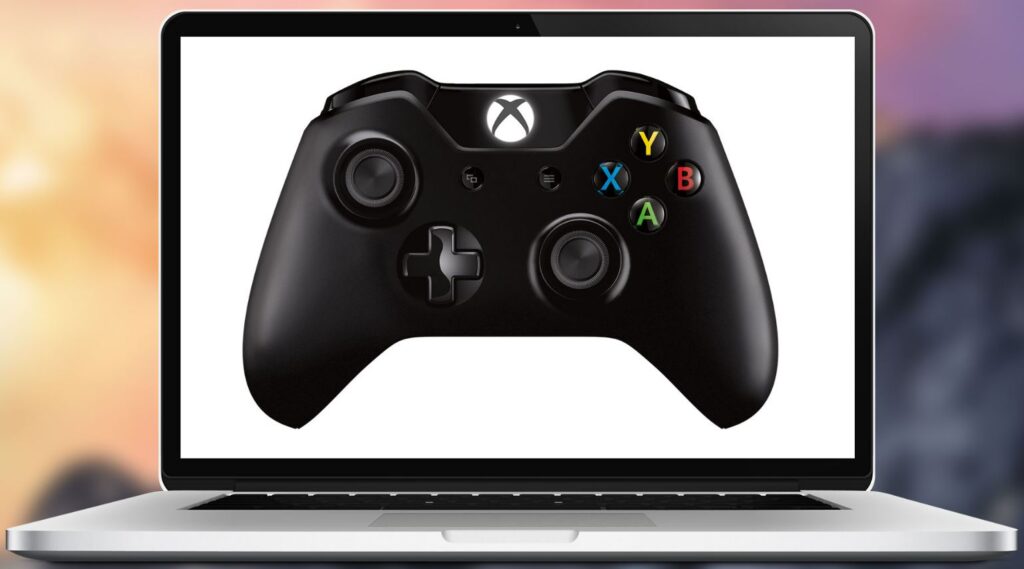
To connect an Xbox controller to a Mac, first, turn on the controller and put it into pairing mode. Then, on your Mac, go to System Preferences > Bluetooth and click the Connect button next to the Xbox controller icon to connect the controller to your Mac.

We all know that Macs are not designed for gaming, yet it’s still perfectly possible to play any game on a Mac so long as that game has a macOS version or there’s a workaround method to play it on macOS. However, some people do not like the keyboard and mouse setup and prefer to use a console controller while gaming. In fact, if you are on a MacBook, it may actually be a better idea to play games on it using a controller (or a Bluetooth keyboard) to avoid wear and tear on the Mac keyboard.
If you are among the users who’d rather use a controller while gaming on their Mac, know that it’s very easy to connect one to a Mac computer. Below, we will show you the exact steps you need to follow to connect an Xbox and a PS 4 or 5 controllers to your Mac.
How to connect an Xbox controller to Mac
- Turn on the Xbox controller by pressing and holding its power button until the button begins to flash.
- Next, press and hold the Sync button that’s at the front of the controller until the power button starts flashing faster – this means that the controller is in pairing mode.
- If the controller automatically connects to your Xbox console, turn off the console so that the controller isn’t connected to anything.
- On your Mac, click the Apple Logo menu, and go to System Preferences.
- Next, select the Bluetooth icon, and wait for the controller to show up in the list of devices.

- Click Connect next to the Xbox controller name – when the light on the controller stops flashing, the controller would be connected to your Mac and read for use.

If you want to use the controller with Steam, there are a couple more steps that you need to perform:
- Open Steam on your Mac and click the Big Picture Mode button – the one in the top-right corner of the Steam window.

- A new version/interface of Steam will open, and you will likely be asked to install a driver update, so click on OK to perform the installation.

- Provide any Admin permission that may be required of you to complete the installation.
- Once the driver update is installed, return to Steam, go to Settings (a gear icon in the top-right), then open Controller Settings, and enable the Xbox Configuration Support option.


How to connect a PS 4 or 5 controller to a Mac
- On the PS controller, press and hold both the power button at the center of the device and the Share button on its front until the light at the front begins to flash.
- On your Mac, open System Preferences from the Dock or from the Apple Logo menu, and then click on the Bluetooth icon.
- Wait until you see the PS controller’s name appear in the list of devices and click the Connect button next to it.
- Like with the Xbox controller, if you want to use the PS controller with Steam, open Steam, and click the Big Picture Mode button located in the top-right.
- Update Steam drivers if necessary, then go to Settings > Controller Settings, and enable PlayStation Configuration Support.
Note: If your PS controller also supports a wired connection, you can connect it to your Mac via its wire. However, if the controller uses a USB-A port, then you’d need to use a USB-A to USB-C adapter in order to connect it to your Mac’s USB-C/Thunderbolt port.
Leave a Reply