Back up data on Mac Details
To back up data on Mac, the easiest and most streamlined method is using the built-in Time Machine app that’s in your Mac. The Time Machine can be set to automatically backup data on your Mac without the need to manually do this every time.
There are many reasons why you may want to back up your Mac. First and foremost, it is a good practice as a whole – there are many unexpected things that could happen that could result in the deletion or corruption of your personal data and if you don’t have it backed up, you may lose it for good. For this reason, as a general rule of thumb, it’s recommended to have a dedicated backup device and regularly use the Time Machine to update the data that’s backed up on it. This is especially important if you have any sensitive, important, and/or valuable files saved on your Mac.
One of the specific instances, when you should definitely perform a backup of your Mac’s data, is if you are about to make any significant changes to your Mac, such as wiping its drive, using Boot Camp Assistant to install Windows 10 in a separate partition, or even upgrading your current macOS version.
Time Machine backup
Time Machine backup is a built-in macOS feature that allows for an easy way to automatically back up your data once the feature is properly set up. Time Machine backup works with external USB drives, FireWire drives, other Macs used as backup destinations, and more.
Using Time Machine is really easy – it only takes a couple of simple steps to set everything up and then the Time Machine will take care of the rest. However, before you begin, you must make sure that you have a compatible device that can be used as a backup location and that has enough free storage space in it to accommodate the data you wish to backup. Here are the types of devices that are compatible with Time Machine:
- External USB drives, Thunderbolt drives, FireWire drives (physically connected to your Mac)
- Network-attached storage devices (NAS) that have Time Machine support with SMB
- Another Mac that is shared as a backup destination for Time Machine
- AirPort Time Capsule
- An external drive that is connected to an AirPort time capsule or Extreme Base Station (802. 11ac)
If you have a compatible backup device with enough storage space, you can begin the process of backing up your Mac on it by following the next instructions:
- Connect the external backup device, share your other Mac that you will be using as a backup location, or turn on your AirPort Time Capsule.
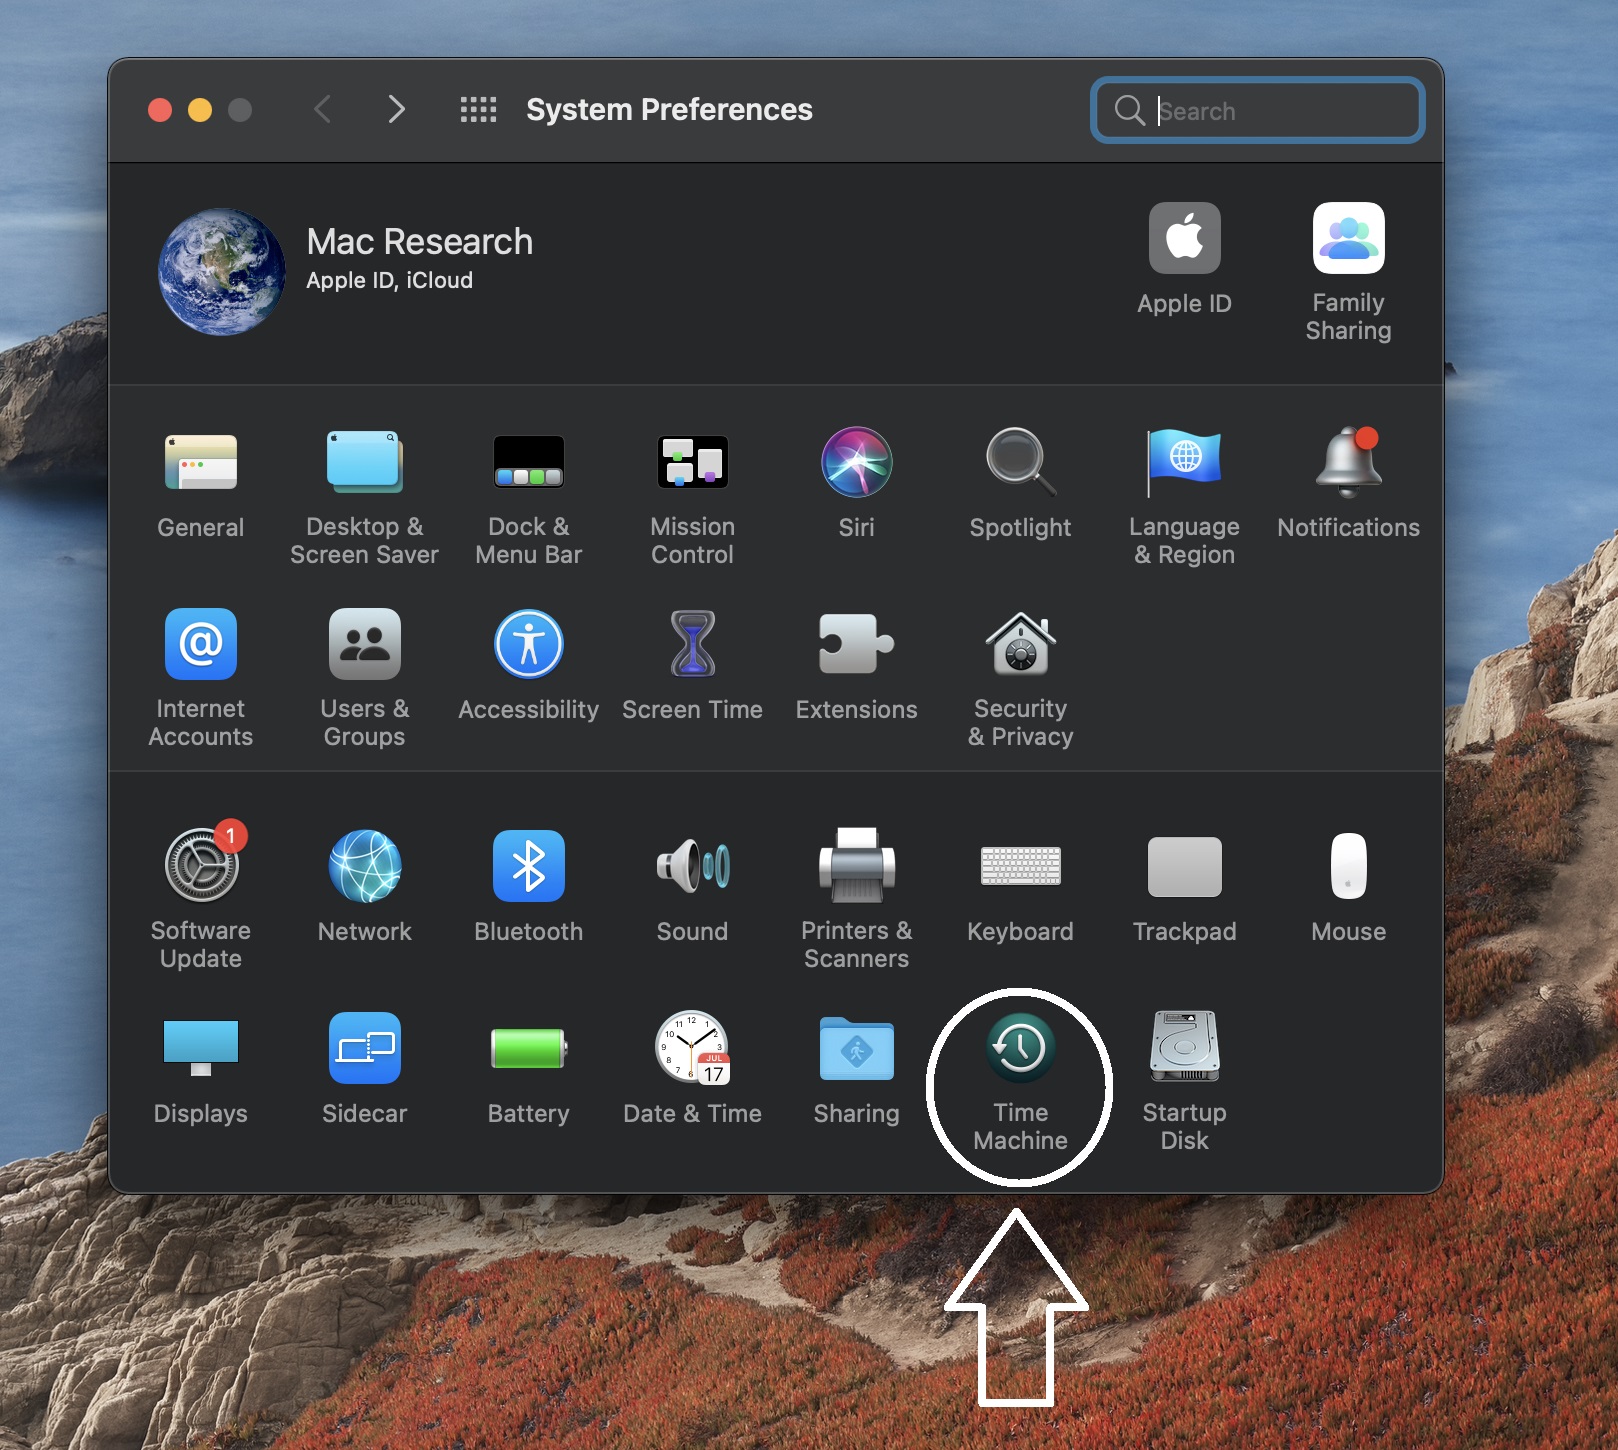
- Go to Apple Menu > System Preferences > Time Machine.
- Enable the Show Time Machine in menu bar option if it is not currency enabled so that you’d have easier access to the app through the menu bar.

- (Optional) If you want your Mac to back itself up automatically whenever you connect to it your backup device, enable the Back Up Automatically option.
- (Optional) If you want only specific data to be backed up instead of backing up everything, you can click Options and exclude different items from future backups. You can also enable the Back up while on battery power option, and this will cause your Mac to back up even if it’s not connected to a power source (note that this would cause the battery to drain faster).
- Click Select Backup Disk and choose the backup device you wish to use.
- (Optional) Check the Encrypt backups if you wish the backup to be encryption-protected, and enter a password of your choosing.
- Click on Use Disk to start the backup process. If you see any additional prompts, such as to format the device or connect to your network volume, follow them. The backup process will begin and, depending on how much data you have on your Mac, it may take a while – be patient and don’t turn off your Mac or disconnect it from the backup device. If you want to, you can still use the computer for other tasks while it is being backed up.
- If you want to manually start a new backup in the future, connect the backup device to your Mac, click the Time Machine icon from the menu bar, and select Back Up Now.
If you want to restore a file that was deleted, you can use Time Machine to do that in the following way:
- Connect your backup device to your Mac.
- Open the folder where the deleted file was stored.
- Click the Time Machine icon in the menu bar and click on Enter Time Machine.
- Use the timeline on the right side of the screen to find the date and time you think the file was still in the folder.
- When you think you’ve found the file you need to restore, select it and press Space to see a preview of that file to make sure that is what you are looking for.
- Once you find the file you want to recover, click it, and click Restore. If you are asked to enter your password, do that to restore the file.
How to back up iPhone on Mac?
To back up your iPhone on Mac, you must:
- Plug in your iPhone to your Mac and open a Finder window.
- Select the device from the left sidebar.
- Click Trust if you see it on your Mac and iPhone and enter the required passcode.
- Click Back Up Now to start a backup.
Finder gives you the option to create an encrypted backup if you are backing up any sensitive data that’s on your iPhone. The way to do this is to check the Encrypt local backup option in the General backup tab in Finder, then type and verify a password of your choosing and click Set Password. After that, enter the passcode on the iPhone and the backing up process will begin.
If you’ve already set up encrypted backup once, you won’t have to do it again – simply click Back Up Now to start the backup.
If you want to restore an iOS device from a backup stored locally on your Mac, connect the device, here’s what you need to do:
- Plug in the iOS device to your Mac.
- Open Finder and click the device’s name from the sidebar to the left.
- Click Trust if this is the first time you are connecting the device to your Mac.
- Tap Trust on the iOS device and enter the required passcode.
- Next, select the Restore from this backup option and choose the backup you want to use (if there are several backups on your Mac).
- If the backup is encrypted, a prompt will appear where you must enter your password, so go ahead and do that, and then click Restore.
Until the restoration and syncing process are completed, you must not disconnect the iOS device from your Mac.
Leave a Reply